


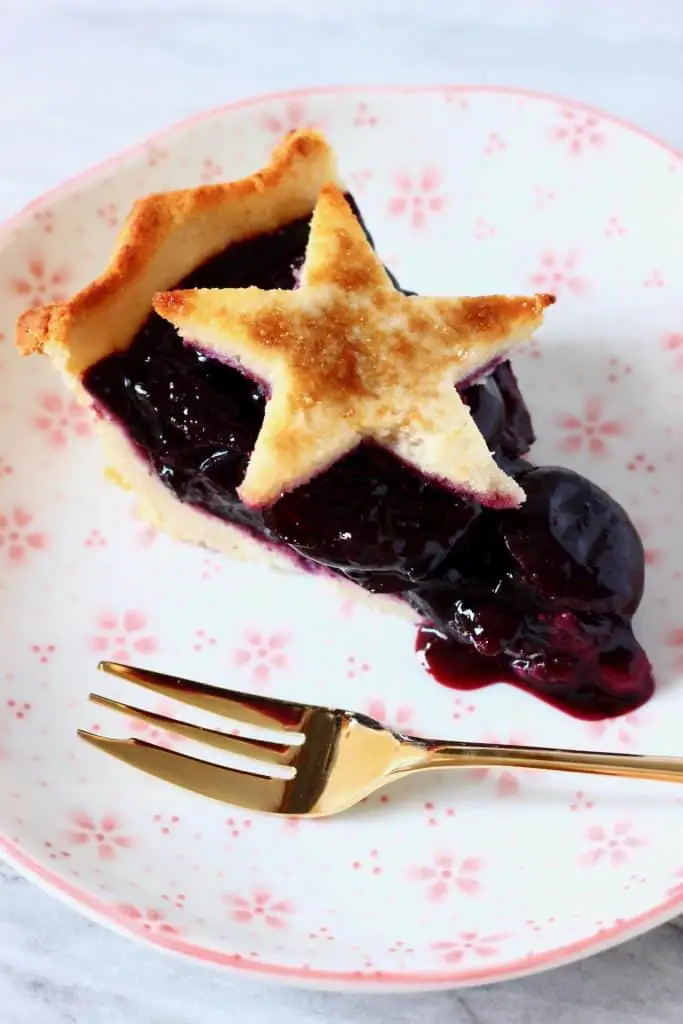
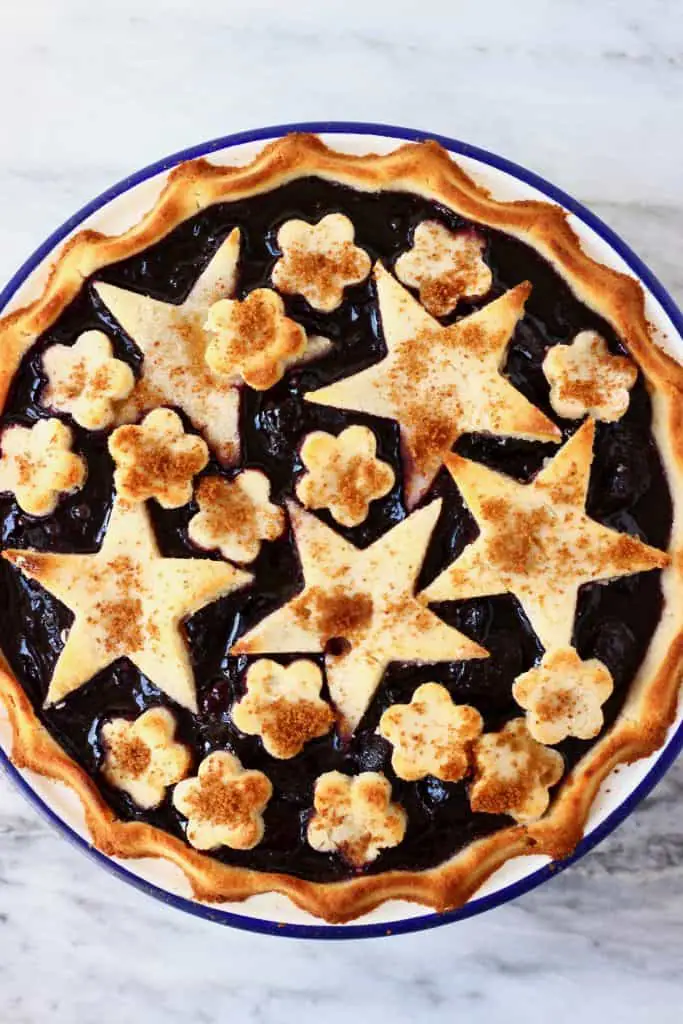
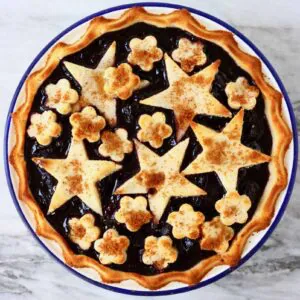
This Gluten-Free Vegan Cherry Pie is full of sweet, juicy cherries and has a crispy, flaky and "buttery" crust!
I tested this recipe multiple times and whilst it is much easier to make a fruit pie that doesn't require pre-cooking, I found that cooking the cherries first creates the most deliciously jammy filling that you just don't get if you bake raw cherries. So I'd definitely recommend taking a bit of extra time to cook them first.
What type of cherries should you use?
You can use any cherries you want - the naturally softer and juicier they are the quicker they will cook and the filling will be more jammy.
Why you'll love this Gluten-Free Vegan Cherry Pie:
- it's undetectably vegan and gluten-free
- it's filled with sweet, sticky, jammy cherries
- it's refined sugar free
- it's crispy and flaky
- it's rich and "buttery"
- it's not chewy, crumbly or dry
- it's easy to make
- the pastry dough doesn't require chilling beforehand
- you don't need to pre-bake the crust
- it's the perfect dessert for sharing!
How to make this Gluten-Free Vegan Cherry Pie
Scroll down to the bottom of the post for the full recipe including measurements and instructions.
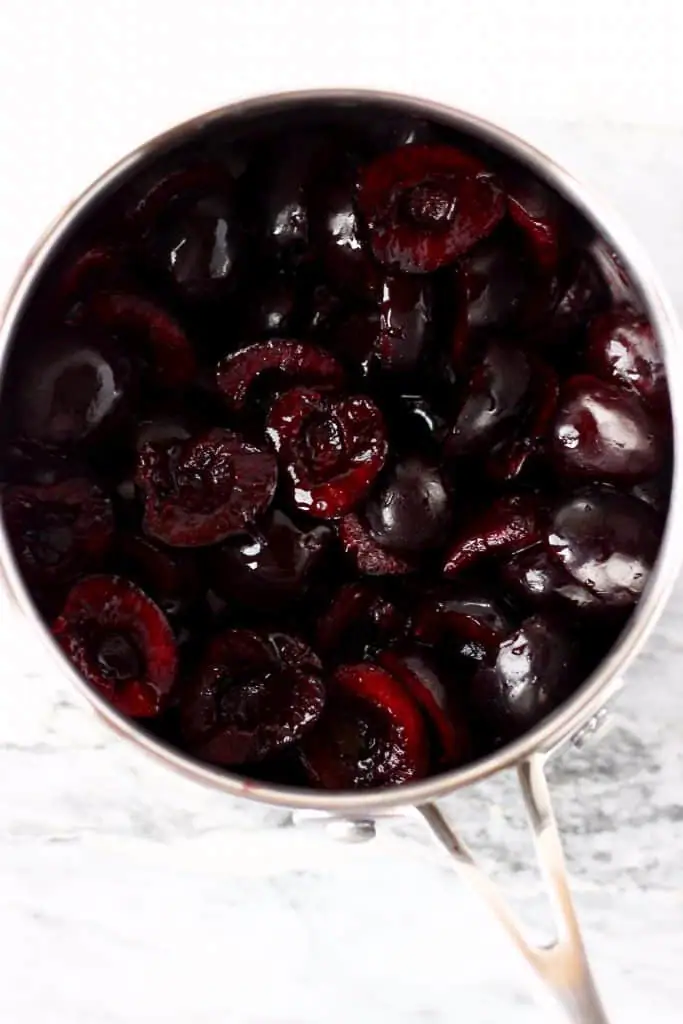
- Halve and pit the cherries.
- Place in a pan with the lemon juice and maple syrup.
- Cook on a medium heat for around 20 minutes until cherries have become soft and all the juices have been released.
- Dissolve the cornflour in a tiny splash of water in a small bowl.
- Once the cherries have cooked completely, add the cornflour and water mixture and mix well.
- Once the cherries have thickened (takes about 30 seconds), turn off the heat.
- Leave to cool completely before using for the pie filling.

-
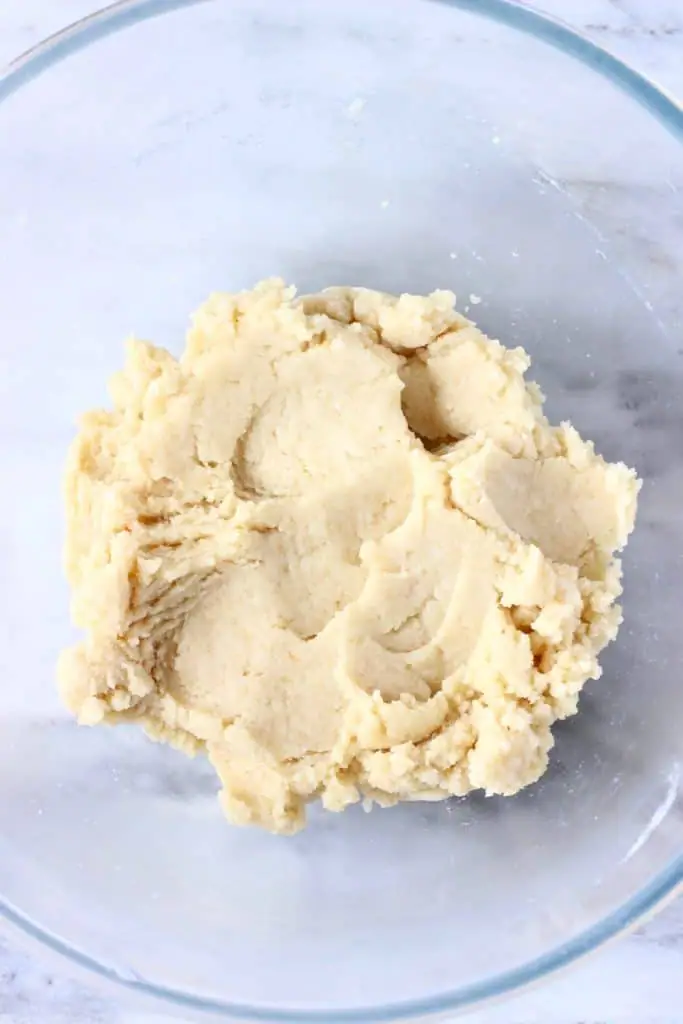
Combine all the ingredients for the pastry dough in a glass mixing bowl until it forms a firm dough.
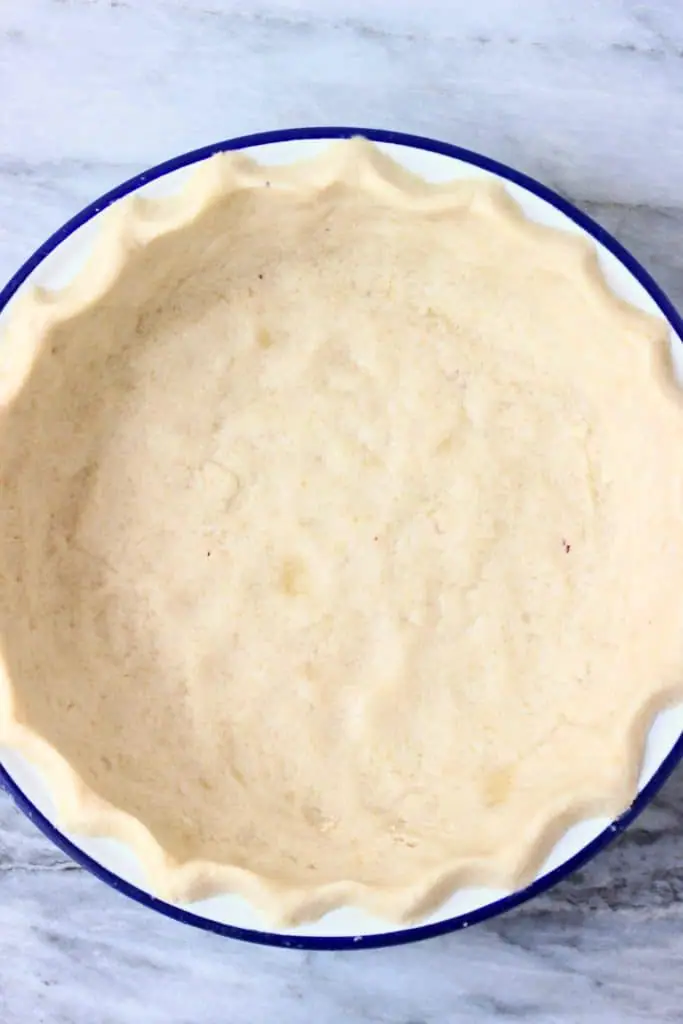
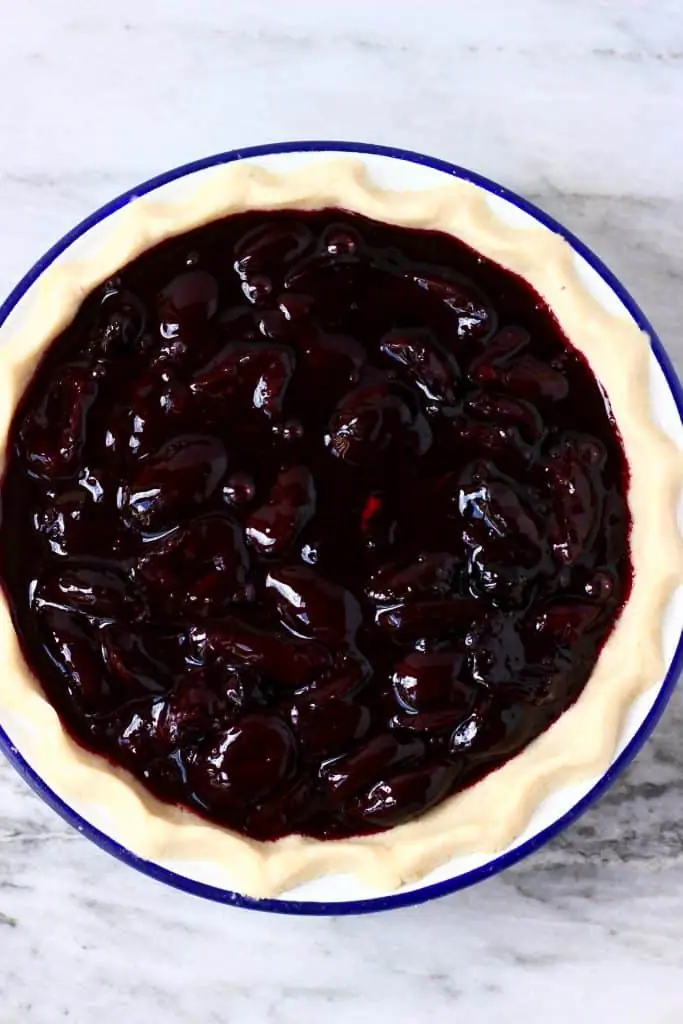
- Place two thirds of the pastry in a greased pie dish. Use your fingers to carefully press it across the bottom and up the sides of the dish.
- Making sure the cherry filling has cooled completely (otherwise it will melt the pastry!), transfer it into the pie crust.
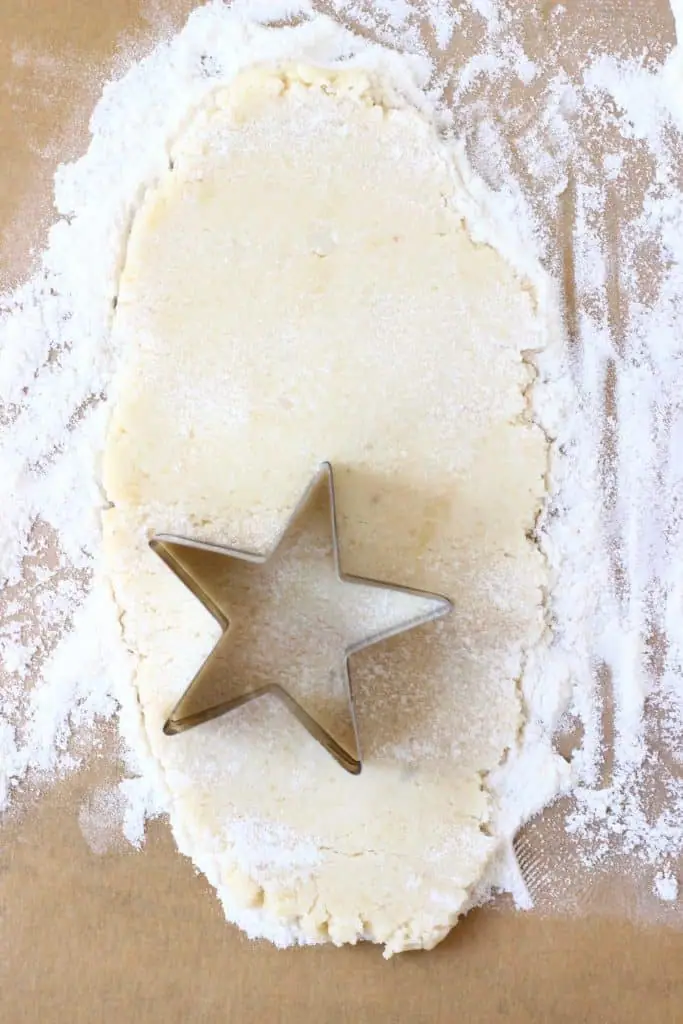
- Lay out a sheet of baking paper on a counter and use a a rolling pin to roll out the remaining pastry dough into a circular shape large enough to cover the pie - it's much easier doing it this way than using a floured surface.
- Use any shaped cookie/pastry cutter to cut shapes out of the pastry dough.
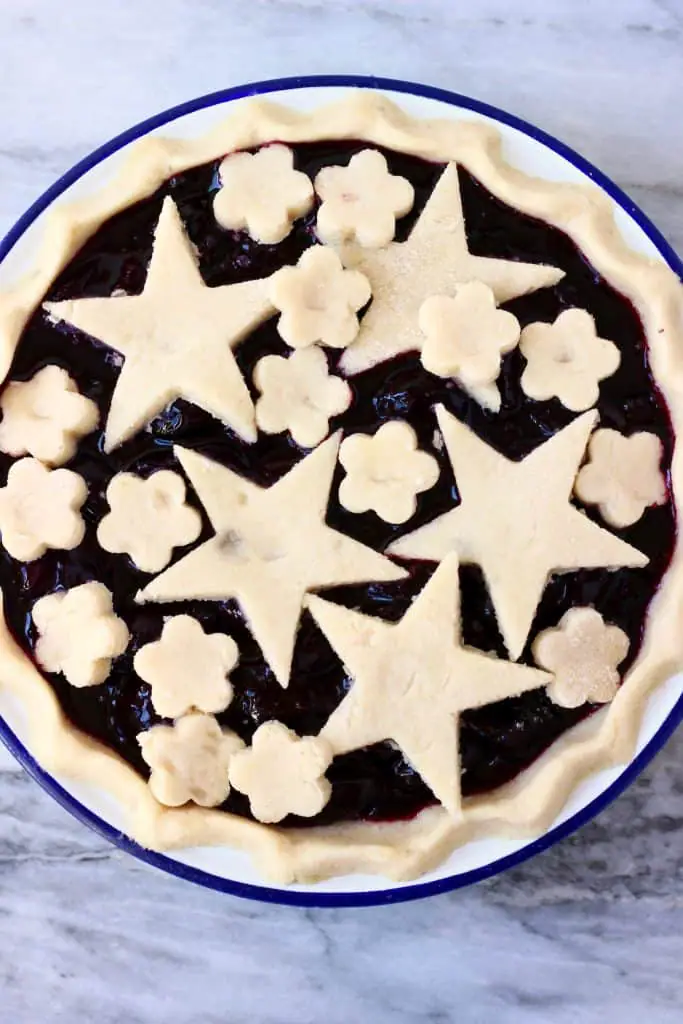
- Arrange the pastry shapes on top of the cherry filling.
- Sprinkle over coconut sugar, if desired.
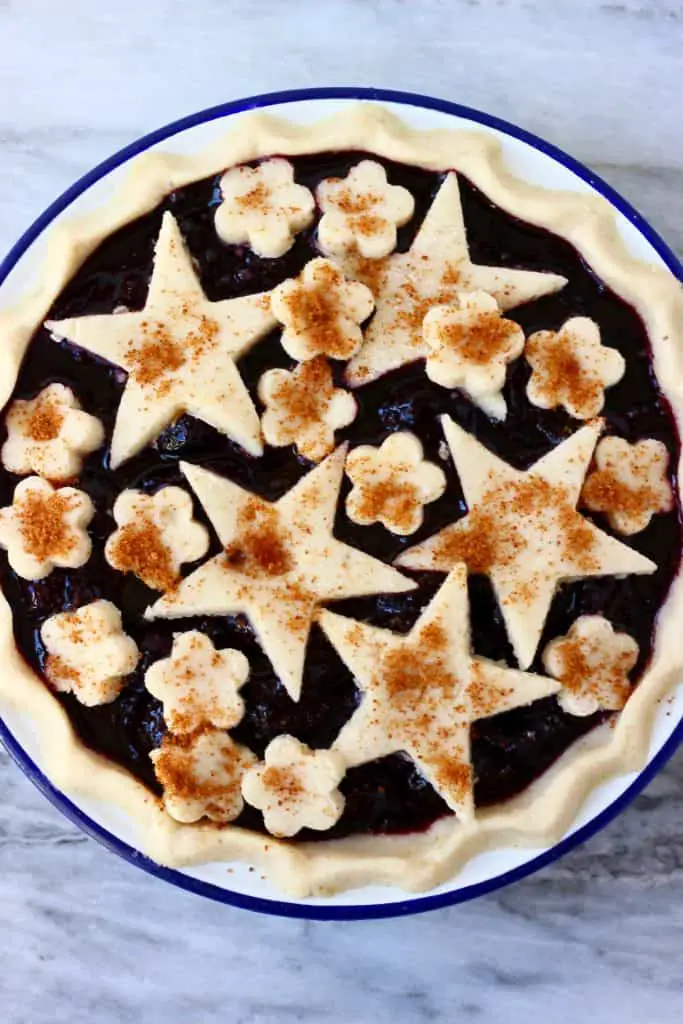
- Bake in oven for around 30 minutes, until the pastry crust is firm to the touch and golden brown.
Substitutions you can make to this recipe:
- you can use frozen or tinned cherries if you like - they will require a slightly shorter cooking time and may require you to use extra cornflour (cornstarch) depending on how much water they release
- you can substitute the cornflour (cornstarch) with tapioca flour
- you can replace the gluten-free flour with rice flour
- you can replace the gluten-free flour with plain flour if you're not gluten-free.
How long does this Gluten-Free Vegan Cherry Pie keep for?
This Cherry Pie does taste best fresh out the oven, but it keeps well covered in the fridge for up to a couple of days.
More vegan cherry recipes:
If you try out this recipe or anything else from my blog, I'd really love to hear any feedback! Please give it a rating, leave a comment, or tag a photo @rhiansrecipes #rhiansrecipes on Instagram! Thank you.
Gluten-Free Vegan Cherry Pie
Ingredients
For the cherries:
- 700 g (25 oz) fresh cherries
- 1 tablespoon lemon juice
- 5 tablespoons maple syrup (or sub any other sweetener)
- 3 teaspoons cornflour (cornstarch) (or sub tapioca starch)
For the pastry:
- 60 g (¼ cup) coconut oil
- 150 g (1 ¼ cup) ground almonds (almond meal) *
- 150 g (1 ¼ cups) gluten-free flour blend plus more for rolling (or sub rice flour, or plain all-purpose flour if not gluten-free)
- 14 tablespoons water
To decorate (optional):
- 1 teaspoon coconut sugar
Instructions
For the cherries:
- Halve and pit the cherries
- Place in a pan with the lemon juice and maple syrup
- Cook on a medium heat for around 20 minutes until cherries have become soft and all the juices have been released
- Dissolve the cornflour in a tiny splash of water in a small bowl
- Once the cherries have cooked completely, add the cornflour and water mixture and mix well
- Once the cherries have thickened (takes about 30 seconds), turn off the heat
- Leave to cool completely before using for the pie filling
For the pastry:
- Preheat the oven to 180 degrees Celsius (350 degrees Fahrenheit)
- Combine all ingredients in a large bowl along until it forms a firm dough - add the water a few tablespoons at a time so that you don’t add too much!
- Place roughly two thirds of the pastry in a greased pie dish. Use your fingers to carefully press it across the bottom and up the sides of the dish (I used a 9inch/22.5cm pie dish)
- You can use a fork or your fingers to create a pretty pattern around the edge if you like
- Making sure the cherry filling has cooled completely (otherwise it will melt the pastry!), transfer it into the pie crust
- Lay out a sheet of greaseproof baking paper on a counter. Sprinkle the surface of the paper and a rolling pin with a generous amount of flour and roll out the remaining pastry dough as thin as you can without it breaking**
- Use any shaped cookie/pastry cutter to cut shapes out of the pastry dough
- Arrange the pastry shapes on top of the cherry filling
- Sprinkle over coconut sugar, if desired
- Bake in oven for around 30 minutes, until the pastry crust is firm to the touch and golden brown
- Leave to cool a little before cutting, but tastes best served warm from the oven!
- Keeps covered in the fridge for a couple of days
Notes
What type of cherries should you use?
You can use any cherries you want - the naturally softer and juicier they are the quicker they will cook and the filling will be more jammy.Disclosure: This posts contains affiliate links to Amazon. If you purchase any of these products, a small percentage will come to me with no extra cost to you! This income will go towards the running of this blog - thank you.

Stefani
Hello!
Would you use the same amount of agave nectar if I subbed it out for the syrup? Thank you!!!
Rhian Williams
Hi - yes the same amount!
Amy
Do you not need to blind bake the bottom crust? I’m worried about it being too soggy and not cooking! Thank you
Rhian Williams
Hi! No it's okay to not blind-bake it, I think because it's gluten-free and vegan, it works slightly differently from normal pie crusts!