


Have you just set up a new WordPress site and want to go to the next step and make it look amazing? Maybe you've had your blog for a while and think it needs a visual upgrade? Well, you've come to the right place!
Let us show you how to install a Genesis theme on your website.

If you haven't got a website yet, check out our guide about how to start a WordPress blog.
Once you're up and running also be sure to read through our comprehensive list of everything you need to run a successful blog.
Note. Some of the links on this page are affiliate links, but all of these products are ones we actually use and highly recommend!
What is the Genesis Framework, and why choose one of their themes?
- The Genesis Framework is a platform upon which child themes can be installed
- The advantage of this is that Genesis can do the behind-the-scenes work of ensuring airtight security, regular updates, mobile responsiveness, search engine optimization, and blazing speed, allowing the themes to focus on design!
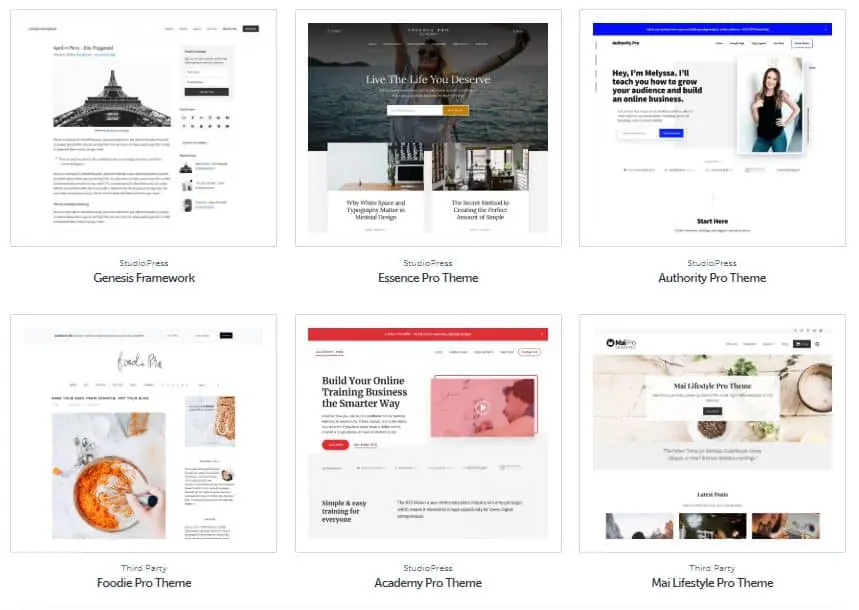
Step 1: Choose Theme
- Click on this link to start browsing the various themes on offer
- It can be difficult to choose, but play around until you find one that you like the look of and you think would suit your content
- As we're a food blog, we chose the foodie pro theme, but there are lots of other very nice ones (I personally love the look of essence pro)
- Once you have decided, click "See Details & Pricing", and then click "Buy Theme & Framework"
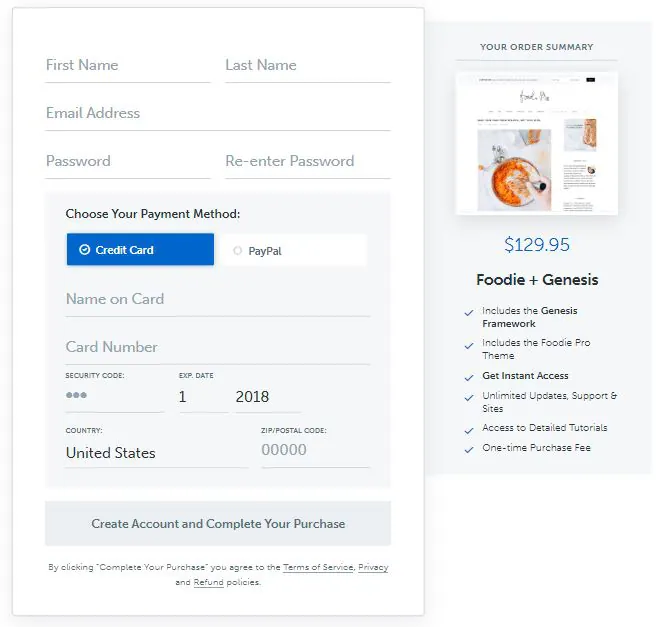
Step 2: Payment Information and Account
- You can now fill in payment information and make your StudioPress account
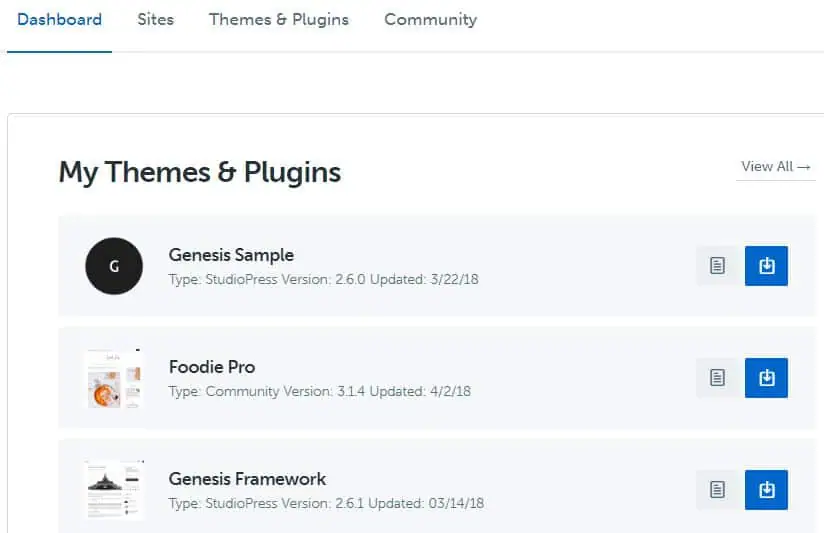
Step 3: Download Files
- Log onto your new StudioPress account and go to your "Dashboard"
- You should see the Genesis Framework and the Child Theme that you have selected
- Download both these files into your downloads folder on your computer by clicking on the blue box with the download icon
- Ensure that these files remain zipped. Sometimes on macs and safari the files are unzipped automatically so either right click to compress them or uncheck the box in safari preferences that says "open safe downloads automatically" and try again
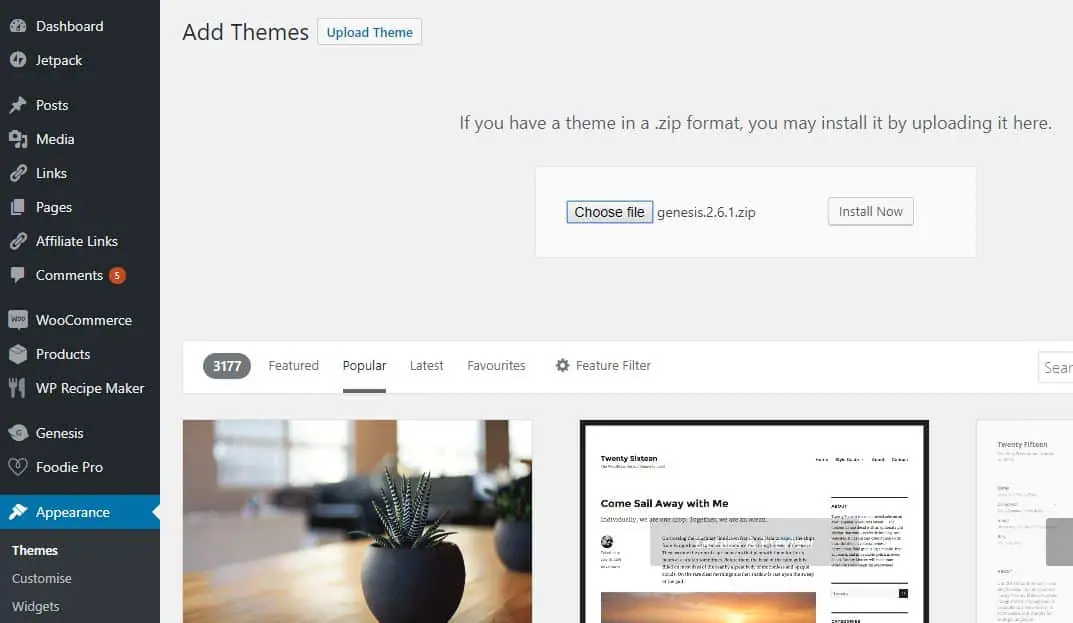
Step 4: Upload and Install the Theme
- Go to your WordPress Dashboard, click Appearance, and then Theme
- Then click Upload Theme, and Choose File
- Navigate to your downloads folder and select the Genesis Framework file, then click Install Now, and you can activate it once it's finished installing
- Follow the same instructions for the child theme file
- Note: it's very important that you install and activate the Genesis Framework file before you install the child theme file
Congratulations
- Congratulations! You have now successfully installed a Genesis Theme on your WordPress Blog!
- This is where the fun begins, as you can start configuring your new website, such as choosing fonts, colours, layouts and widgets
Remember, we have a comprehensive list of everything you need to run a successful blog on the site, so check that out for some tips on how to take your blog to the next level!


Leave a Reply