


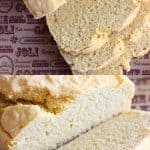
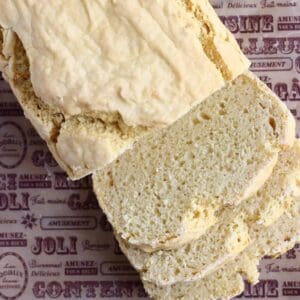
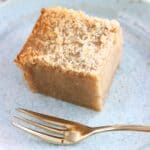
This Gluten-Free Vegan Bread is nothing like other gluten-free breads I've tried: it's soft and bendy, crusty on the outside and pillowy on the inside! It's not dry or crumbly, hard or spongy or overly chewy. It's super easy to make, no-knead, yeast-free, oil-free, nut-free and contains no added sugar. There's no kneading required, no proving time needed, it's made in one bowl and requires just 15 minutes of prep time before baking! It's also filling and nutritious, and high in protein and fibre. It slices well and is perfect for toast and sandwiches!

Ingredients
- Chickpea flour - also known as gram flour, it's made ground up chickpeas. It's cheap, nutritious, protein-rich and seriously versatile. It gives the bread a subtle nutty flavour (but doesn't taste overwhelmingly of chickpeas, don't worry!) and creates a perfectly chewy texture.
- Rice flour - balances out the slightly heavier chickpea flour and keeps the bread light and fluffy.
- Tapioca flour - helps to bind the mixture together without gluten or eggs, and stops the bread from being dry or crumbly.
- Baking powder - acts as a raising agent instead of yeast.
- Bicarbonate of soda (baking soda) - another raising agent.
- Apple cider vinegar - its acidity reacts with the alkali bicarbonate of soda to make a bubbly batter which keeps the bread soft. You can replace it with lemon juice.
- Water.
Yes - if you don't want to use chickpea flour, you can find similar recipes I've posted using different flours instead. You might want to check out my rice flour bread recipe, buckwheat flour bread recipe or almond flour bread recipe. Or browse the whole bread recipes collection!
Yes - if you don't have rice flour you can substitute it with an all-purpose gluten-free flour blend and leave out the tapioca.
I have also tried replacing the rice flour with buckwheat flour, and while the recipe worked, the texture was much heavier and it had a stronger flavour. I would definitely recommend rice flour over buckwheat flour for this reason!
Yes - as long as you replace the rice flour with all-purpose gluten-free flour blend.
No! The purpose of the tapioca is to bind it together so you don't need to add xanthan gum too. If you don't have tapioca, I wouldn't recommend replacing it with xanthan gum either - just use an all-purpose gluten-free flour blend in place of the rice flour.

How to make this recipe
Scroll down to the bottom of the post to see the full recipe.
- Mix together all the ingredients in a glass mixing bowl.

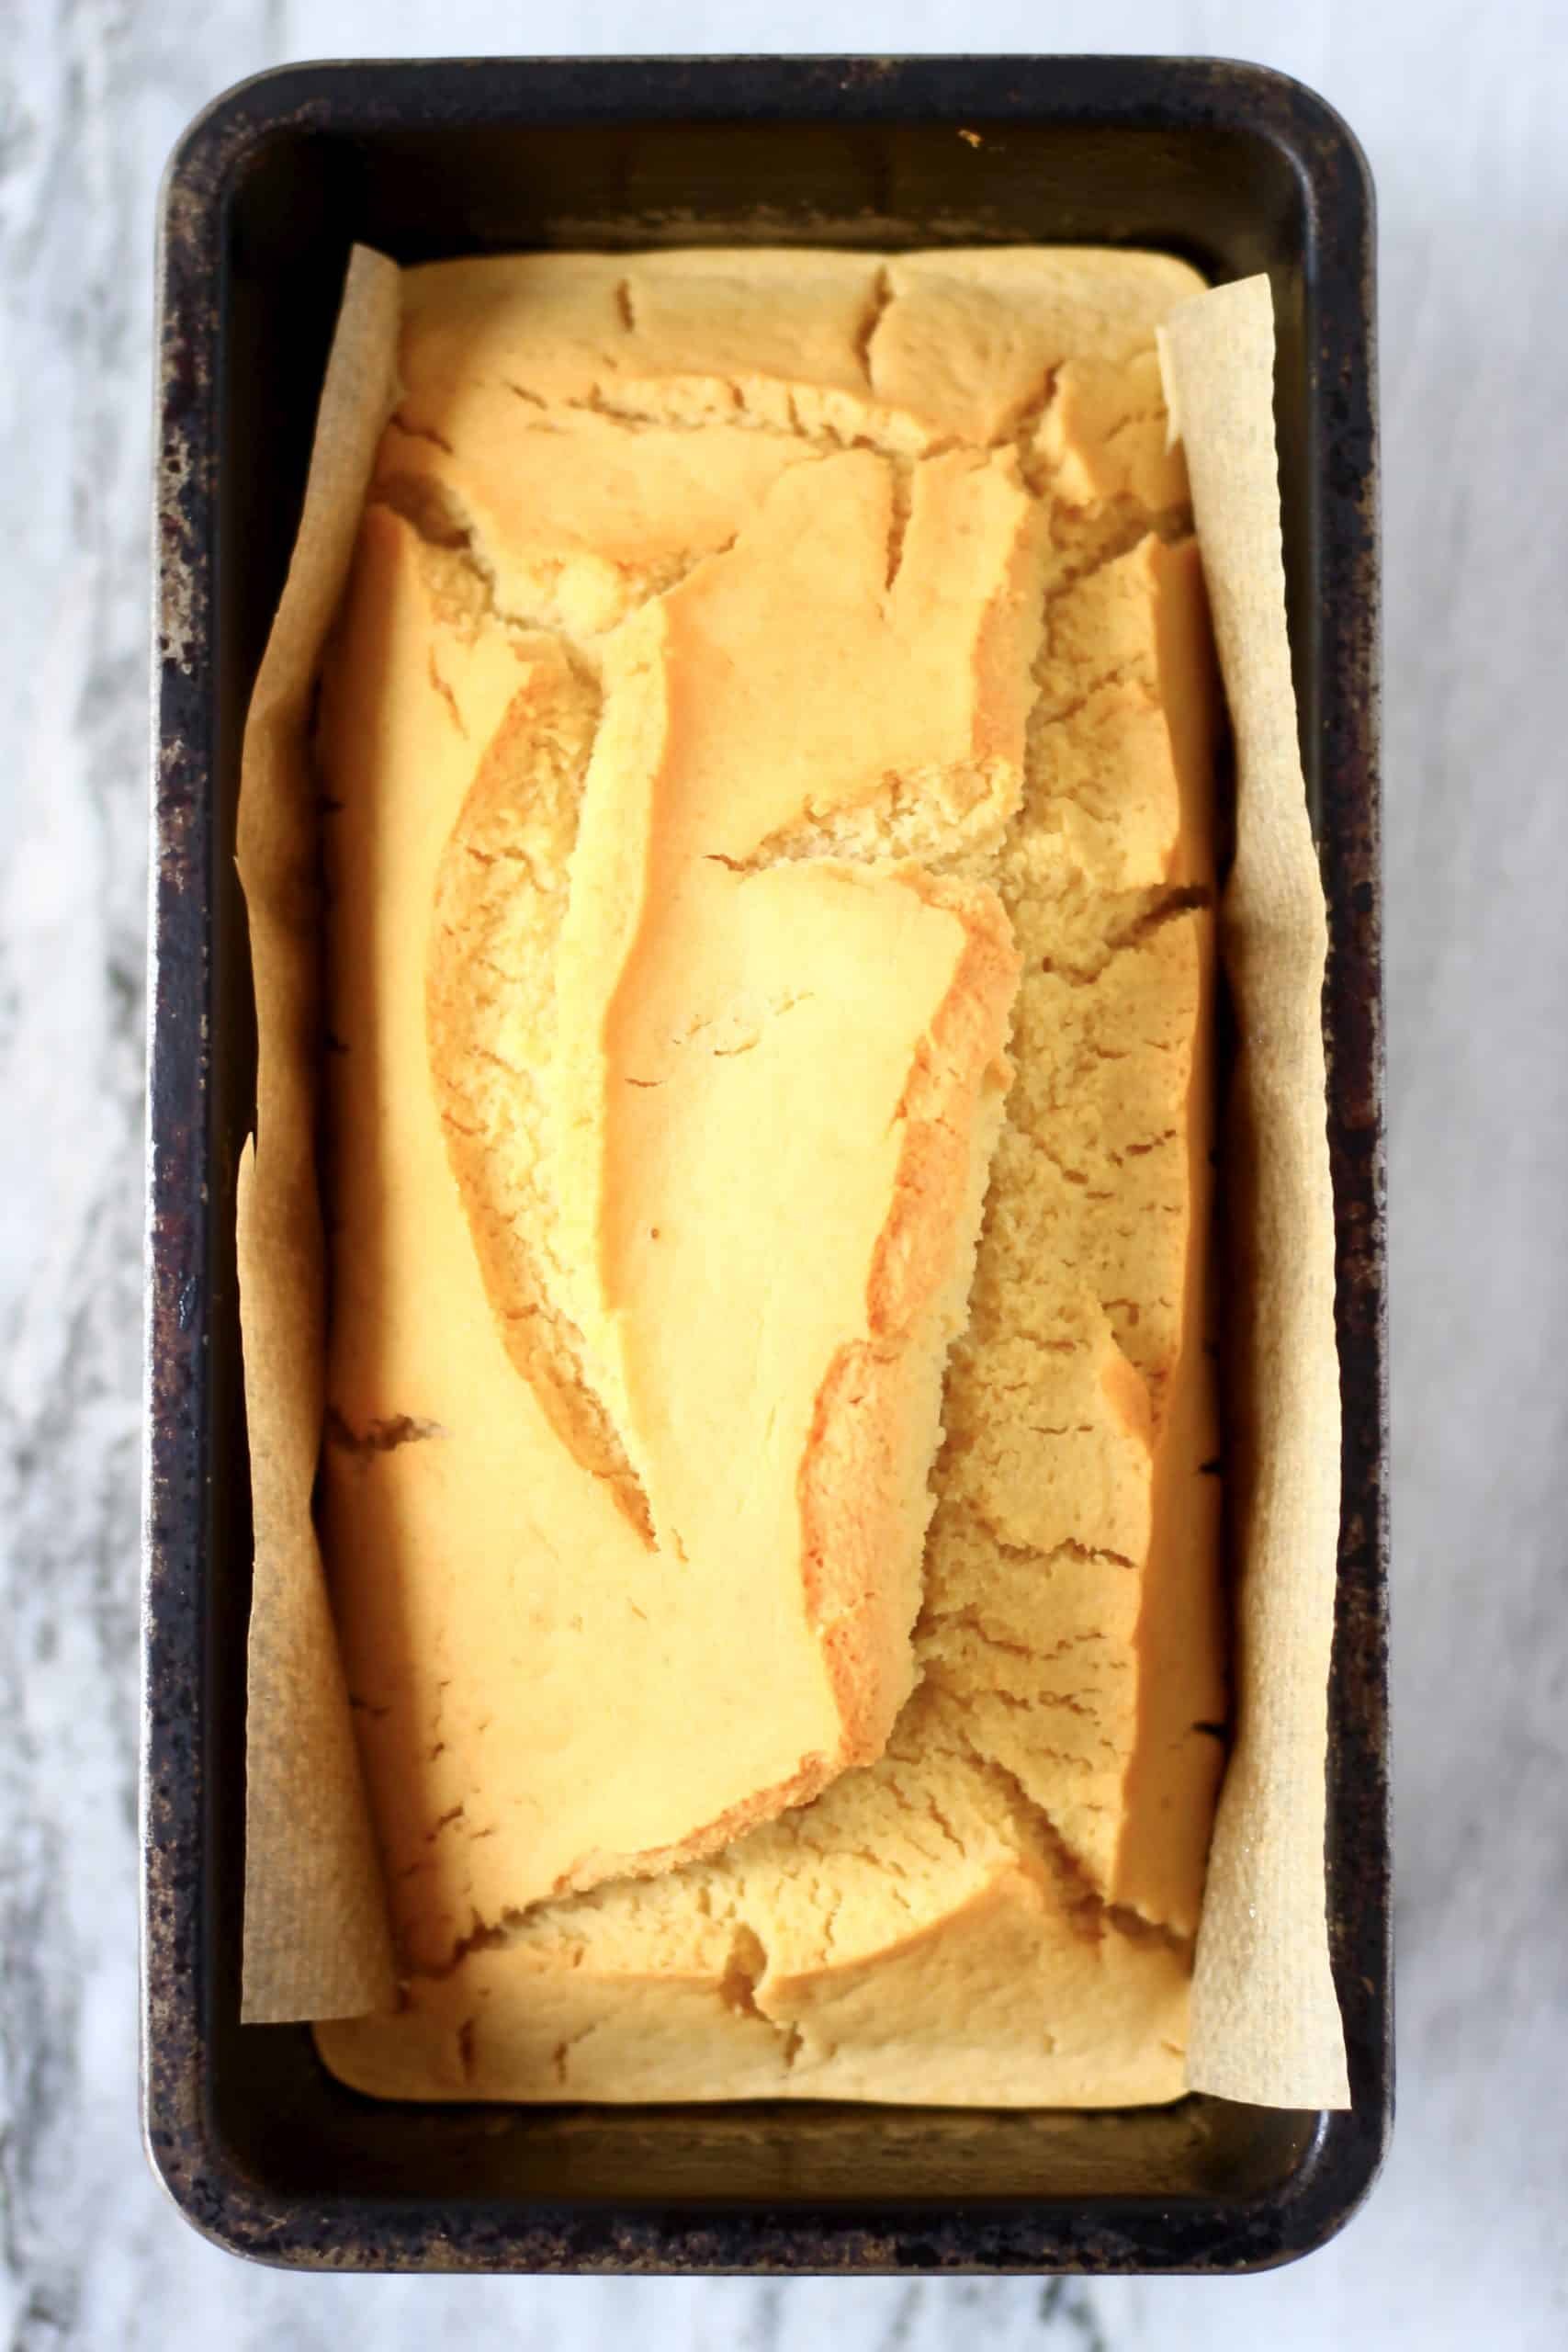
- Transfer the batter into a one-pound loaf tin.
Tip: Line the tin with greased baking paper to make the bread easier to remove after.

- Bake in the oven for around 50 minutes.
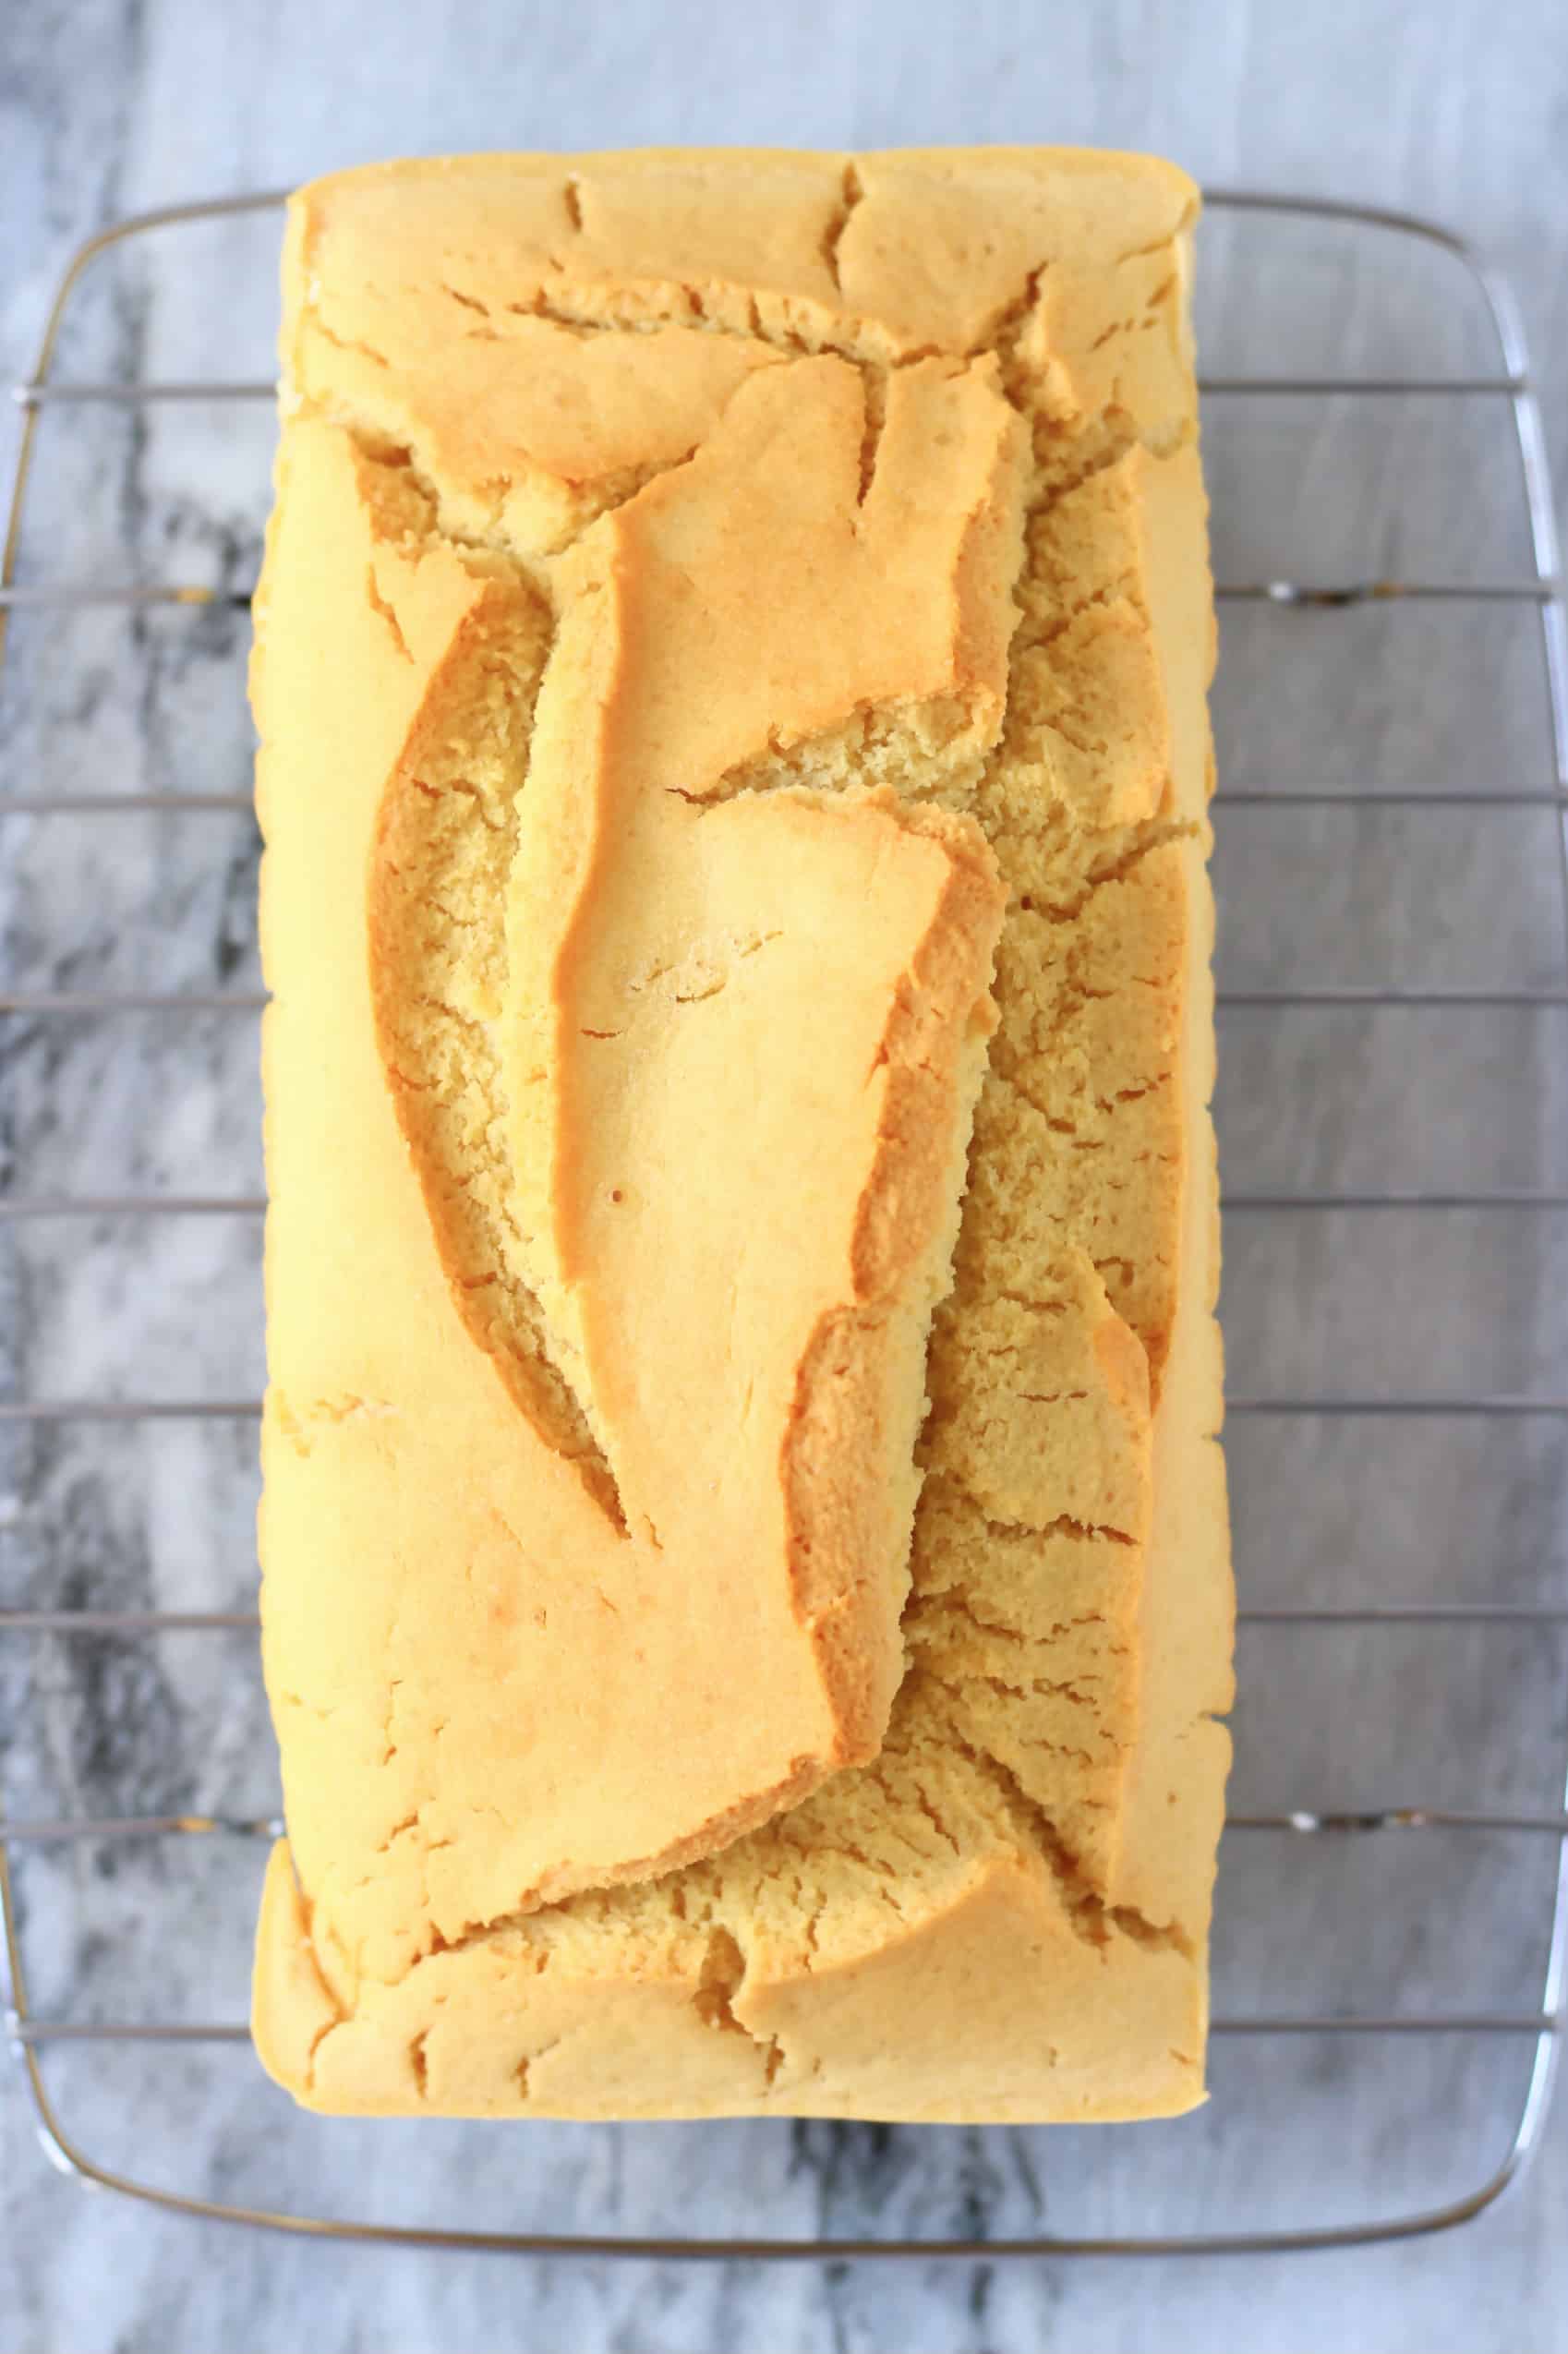
- Transfer the loaf to a cooling rack to cool down on completely before packing away to store because otherwise the steam from the warm bread will get trapped and you'll end up with soggy bread, which nobody wants!
- It also needs to be left to cool completely before slicing.

Tips for making this recipe
- Make sure to use the right amount of baking powder - 4 teaspoons! This may seem like a lot, but you need to use this amount to ensure the bread turns out light and fluffy.
- The apple cider vinegar is crucial as its acidity reacts with the alkali bicarbonate of soda (baking soda) to create a bubbly batter and fluffy bread.
- The batter might look more runny than you expect, but a lot of liquid is needed as chickpea flour absorbs a lot of moisture.
- Make sure that you line your one-pound loaf tin with baking paper and that you grease the baking paper with a little oil, to make sure the bread can be removed easily from the tin.
- You'll know when the bread is done when an inserted skewer comes out dry - it will probably have a few crumbs stuck to it, but if it comes out wet then the bread isn't done.
- If you've kept your bread in the oven for the right amount of time and it's still not done in the centre and the outside is becoming hard/burnt, then I would recommend covering it with a piece of baking paper to prevent the outside from becoming burnt, and continuing to bake it until an inserted skewer comes out dry.
Ingredients you can add to the dough
- Mixed seeds.
- Dried fruit such as dried cranberries, raisins, chopped dates etc.
- You can make it more savoury by adding grated garlic, chopped olives or sun-dried tomatoes!

How long does it keep for?
This Gluten-Free Vegan Bread keeps well covered in the fridge for a good few days. If not eaten on the day it's made, it's best toasted before eating.
Can you freeze it?
If you're freezing it, you can just slice it up and put the whole thing in the freezer. Then when you want to eat it you can just pop the slices of bread in the toaster straight from frozen.
Serving suggestions
This bread is so delicious on its own topped with some coconut oil or nut butter and fruity jam, but it's also perfect for sandwiches. Here are some of my favourites:
- Vegan Grilled Cheese.
- White Bean "Tuna" Salad Sandwich.
- Chickpea Curry Salad Sandwich.
- Chickpea Mayonnaise Salad Sandwich.
- Hummus Toasted Sandwich.

Similar recipes
- Gluten-Free Vegan Seeded Buckwheat Bread
- Gluten-Free Vegan Irish Soda Bread
- Gluten-Free Vegan Wraps
- Gluten-Free Vegan Rice Flour Bread
- Gluten-Free Vegan Bagels
- Gluten-Free Vegan Almond Bread
- Gluten-Free Vegan Oat Bread
- Gluten-Free Vegan Cornbread
If you try out this recipe or anything else from my blog, I'd really love to hear any feedback! Please give it a rating, leave a comment, or tag a photo @rhiansrecipes #rhiansrecipes on Instagram! Thank you.
Watch how to make this recipe
Gluten-Free Vegan Bread
Ingredients
- 150 g (1 ¼ cups) chickpea (gram) flour
- 150 g (1 ¼ cups) rice flour
- 2 tablespoons tapioca flour
- 4 teaspoons baking powder (ensure gluten-free if necessary)
- ¼ teaspoon bicarbonate of soda (baking soda)
- ¼ teaspoon salt (to taste)
- 310 ml (1 ⅓ cup) water
- 1 tablespoon apple cider vinegar (ensure gluten-free if necessary)
Instructions
- Preheat the oven to 180 degrees Celsius (350 degrees Fahrenheit).
- Place the chickpea flour, rice flour, tapioca flour, baking powder, bicarbonate of soda and salt in a large bowl and mix well.
- Add the water and vinegar and mix again.
- Transfer the mixture to a loaf tin (I used a one-pound loaf tin) lined with greased baking paper.
- Bake in the oven for around 50 minutes, until risen and an inserted skewer comes out dry - it will probably have a few crumbs stuck to it, but if it comes out wet then the bread isn't done.
- Leave to cool on a wire rack before putting away to store.
- Keeps well in the fridge for up to a few days.
Video
Notes
- The batter might look more runny than you expect, but a lot of liquid is needed as chickpea flour absorbs a lot of moisture.
- Make sure that you line your
one-pound loaf tin with
baking paper and that you grease the baking paper with a little oil, to make sure the bread can be removed easily from the tin.
- If you've kept your bread in the oven for the right amount of time and it's still not done in the centre and the outside is becoming hard/burnt, then I would recommend covering it with a piece of baking paper to prevent the outside from becoming burnt, and and continuing to bake it until an inserted skewer comes out dry - it will probably have a few crumbs stuck to it, but if it comes out wet then the bread isn't done.
- Make sure to leave the bread to cool down completely on a
cooling rack before packing it away to store because otherwise the steam from the warm bread will get trapped and you'll end up with soggy bread, which nobody wants!
- It keeps well covered in the fridge for a good few days. If not eaten on the day it's made, it's best toasted before eating.
- If you're freezing it, you can just slice it up and put the whole thing in the freezer. Then when you want to eat it you can just pop the slices of bread in the toaster straight from frozen.
Disclosure: This posts contains affiliate links to Amazon. If you purchase any of these products, a small percentage will come to me with no extra cost to you! This income will go towards the running of this blog - thank you.

Anonymous
Yum!
Rhian Williams
Thank you!
Mary
Hi! I really liked this. It took a very long time to cook, but once it was done, it was very tasty. Quite dense on the inside, but the flavours were all there. I loved the crispy outer shell. I think it took longer than yours because I used a glass pan. But that’s okay, I was in no rush. It was so delicious. It would be really good with some hummus spread, and topped with pumpkin seeds and maybe capers. Or avocado and thinly sliced red onion. But I used rhubarb jam. And I still loved it. Thank you for sharing.
Rhian Williams
Thank you so much for your feedback! Your topping ideas sound delicious!
vinicius
Hi there, A regular question here. What is the difference between bicarbonate of soda/baking soda, and baking powder? A. Baking soda = bicarbonate of soda (Alkaline). Baking powder = Bicarbonate of soda + cream of tartar. ( alkaline + Acid) This is about balancing an alkaline with an acid when you use soda alone you usually use something like buttermilk or yogurt to balance it. Gemma 🙂
Rhian Williams
The recipe starts by making a vegan 'buttermilk' using vinegar and plant-based milk, which is acidic! Hope that helps
Tracy
I made this and I'm very happy with it, the only change I made was the amount of water I put in.
I only used 2 tablespoons as I thought he mix looked right.
What's great about this recipe is theirs no sugar or yeast , which I don't seem to get on with.
Rhian Williams
Hi Tracy, I'm glad to hear that thank you! And thanks for sharing about your substitutions!
Linda
I just stuck my 4th loaf in the oven and anxiously await the taste testing session. :o) Thank you for sharing this recipe. It's the only one I've tried thus far that I've been able to have luck with. I also used a glass loaf pan, as someone else mentioned, and added 10 minutes to the baking time. I didn't do that the first time and it was much more crumbly and a bit too moist. Second time, with the added baking time, it sliced much nicer, wasn't nearly as crumbly, and tasted so freakin' good! Third time I added about a 1/2 tsp. more baking powder and extra salt, along with the added baking time, and BOOM! There's g/f vegan bread perfection on my table and I'm so happy I could cry. This next loaf is gonna rock my world...again. Hugs and gratitude to you!
Rhian Williams
Hi Linda. Thanks for your comment, really happy to hear that! And thank you for sharing your substitutions too, really helpful to know 🙂