


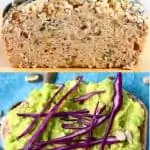
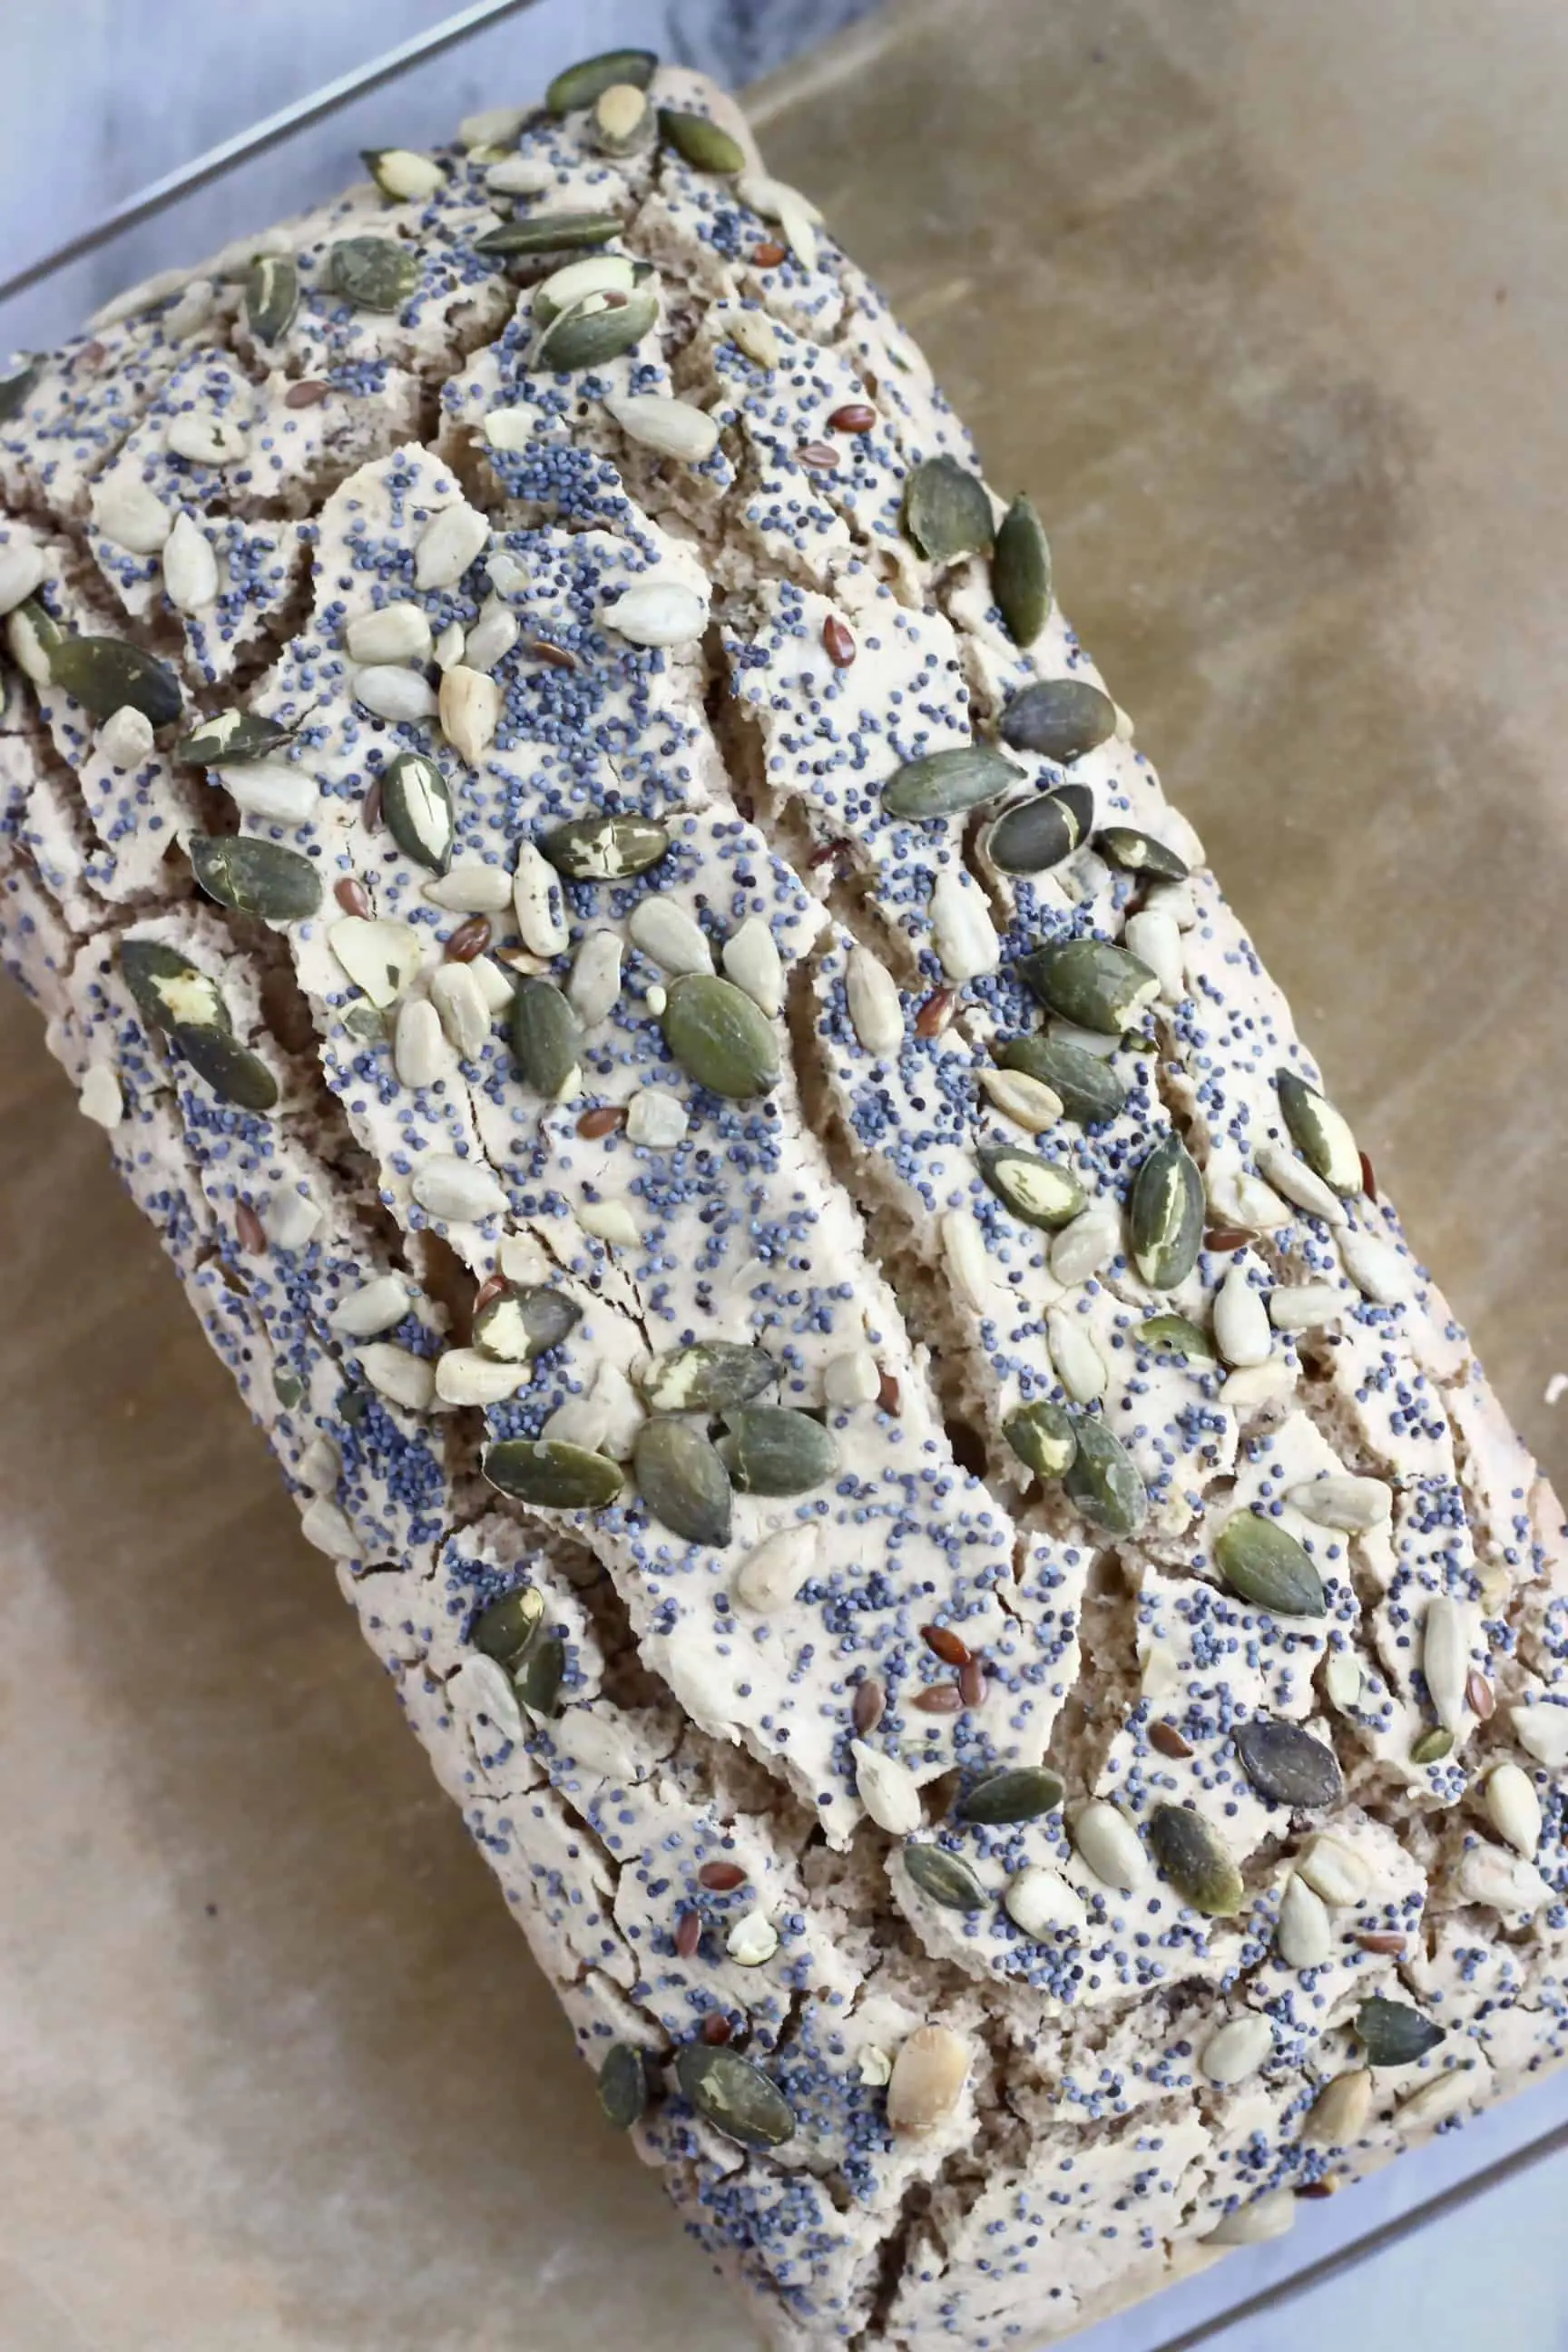
This Gluten-Free Vegan Seeded Buckwheat Bread is yeast-free and no-knead, oil-free, free from sugar and nut-free and so easy to make! It has a savoury, nutty flavour and a crunchy and toasty top because of the seeds. It's a good source of protein and fibre, filling and nutritious and perfect for toast and sandwiches!
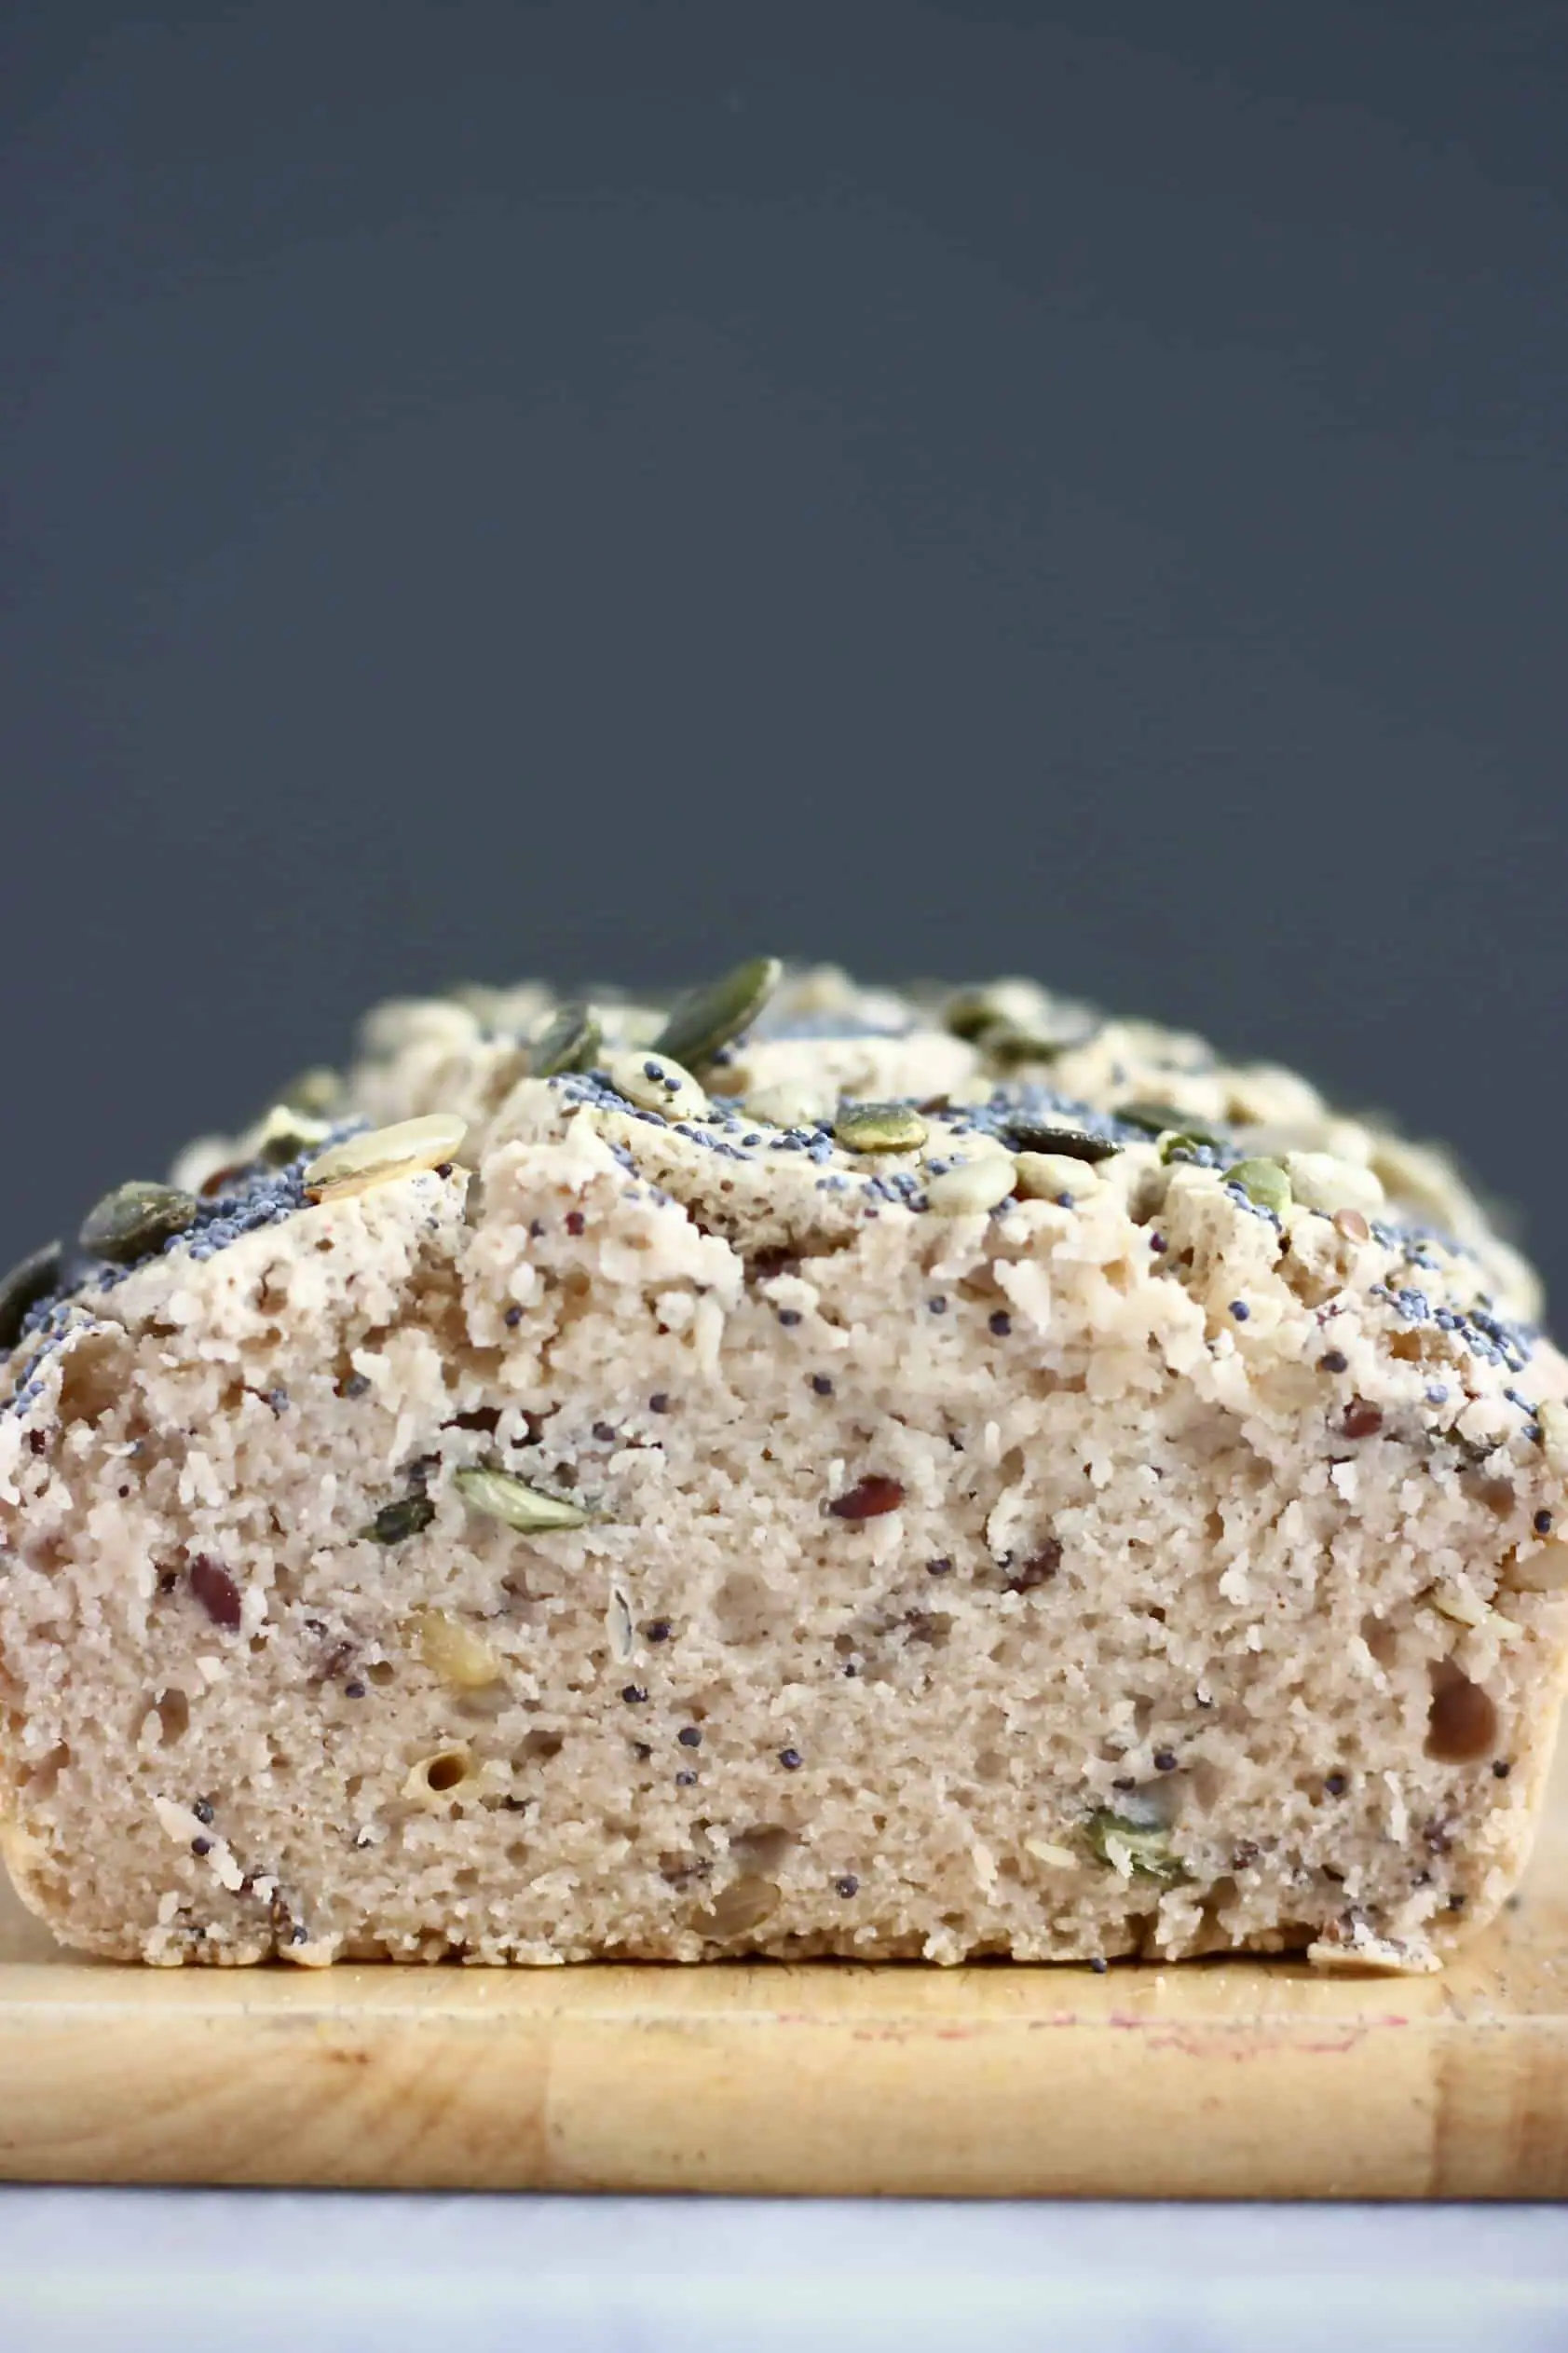
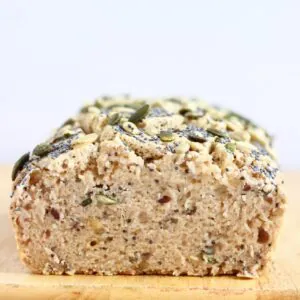
I'm so excited to be sharing another Gluten-Free Vegan Bread recipe! This one was inspired by my one using chickpea flour, but is made using buckwheat and filled with crunchy, nutty seeds. It's definitely not hard, dry or crumbly, but instead soft and bendy with a crusty exterior.
This recipe came about when I tried making a grain-free bread recipe using a mixture of buckwheat flour and chickpea flour, but it turned out to be too heavy.
I then decided to replace the chickpea flour with rice flour, but using half buckwheat flour and half rice flour still made the bread a little too heavy, both in terms of weight and texture. It was also a little dry and crumbly, and the buckwheat flavour was a bit overpowering for my liking.
So, I decided to use a smaller ratio of buckwheat flour to rice flour, which gives a milder flavour and creates a lighter texture. Adding a little tapioca flour adds sponginess and keeps the bread fluffy.
Important tip: The flavour of this bread changes drastically depending on the type of buckwheat flour you use. Read on for more information!
What type of buckwheat flour should you use?
After experimenting with various different brands of buckwheat flour, I realised that using a good-quality organic buckwheat flour such as this one made all the difference. For some reason, the buckwheat flavour was less strong, making the bread taste much better!
Tip: Not all buckwheat flours are gluten-free, as some can be contaminated with gluten in the production process. So, if it's necessary for you to be gluten-free, make sure the one you buy is certified gluten-free.
This recipe is made using a special method, which I discovered would work well for yeast-free breads while I was testing a gluten-free vegan baguette recipe: oven steaming.
How do you steam this bread in the oven?
Steaming bread in the oven might sound complicated, but it's super easy! All you need to do is bake it in the oven with a baking dish filled with water. The water from the baking dish will release steam in the hot oven and create a humid environment for the bread to bake.
What is the point of oven steaming?
Baking bread in a steamy, humid environment creates a doughy texture, meaning it doesn't fall apart when slicing, and a super crispy crust. It also creates a better flavour!
Tips for steaming bread in the oven
- Make sure to add boiling water to the baking dish.
- Place the bread on a higher rack in the oven and place the baking dish of water on the lower rack.
- If the water in the baking dish all runs out during the baking process, make sure to refill it.
- Be VERY CAREFUL when opening the oven door to remove the bread, because a lot of HOT STEAM will escape from the oven and you might burn yourself.
- To prevent this from happening, open the oven door first, then step back until all the hot steam has escaped from the oven before putting your hands inside to remove the bread. Also, make sure to wear oven gloves and a long-sleeved shirt.
- Make sure to leave the bread to cool completely before slicing.
How to make this recipe
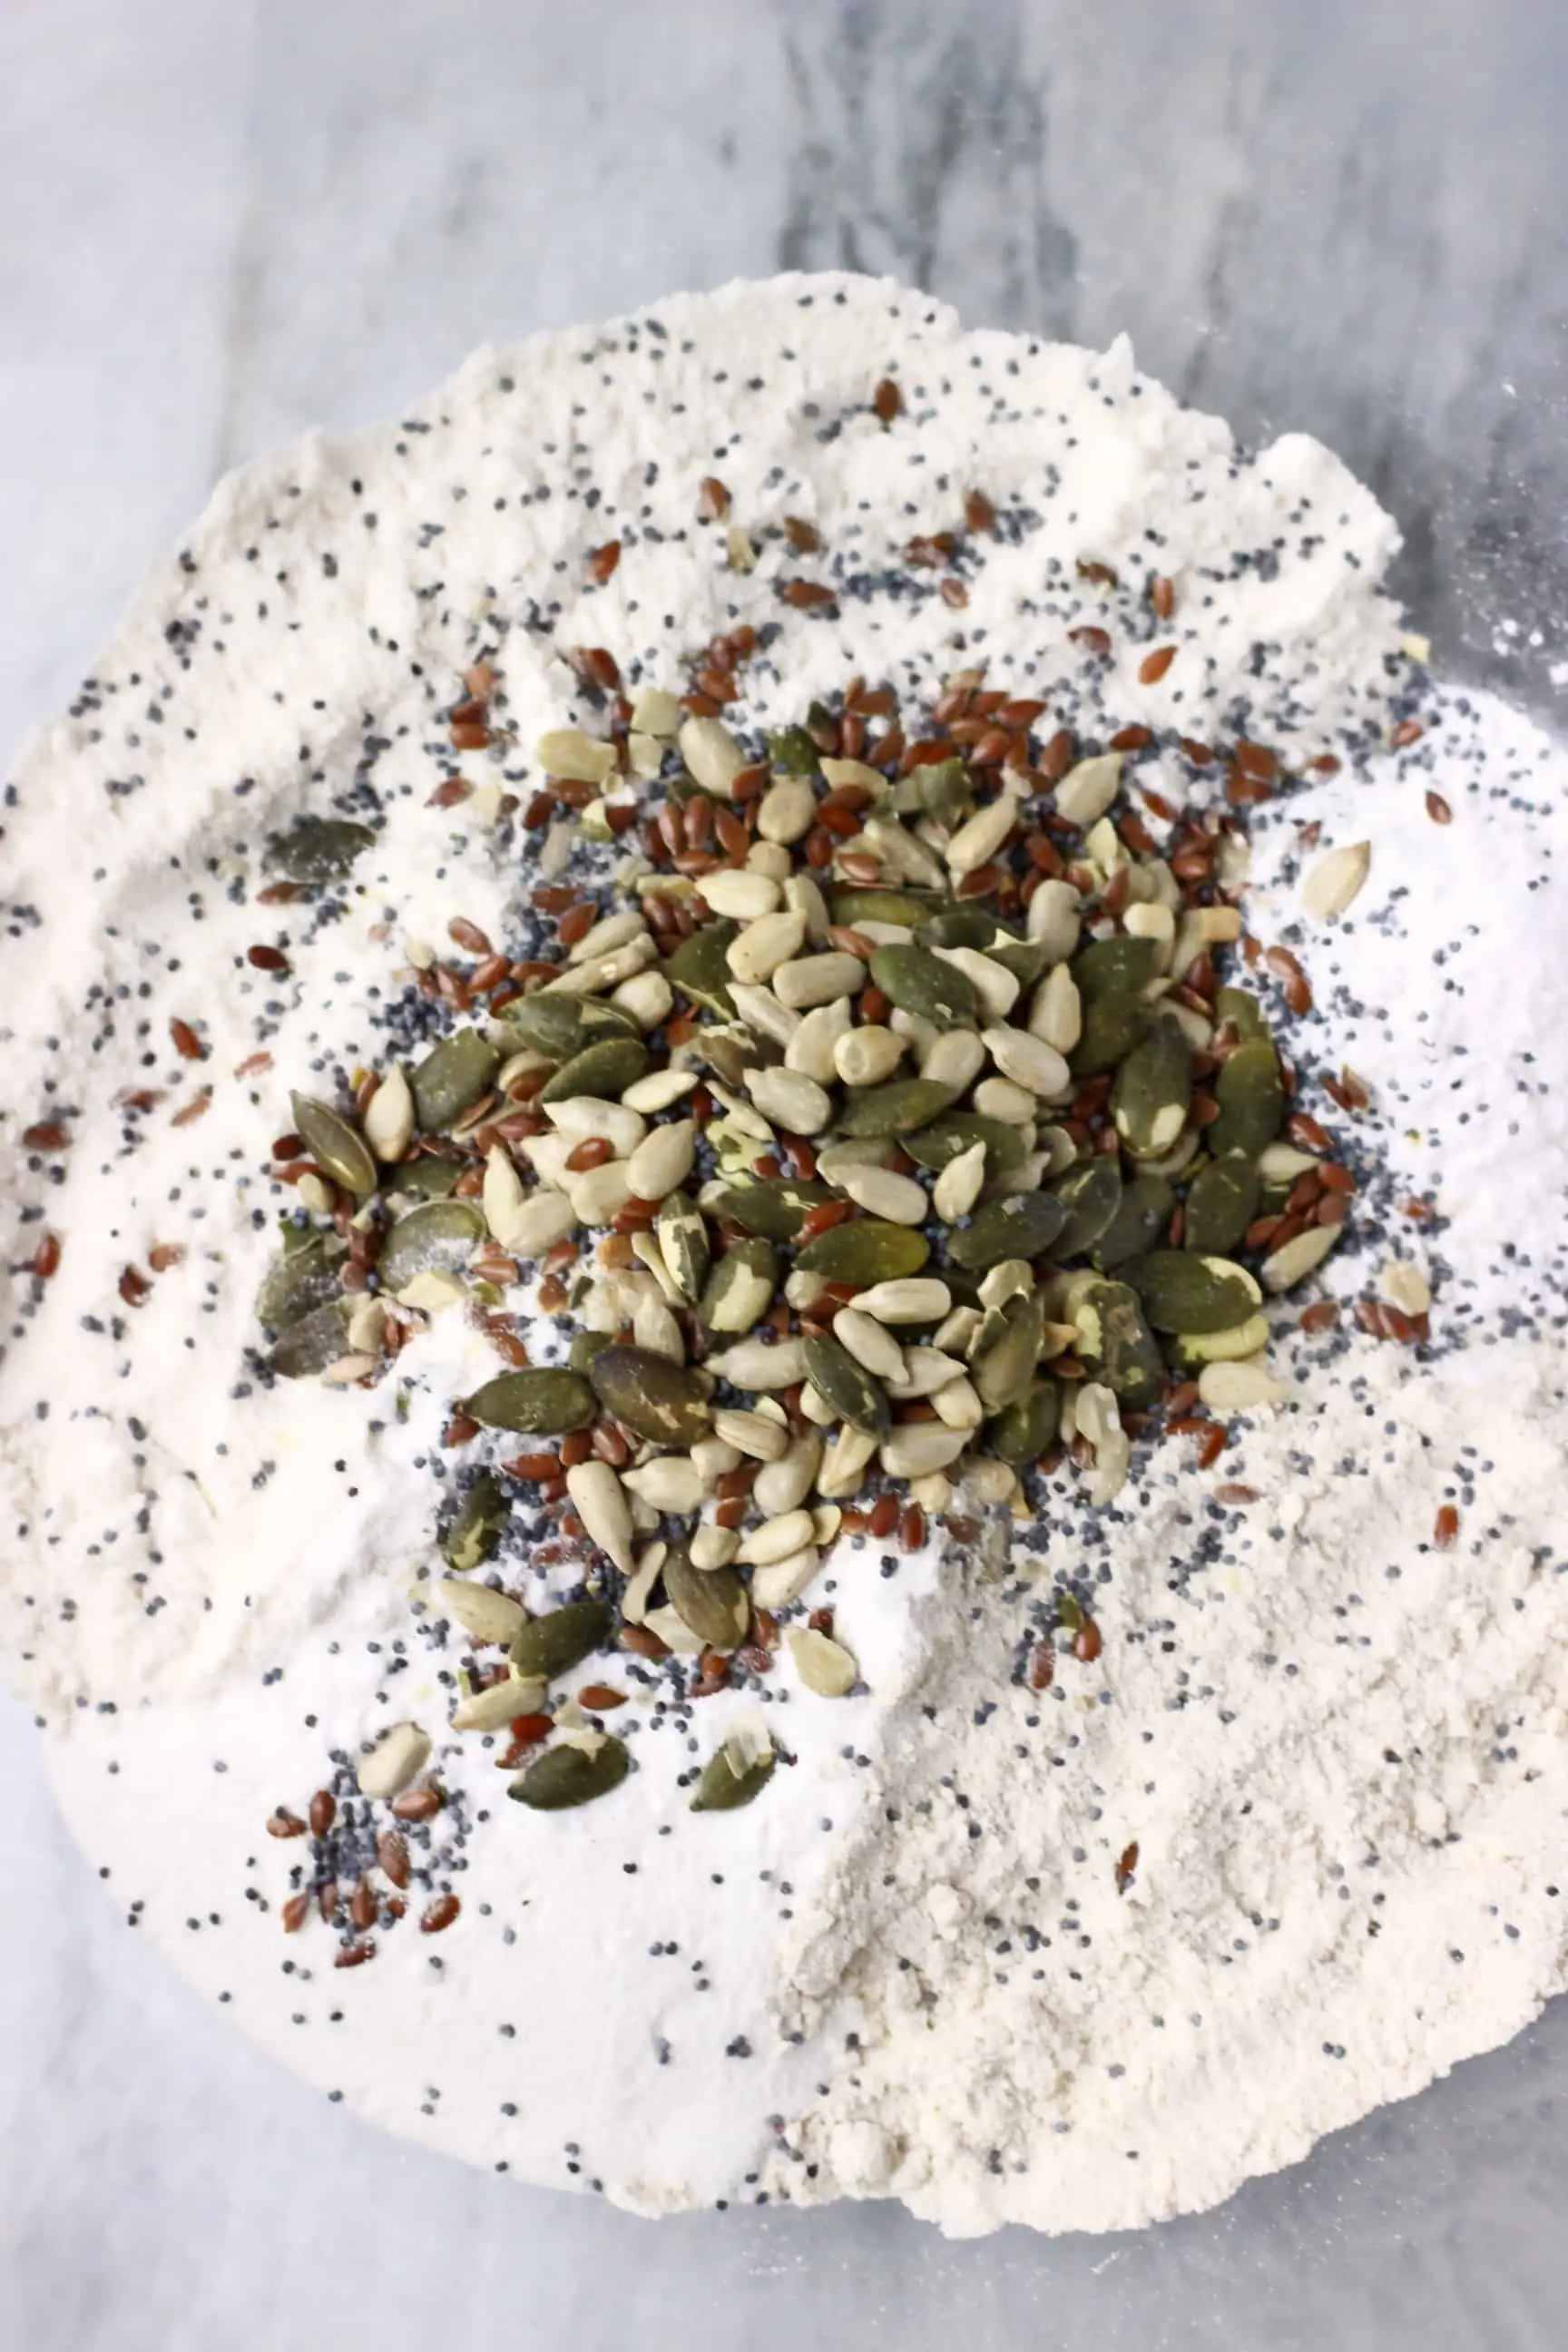
- Place all the ingredients in a glass mixing bowl and mix well.
Tip: Use a measuring jug to measure out the plant-based milk and water.
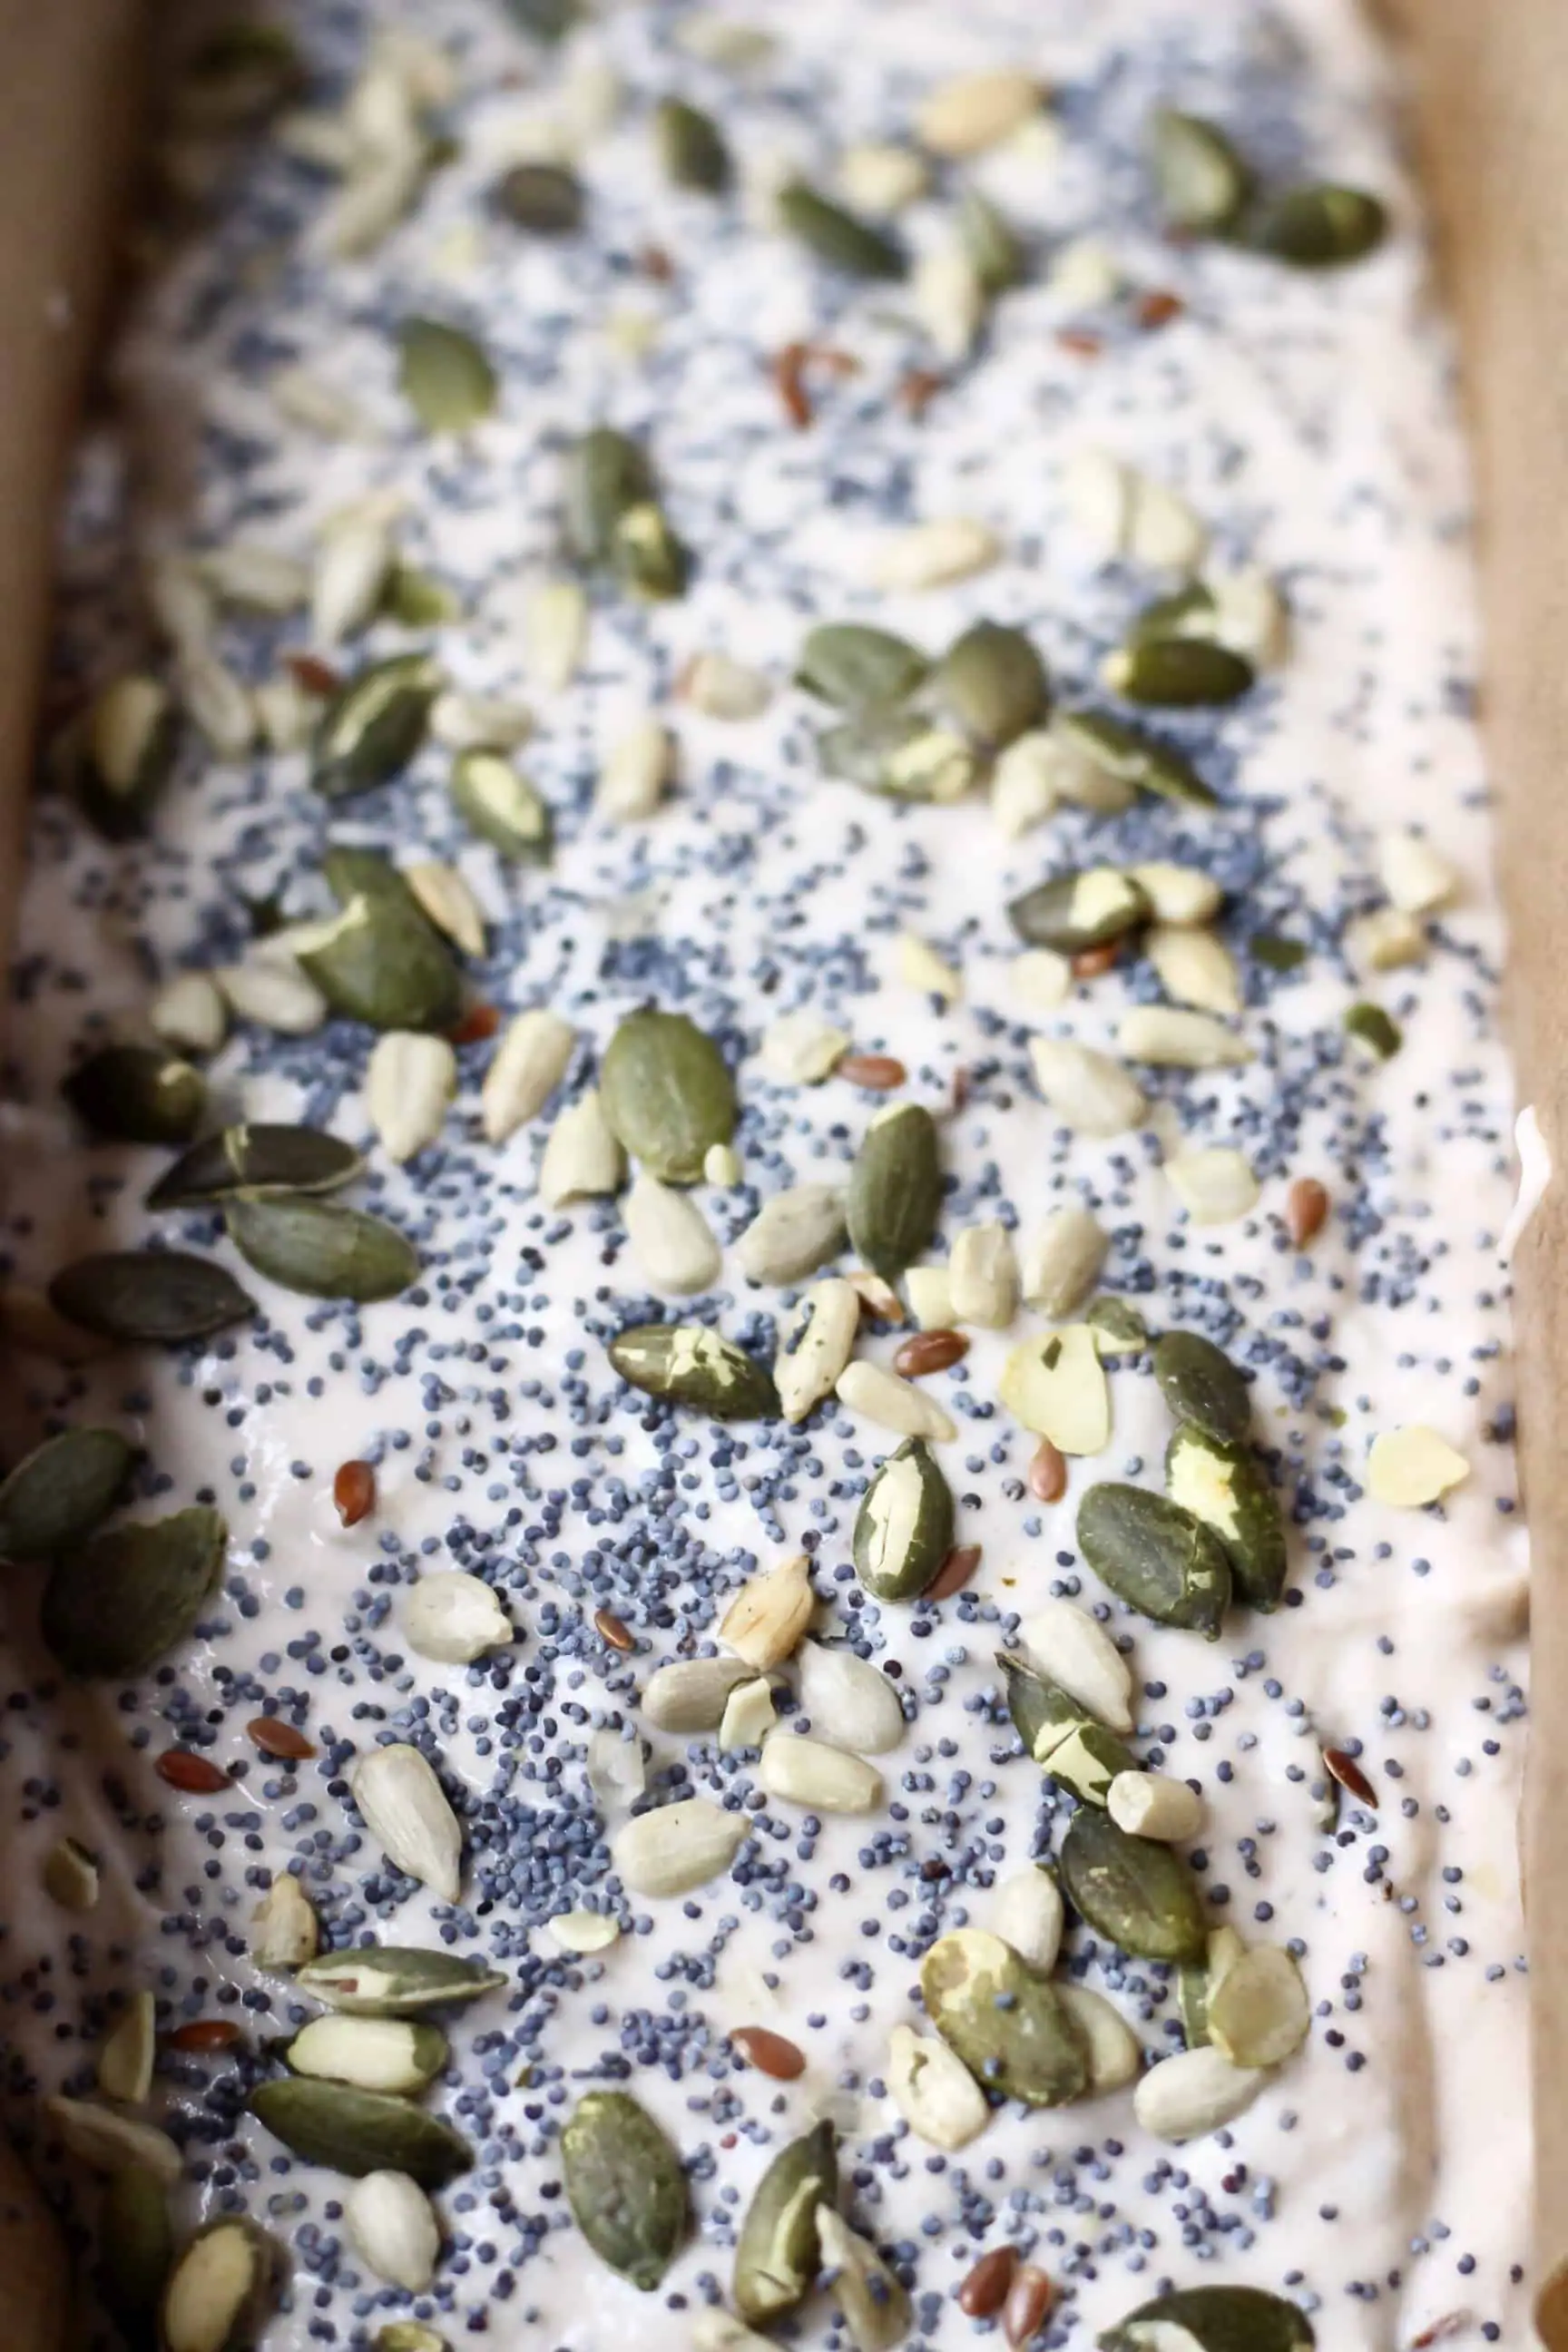
- Transfer the mixture to a one-pound loaf tin - adding an extra sprinkle of seeds over the top of the bread dough before baking adds extra crunch to the topping, and adds a warm and toasty flavour.
Tip: Line the loaf tin with greased baking paper to make the bread easier to remove afterwards.
- Fill a baking dish up to halfway with boiling water.
- Place the bread on a higher rack in the oven and place the baking dish of water on the lower rack.
- Bake in the oven for around 30 minutes, until risen and an inserted skewer comes out dry - it will probably have a few crumbs stuck to it, but if it comes out wet then the bread isn't done.
- Leave to cool on a cooling rack before slicing.
Tips for making this recipe
- Make sure to use the right amount of baking powder - 4 teaspoons! This may seem like a lot, but you need to use this amount to ensure the bread turns out light and fluffy.
- The apple cider vinegar is crucial as its acidity reacts with the alkali bicarbonate of soda (baking soda) to create a bubbly batter and fluffy bread.
- You'll know when the bread is done when an inserted skewer comes out dry - it will probably have a few crumbs stuck to it, but if it comes out wet then the bread isn't done.
- If you've kept your bread in the oven for the right amount of time and it's still not done in the centre and the outside is becoming hard/burnt, then I would recommend covering it with a piece of baking paper to prevent the outside from becoming burnt, and continuing to bake it until an inserted skewer comes out dry.
- Make sure to leave the bread to cool down completely on a cooling rack before packing it away to store because otherwise the steam from the warm bread will get trapped and you'll end up with soggy bread, which nobody wants!
Substitutions you can make
- You can use any type of plant-based milk: almond milk, cashew milk, oat milk, rice milk, soy milk etc.
- I decided to use a mixture of sunflower, flax, pumpkin and poppy seeds, but you could omit the seeds entirely, or use any other seeds such as sesame seeds, millet or quinoa.
- You could also add chopped nuts, like walnuts or pecans, or some dried fruit like raisins, dried cranberries, chopped dates or chopped dried figs.
How long does this Buckwheat Bread keep for?
This Buckwheat Bread keeps well covered in the fridge for a good few days. If not eaten on the day it's made, it's best toasted before eating.
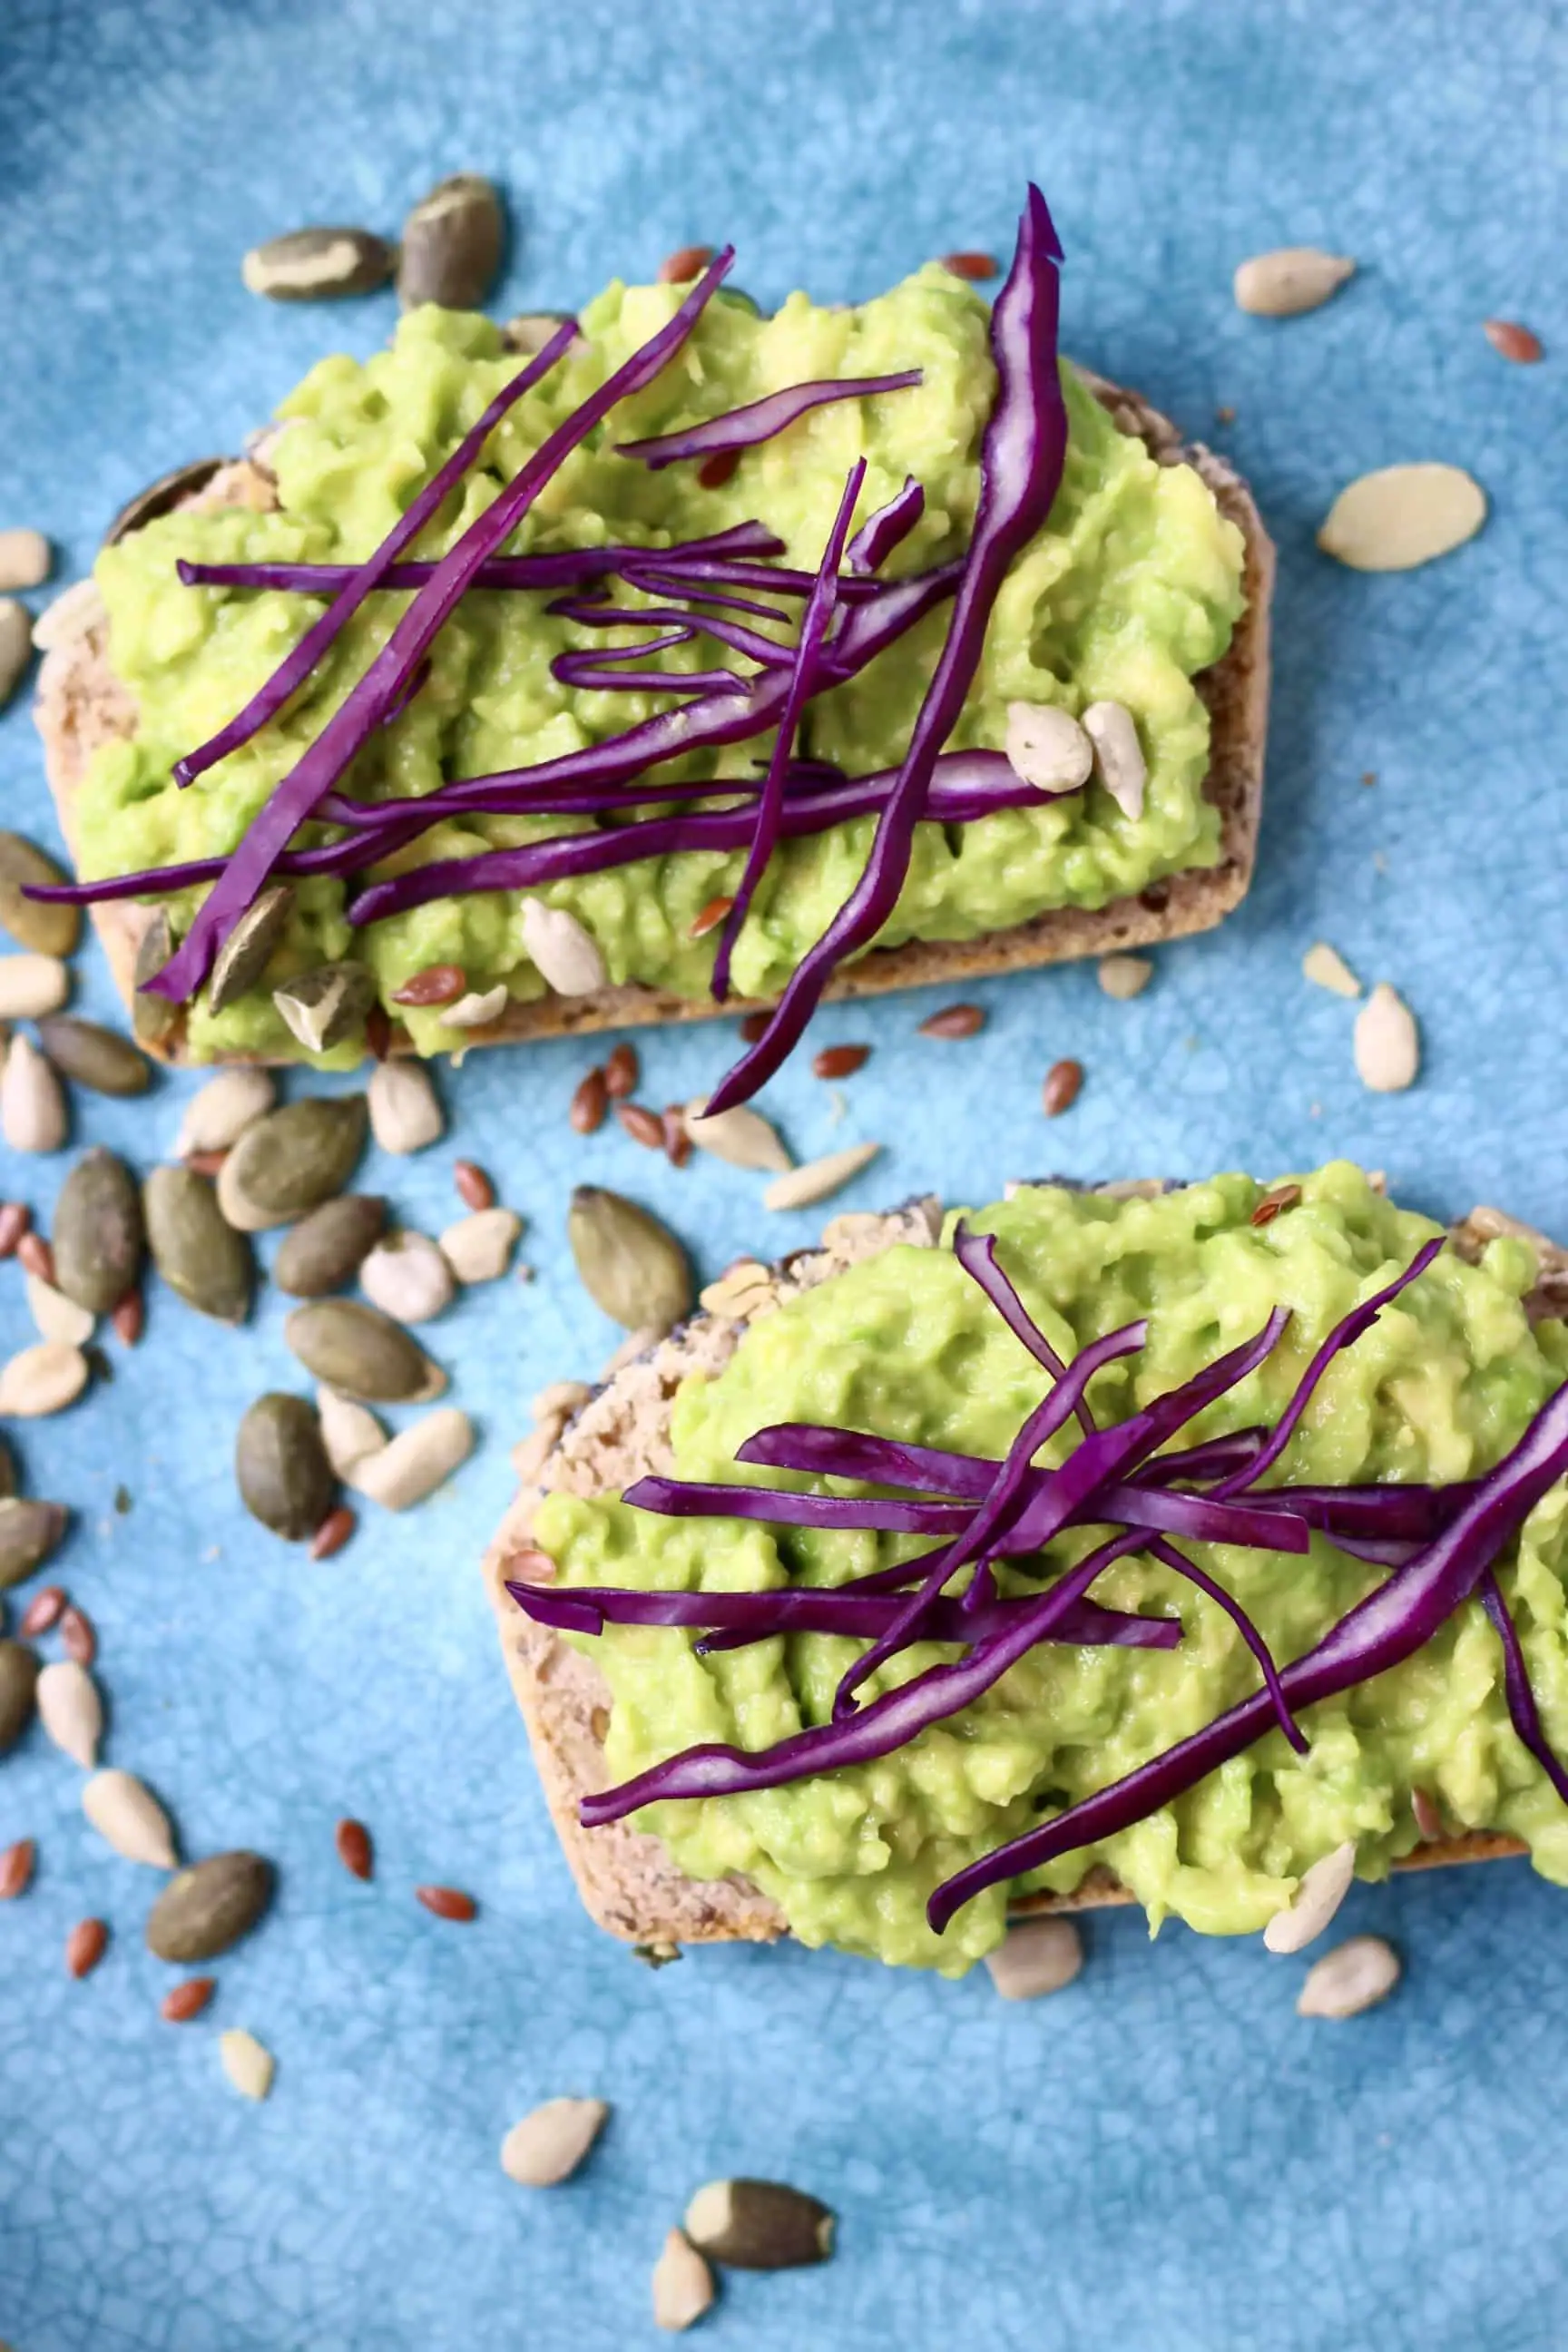
How to eat this bread
This bread is great for breakfast, sandwiches, toast, a snack or dessert, and can be topped with sweet or savoury ingredients, such as:
- Mashed avocado.
- Hummus.
- Peanut butter or almond butter.
- Smashed eggplant.
- Strawberry jam.
- White bean scramble!
More gluten-free vegan quick-bread recipes
- Gluten-Free Vegan Bread
- Gluten-Free Vegan Blueberry Banana Bread
- Gluten-Free Vegan Apple Bread
- Gluten-Free Vegan Chocolate Banana Bread
- Gluten-Free Vegan Cornbread
- Gluten-Free Vegan Chocolate Chip Bread
If you try out this recipe or anything else from my blog, I'd really love to hear any feedback! Please give it a rating, leave a comment, or tag a photo @rhiansrecipes #rhiansrecipes on Instagram! Thank you.
Watch how to make this recipe
Gluten-Free Vegan Seeded Buckwheat Bread
Ingredients
- 70 g (⅔ cup) buckwheat flour (ensure gluten-free if necessary)
- 180 g (1 ⅔ cup) rice flour (either white or brown)
- 2 tablespoons tapioca flour
- 4 teaspoons baking powder (ensure gluten-free if necessary)
- ¼ teaspoon bicarbonate of soda (baking soda)
- ¼ teaspoon salt to taste
- 4 tablespoons mixed seeds (I used a mixture of sunflower, flax, pumpkin and poppy seeds)
- 250 ml (1 cup) unsweetened almond milk (or any other plant-based milk)
- 75 ml (⅓ cup) water
- 1 tablespoon apple cider vinegar (ensure gluten-free if necessary)
To decorate:
- 2 tablespoons mixed seeds (I used a mixture of sunflower, flax, pumpkin and poppy seeds)
Instructions
- Preheat the oven to 180 degrees Celsius (350 degrees Fahrenheit)
- Place the buckwheat flour, rice flour, tapioca flour, baking powder, bicarbonate of soda, salt and mixed seeds in a large bowl and mix well
- Add the milk, water and vinegar, and mix again
- Transfer the mixture to a loaf tin (I used a one-pound loaf tin) lined with greased baking paper
- Fill a baking dish up to halfway with boiling water
- Place the bread on a higher rack in the oven and place the baking dish of water on the lower rack
- Bake the bread in the oven for around 30 minutes, until risen and an inserted skewer comes out dry - it will probably have a few crumbs stuck to it, but if it comes out wet then the bread isn't done
- Be VERY CAREFUL when opening the oven door to remove the bread, because a lot of HOT STEAM will escape from the oven and you might burn yourself. To prevent this from happening, open the oven door first, then step back until all the hot steam has escaped from the oven before putting your hands inside to remove the bread. Also, make sure to wear oven gloves and a long-sleeved shirt
- Leave to cool on a wire rack before slicing
- Keeps well in the fridge for up to a few days, and freezes well too
Video
Notes
- Make sure to add boiling water to the baking dish.
- If the water in the baking dish all runs out during the baking process, make sure to refill it.
- Be VERY CAREFUL when opening the oven door to remove the bread, because a lot of HOT STEAM will escape from the oven and you might burn yourself.
- To prevent this from happening, open the oven door first, then step back until all the hot steam has escaped from the oven before putting your hands inside to remove the bread. Also, make sure to wear oven gloves and a long-sleeved shirt.
Disclosure: This posts contains affiliate links to Amazon. If you purchase any of these products, a small percentage will come to me with no extra cost to you! This income will go towards the running of this blog - thank you.


Pam in Sacramento
Made this today and it turned out perfect. I didn't have buckwheat flour, but I did have buckwheat. So I weighed out the correct amount of grain and whizzed it into flour in my Vitamix. I used the instructions from your ebook that I've had for a couple of years, which did not involve steaming. As I said...perfect. Great texture, excellent taste. Wish it browned a little on top, but I guess if I added a bit of sugar it would. I might try that next time.
Rhian Williams
Thank you so much, so happy to hear that! Yes adding a bit of sugar would help with browning on top!
Joseph
I make this bread every Sunday. Never the same way twice. Use different GF flours (almond today) and seeds, have even tried maple surup or molasses. So much latitude to create. Always delicious. Try adding a few fennel seeds!! Probably the most loved recipe by my family ever. Have fun!
Rhian Williams
Thank you so much, so so happy to hear that!