


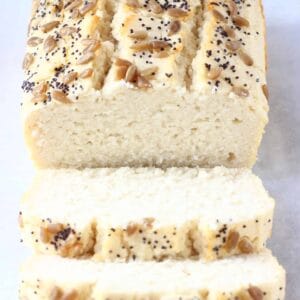
This Coconut Flour Bread recipe is easy to make, vegan, gluten-free, yeast-free, no-knead, nut-free, sugar-free, oil-free and contains no eggs! It's moist, fluffy and bendy, has a neutral flavour and slices easily. There's no kneading or proving time needed, it's made in one bowl and requires just 15 minutes to put together before baking! Best for sandwiches or toast.

You can buy coconut flour in the flour section of most supermarkets, local health stores or online.
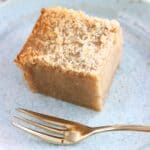
This bread has quite a neutral flavour with a faint nutty flavour of coconut. The amount of coconut flour in this bread is relatively low and it's mixed in with a gluten-free flour blend, so it doesn't have an overpowering coconut flavour.
Because this bread contains coconut flour, it's low carb compared to traditional bread recipes. Coconut flour is nutritious and is a great source of dietary fibre.
Many baking recipes with coconut flour rely on a lot of eggs as a rising and binding agent.
However, this is an egg-free and vegan recipe. Although you can make a coconut bread recipe with yeast, but this one is yeast-free too.
The main raising agent in this recipe is baking powder.
The bicarbonate of soda (baking soda) and vinegar are essential raising agents too: the alkali bicarbonate of soda (baking soda) reacts with the acidic vinegar to make the batter fluffy, which makes the bread rise without eggs.
Coconut flour can make baked goods very dry as it absorbs a lot of moisture compared to many other types of flour. So, it's important not to use it as a 1:1 substitute for other types of gluten-free flour. You can avoid it making this bread dry by:
1. Using a very small amount of coconut flour - it really expands when liquid is added, so you only need to use a tiny amount.
2. Mixing the coconut flour with an all-purpose gluten-free flour blend also helps to make it less dense.
This Coconut Flour Bread keeps well covered in the fridge for a good few days. It's best toasted before eating.
Yes - just make sure to slice it up before putting in the freezer if you want to take it out a slice at a time.
To defrost, just pop the frozen slices straight in the toaster.
Yes, but they must be used in different quantities. Use my Almond Bread recipe instead!
Steaming bread in the oven might sound complicated, but it's super easy! All you need to do is bake it in the oven with a baking dish filled with water. The water from the baking dish will release steam in the hot oven and create a humid environment for the bread to bake.
Baking bread in a steamy, humid environment creates a doughy texture, meaning it doesn't fall apart when slicing, and a super crispy crust. It also creates a better flavour!
Tips for steaming bread in the oven
- Make sure to add boiling water to the baking dish.
- Place the bread on a higher rack in the oven and place the baking dish of water on the lower rack.
- If the water in the baking dish all runs out during the baking process, make sure to refill it.
- Be VERY CAREFUL when opening the oven door to remove the bread, because a lot of HOT STEAM will escape from the oven and you might burn yourself.
- To prevent this from happening, open the oven door first, then step back until all the hot steam has escaped from the oven before putting your hands inside to remove the bread. Also, make sure to wear oven gloves and a long-sleeved shirt.
- Make sure to leave the bread to cool completely before slicing.
How to make this recipe
Scroll down to the bottom of the post to see the full recipe.
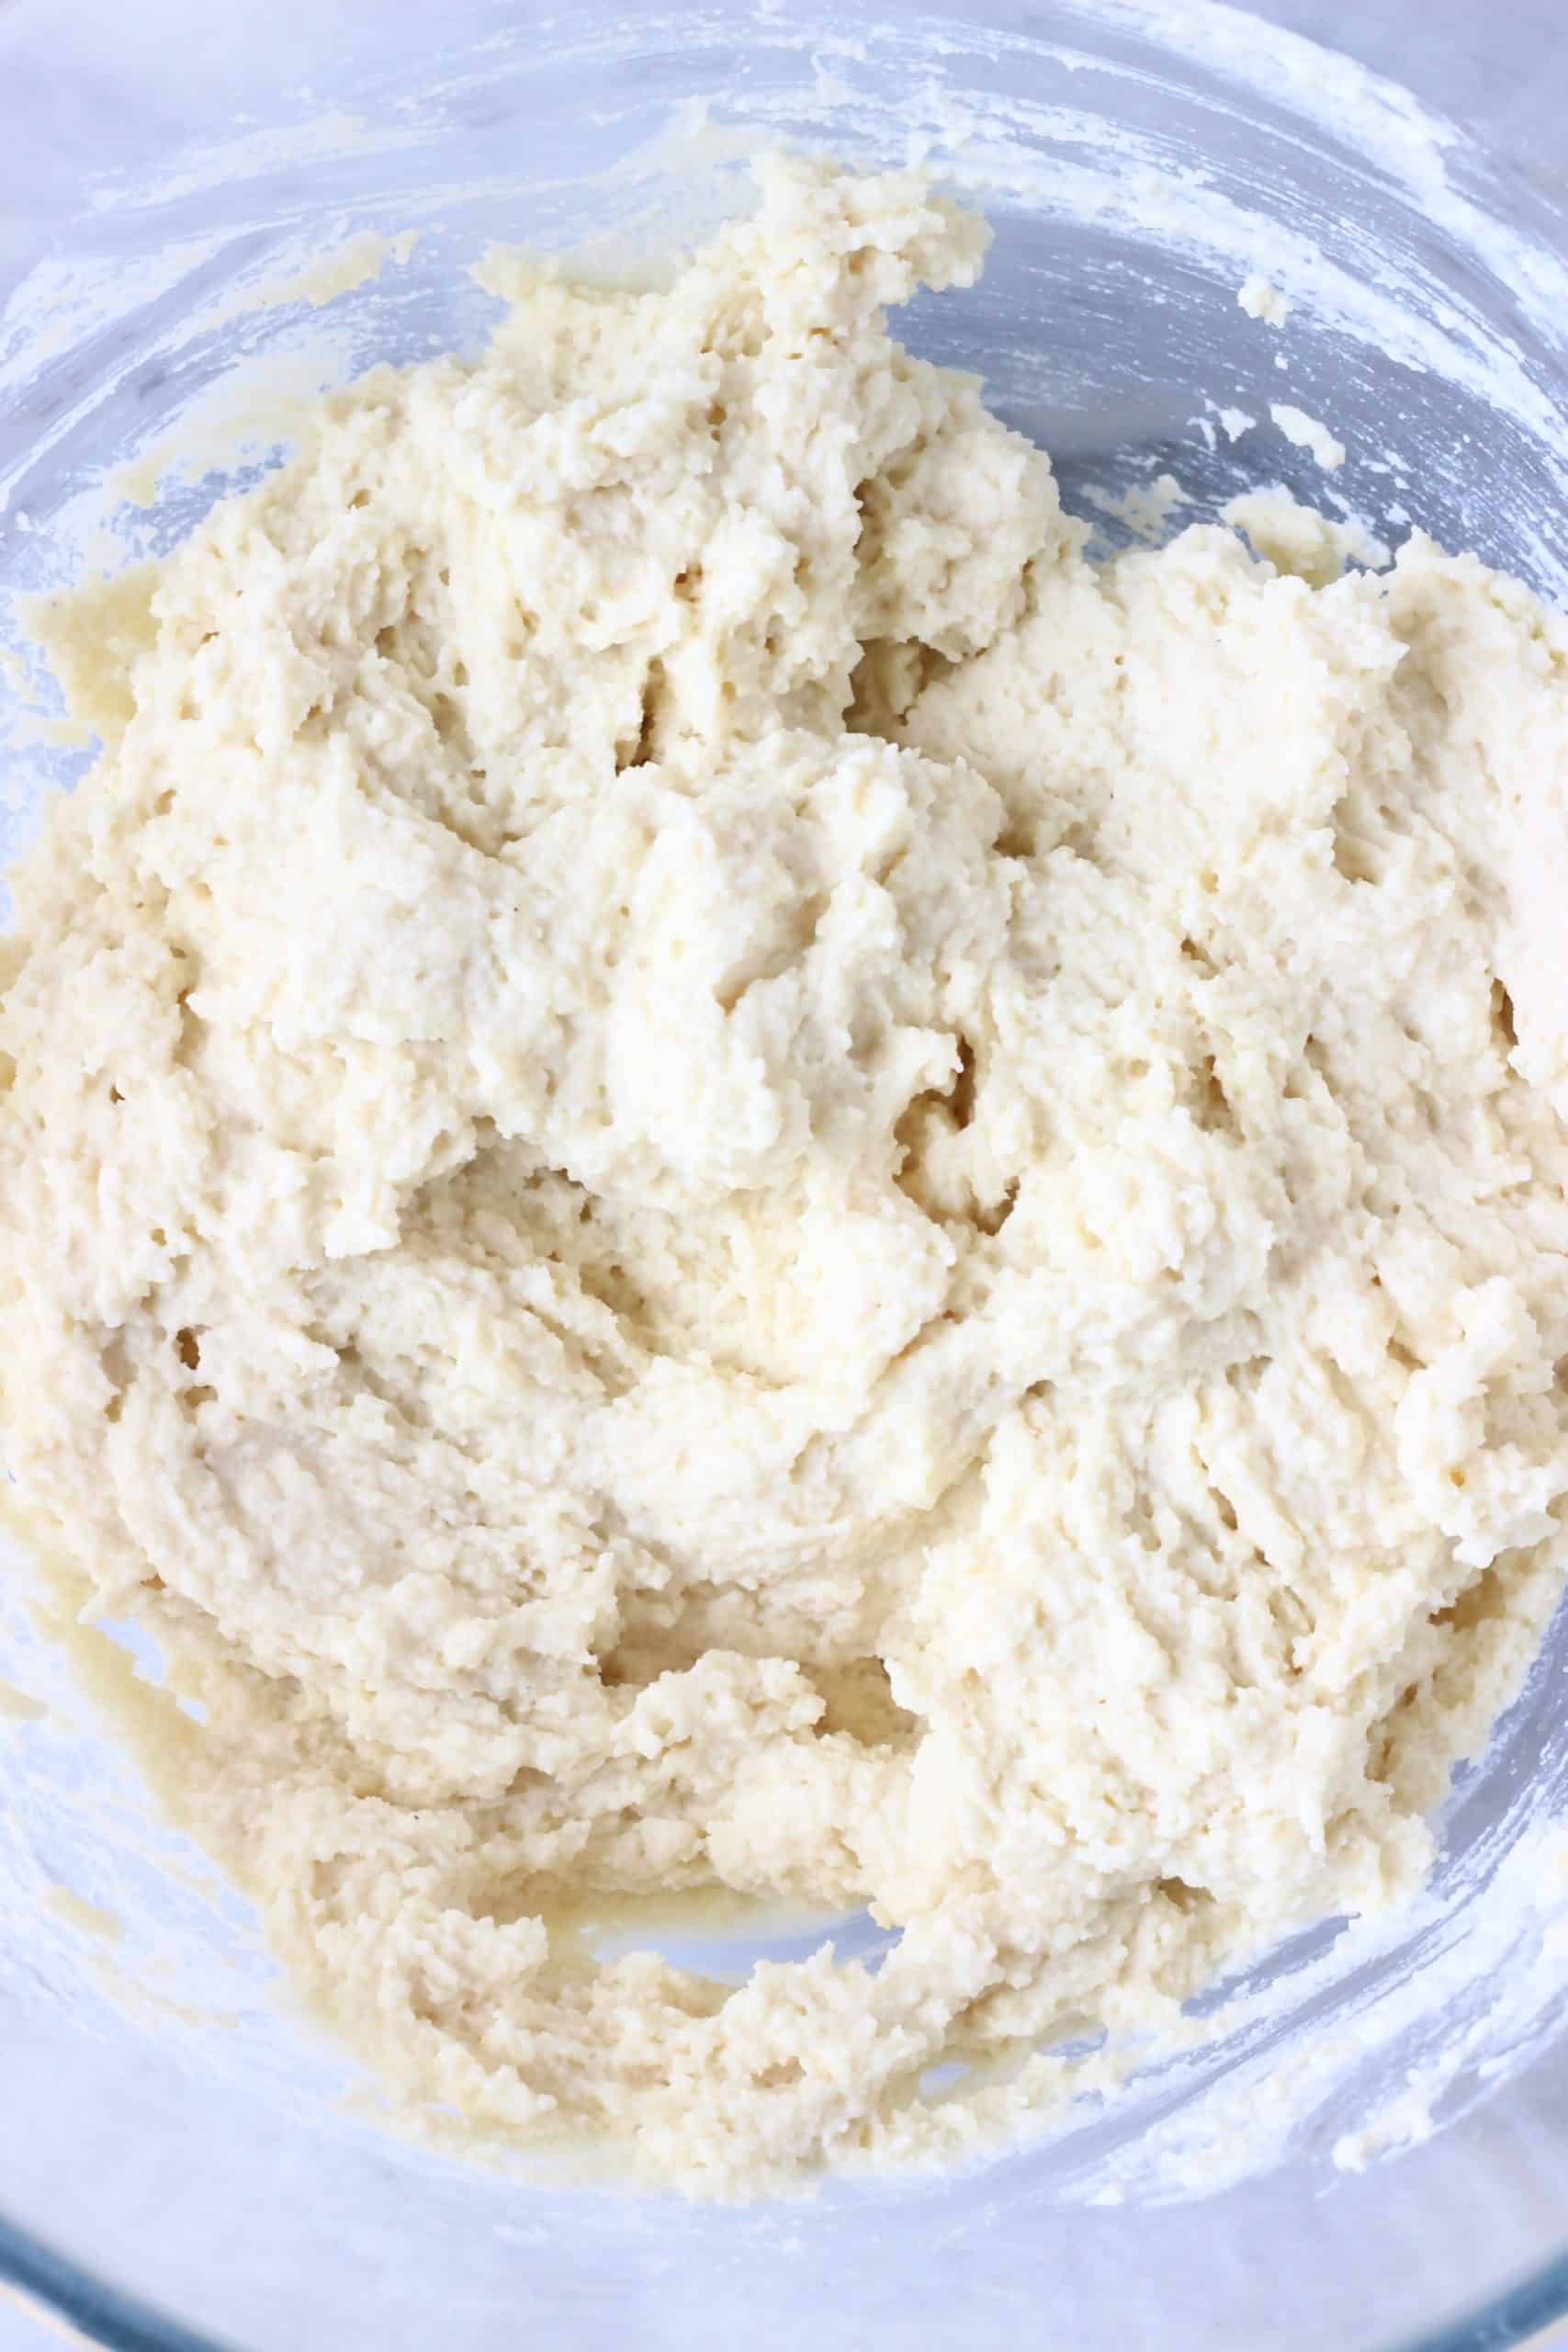
- Mix together all the ingredients in a glass mixing bowl.
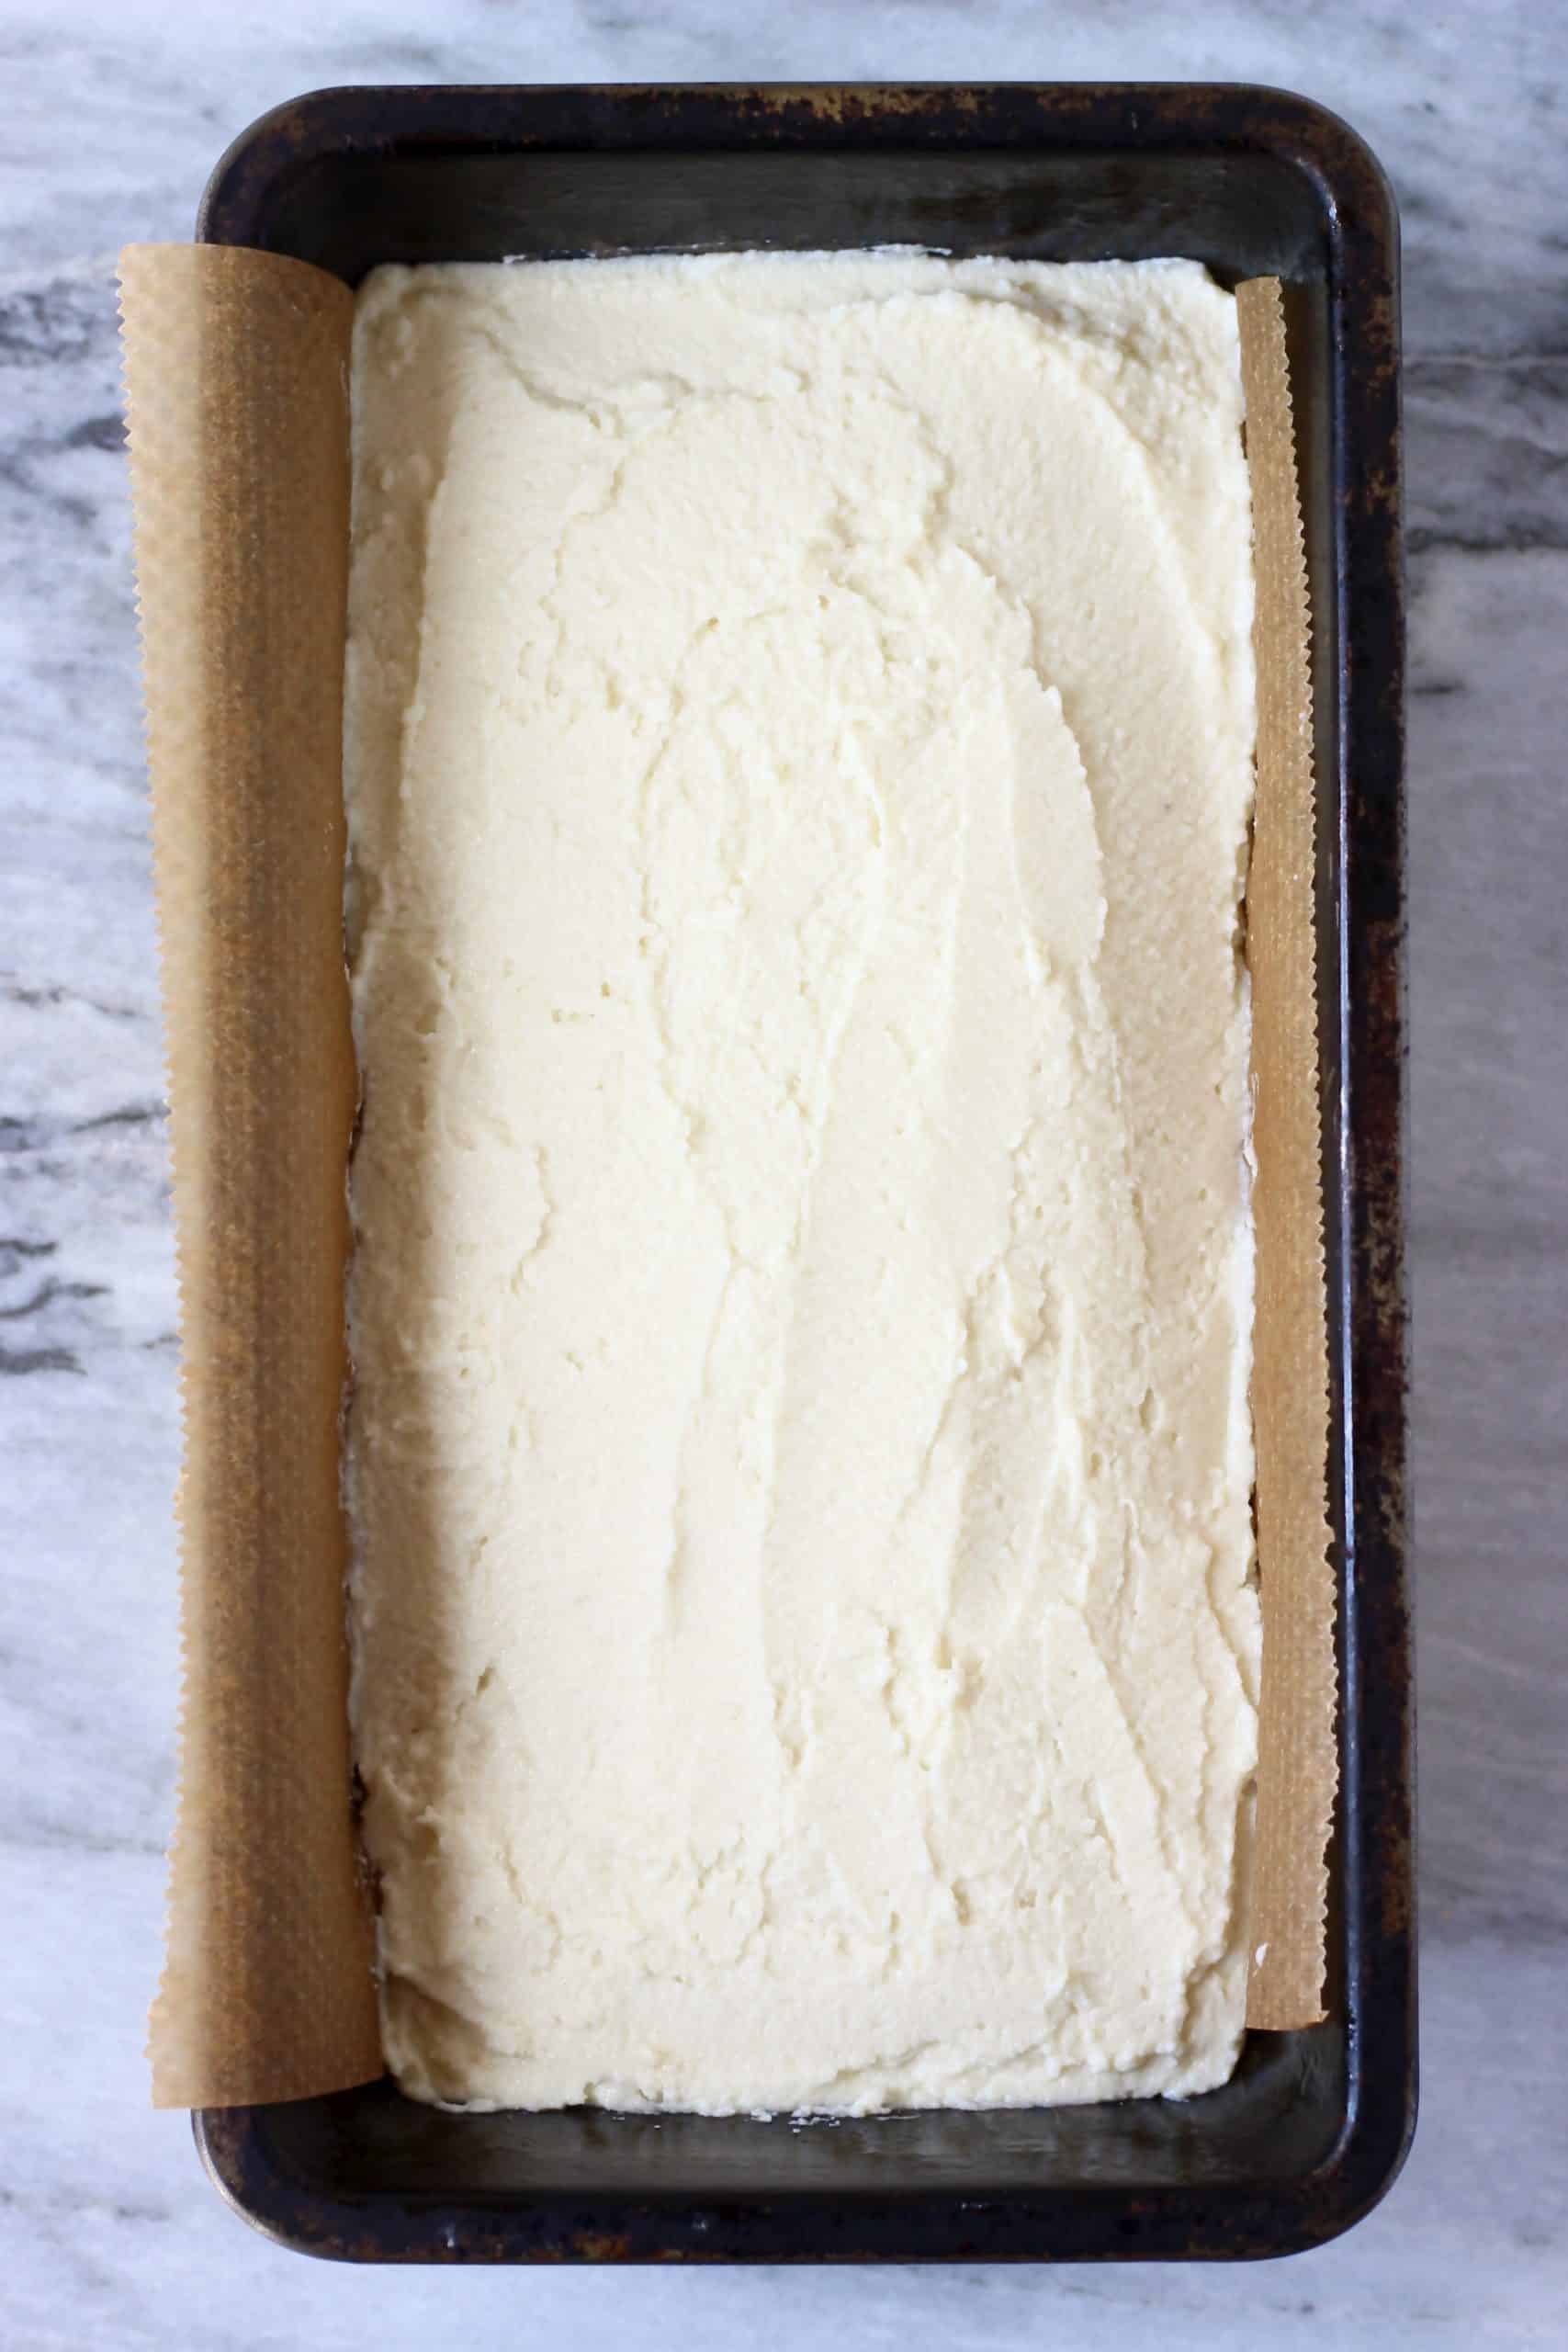
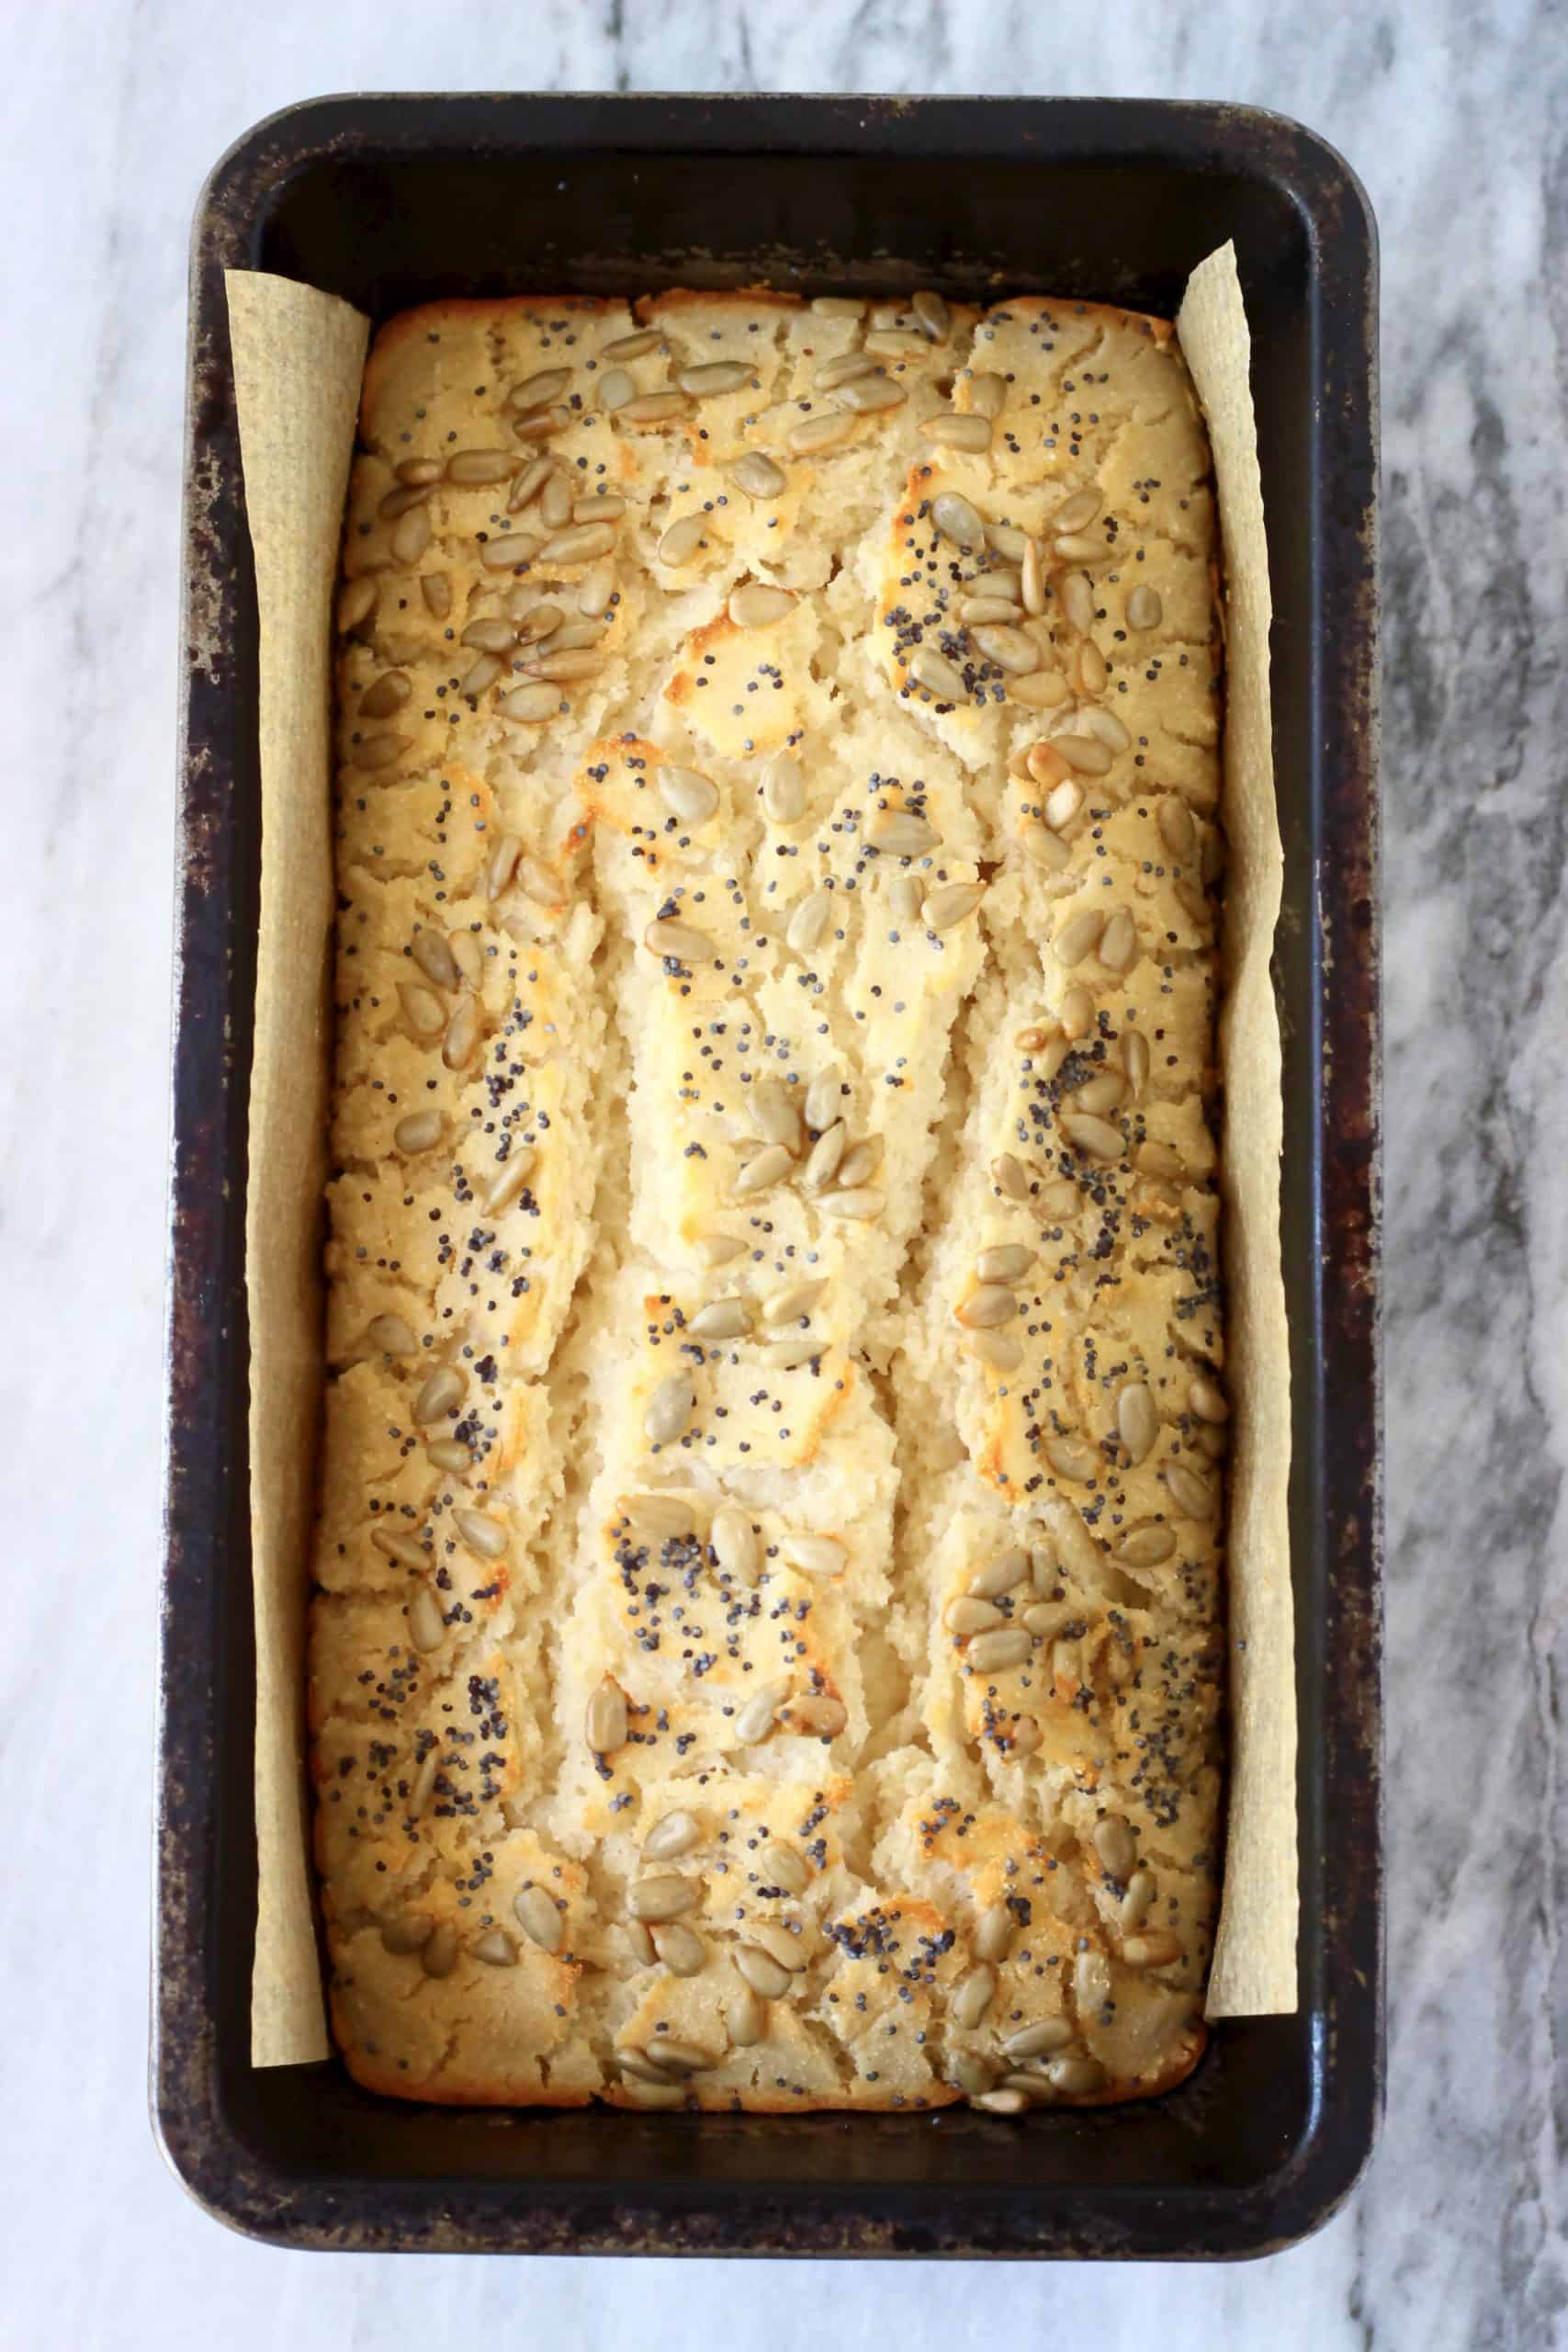
- Transfer the batter into a one-pound loaf tin.
Tip: Line the tin with greased baking paper to make the bread easier to remove after.
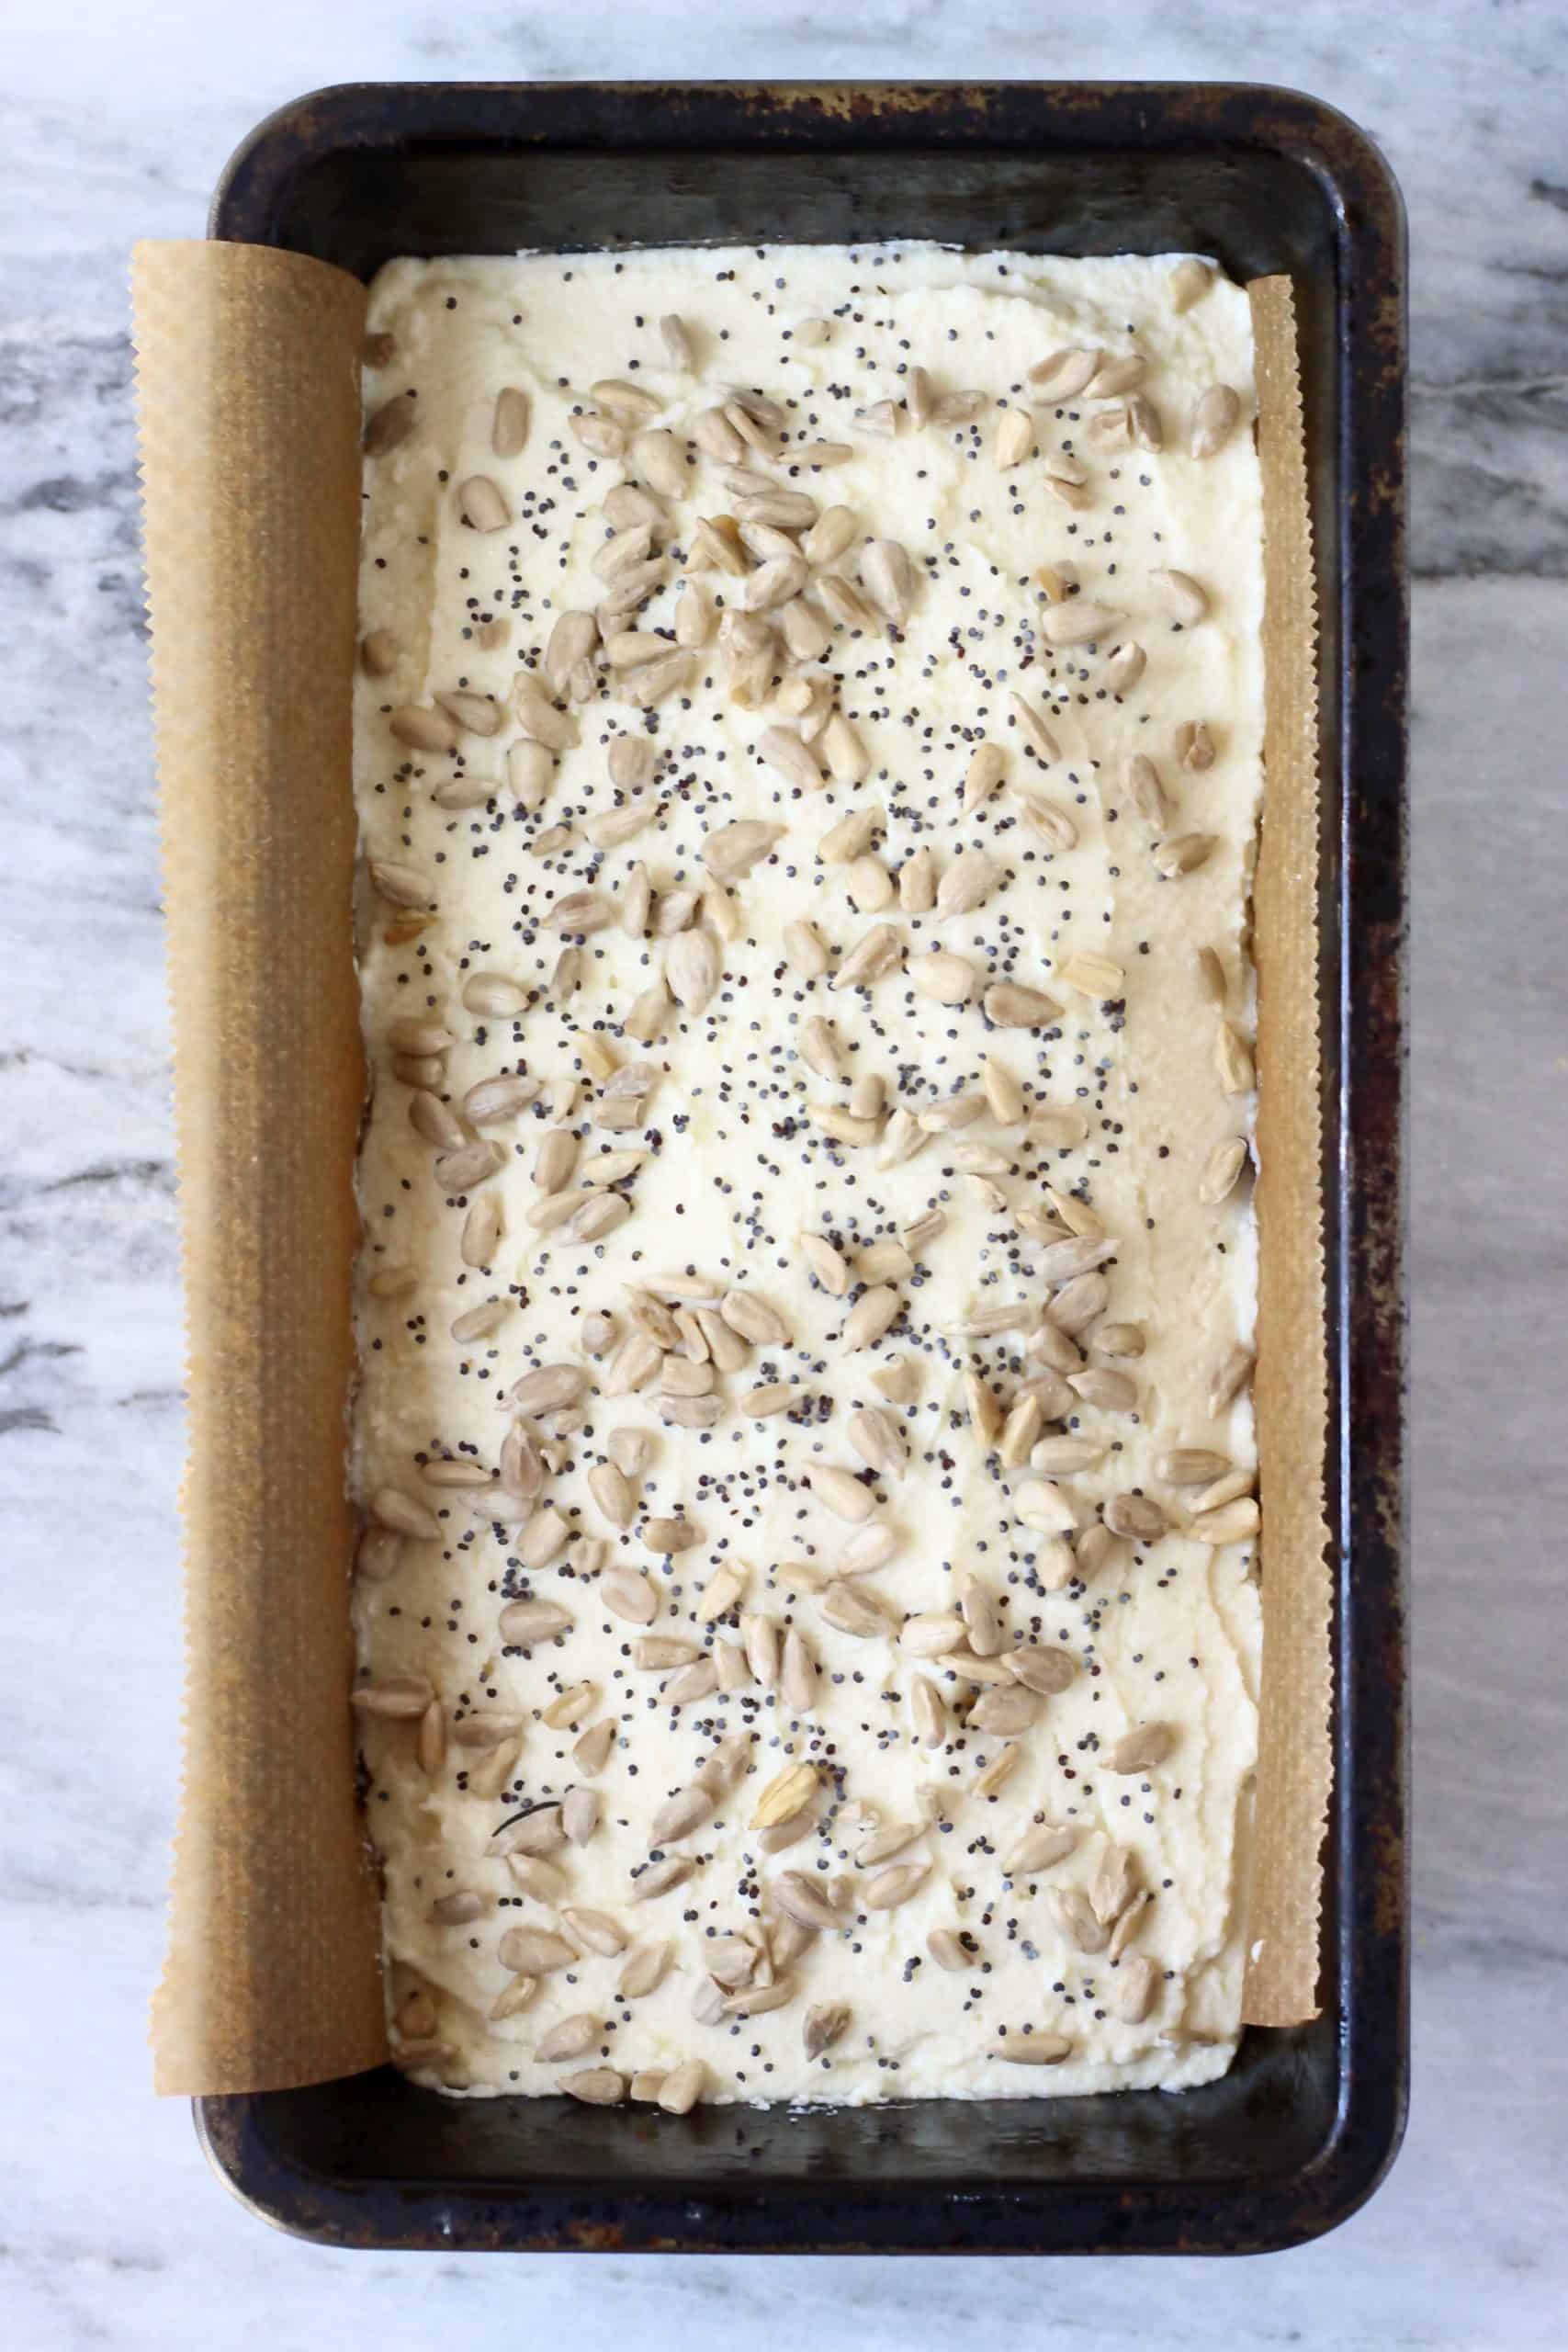
- Sprinkle over mixed seeds to decorate, if desired.
- Fill a baking dish up to halfway with boiling water.
- Place the bread on a higher rack in the oven and place the baking dish of water on the lower rack.
- Bake in the oven for around 45 minutes.
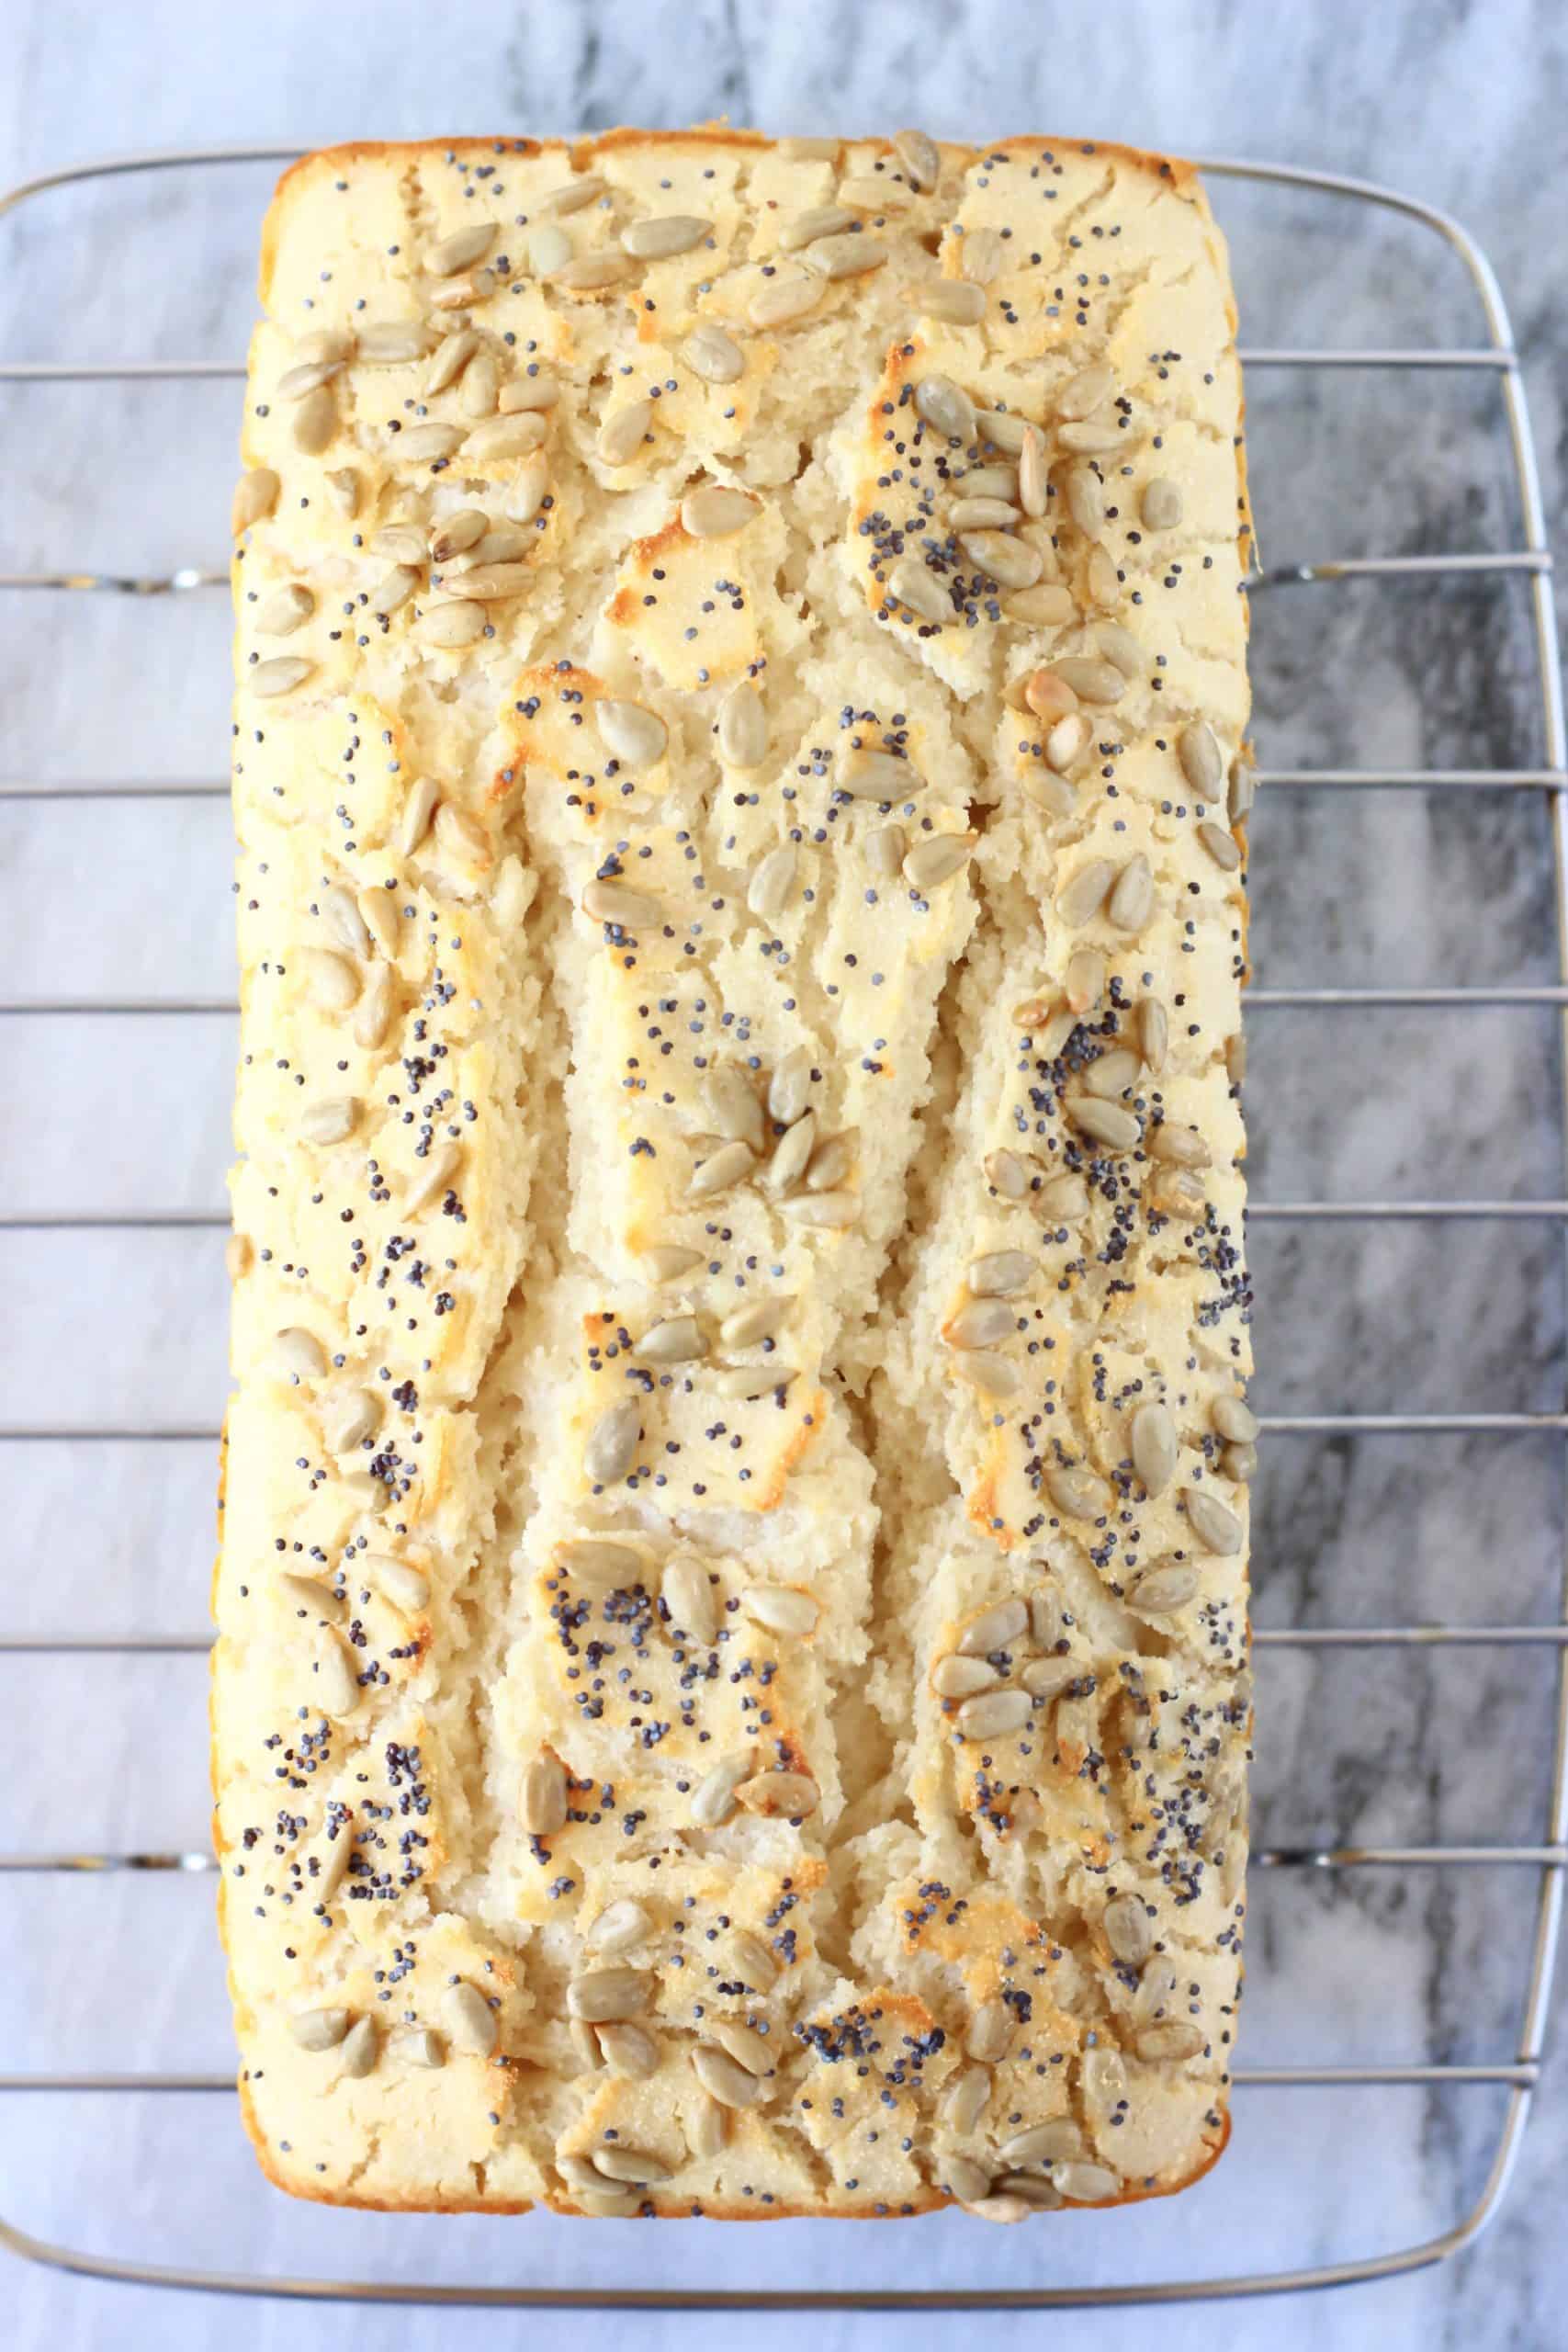
- Transfer the loaf to a cooling rack to cool down on completely before packing away to store because otherwise the steam from the warm bread will get trapped and you'll end up with soggy bread, which nobody wants!
- It also needs to be left to cool completely before slicing.
Serving suggestions
You can use this as a sandwich bread, or it works great as toast topped with jam or vegan cashew cream cheese! Stale bread is great for making Vegan Bread Pudding.
Substitutions you can make
- If you're not gluten-free, you can use plain flour instead of gluten-free flour.
- You can use any type of plant-based milk: almond milk, soy milk, rice milk etc.
- You can replace the plant-based milk with water.
- You can replace the apple cider vinegar with lemon juice.
Ingredients you can add to the dough
- Mixed seeds.
- Dried fruit such as dried cranberries, raisins, chopped dates etc.
- You can make it more savoury by adding grated garlic, chopped olives or sun-dried tomatoes!

More gluten-free vegan bread recipes
- Gluten-Free Vegan Chickpea Bread
- Gluten-Free Vegan Blueberry Banana Bread
- Gluten-Free Vegan Irish Soda Bread
- Gluten-Free Vegan Almond Bread
- Gluten-Free Vegan Oat Bread
- Gluten-Free Vegan Dinner Rolls
- Gluten-Free Vegan Seeded Buckwheat Bread
- Gluten-Free Vegan Cornbread
- Gluten-Free Vegan Walnut Bread
- Gluten-Free Vegan Oatmeal Bread
- Gluten-Free Vegan Biscuits
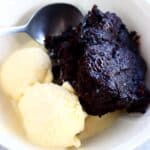
- Gluten-Free Vegan Chocolate Bread
- Quinoa Bread
- Gluten-Free Vegan Orange Poppy Seed Bread
- Gluten-Free Vegan Chocolate Chip Bread
- or browse the whole collection!
If you try out this recipe or anything else from my blog, I'd really love to hear any feedback! Please give it a rating, leave a comment, or tag a photo @rhiansrecipes #rhiansrecipes on Instagram! Thank you.
Watch how to make this recipe
Coconut Flour Bread (Vegan + Gluten-Free)
Ingredients
- 45 g (½ cup) coconut flour
- 225 g (1 ⅔ cup) gluten-free flour blend (or sub plain flour if not gluten-free)
- 4 teaspoons baking powder (ensure gluten-free if necessary)
- ¼ teaspoon bicarbonate of soda (baking soda)
- ¼ teaspoon salt to taste
- 420 ml (1 ¾ cup) unsweetened almond milk (or sub any other plant-based milk or water)
- 1 tablespoon apple cider vinegar * (ensure gluten-free if necessary)
To decorate (optional):
- Mixed seeds
Instructions
- Preheat the oven to 180 degrees Celsius (350 degrees Fahrenheit).
- Place the coconut flour, gluten-free flour, baking powder, bicarbonate of soda and salt in a large bowl and mix well.
- Add the almond milk and vinegar and mix again.
- Transfer the mixture to a loaf tin (I used a one-pound loaf tin) lined with greased baking paper.
- Sprinkle over mixed seeds to decorate, if desired.
- Fill a baking dish up to halfway with boiling water.
- Place the bread on a higher rack in the oven and place the baking dish of water on the lower rack.
- Bake in the oven for around 45 minutes, until risen and an inserted skewer comes out clean.
- Be VERY CAREFUL when opening the oven door to remove the bread, because a lot of HOT STEAM will escape from the oven and you might burn yourself. To prevent this from happening, open the oven door first, then step back until all the hot steam has escaped from the oven before putting your hands inside to remove the bread. Also, make sure to wear oven gloves and a long-sleeved shirt.
- Leave to cool completely on a wire rack before slicing and before putting away to store (it's much easier to slice the day after it's made).
- Tastes best eaten freshly made, but keeps well covered in the fridge for a good few days - if not eaten on the day it's made, it's best toasted before eating.
Video
Notes
- Make sure to add boiling water to the baking dish.
- If the water in the baking dish all runs out during the baking process, make sure to refill it.
- Be VERY CAREFUL when opening the oven door to remove the bread, because a lot of HOT STEAM will escape from the oven and you might burn yourself.
- To prevent this from happening, open the oven door first, then step back until all the hot steam has escaped from the oven before putting your hands inside to remove the bread. Also, make sure to wear oven gloves and a long-sleeved shirt.
Disclosure: This posts contains affiliate links to Amazon. If you purchase any of these products, a small percentage will come to me with no extra cost to you! This income will go towards the running of this blog - thank you.


Dani
This bread is great! I couldn't wait any more than 10 minutes out of the oven to give it a try, and preceded to eat half the loaf in one sitting! Definitely not sweet, but healthy-tasting! Tastes amazing with peanut butter and banana slices. Also, I used oat flour as my gluten free sub. Thanks Rhian!
Rhian Williams
Thank you so much, so happy to hear that!
Denise
HELP!
I followed the directions to a tee and it didn't seem to rise at all and it came out with a very dense, almost wet, texture.
Rhian Williams
Hello! I'm sorry to hear that - what type of gluten-free flour did you use?
Cel
This recipe is AMAZING!! WOW!!! I was VERY skeptical at first....how could this bread be moist without any fats (ie, oil, butter)....but IT IS!!! Super-fluffy! I used the recommended substitutions from above; water instead of mylk/milk and regular flour since I did not have gluten free The results are simply delicious and I can think of so many creative mix-ins for this recipe! This will definitely be a keeper. Super fast, super tasty, super easy!
(One suggestion to the author: I would add 1 TBSP of sweetener just to round out the taste. Just needs a faint, faint hint of sweetness, imo). 🙂
Rhian Williams
Thank you so much, so happy to hear that!
cris
can I make this using bread machine?
Rhian Williams
Yes it should be ok but I can't 100% guarantee results as I haven't tested it that way! But would love to hear how you get on if you try it!
J Simpson
Can I just say I love this. The majority of things I've made with coconut flour has failed in that it tasted terribly and cooked horribly but this worked for me.
It did crumble and didnt rise so I couldn't slice it, but it's fluffy, fully cooked, and tastes good so I don't care. I realize I didn't add that extra ¾ cup of liquid so I'll definitely do that next time but I also like the accidental version without it and I would make rolls wiih it. This is a great recipe! Thank you!!
Rhian Williams
Thank you so much for sharing your feedback, so happy to hear that!