


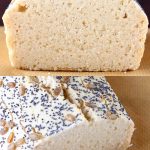
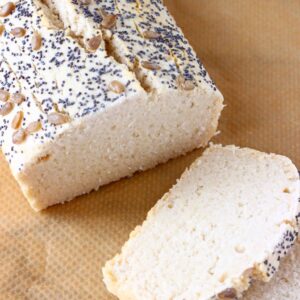
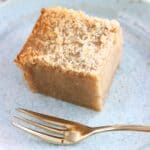
This Gluten-Free Rice Bread is crusty on the outside, soft on the inside and perfectly soft and doughy! It's also no-knead, yeast-free, oil-free, free from sugar and super easy to make!
This Rice Bread is made using a mixture of brown rice flour and white rice flour. I'm really happy that this combination worked as it means the bread has a completely neutral flavour, which is quite rare in gluten-free bread recipes.
This recipe is made using a special method, which I discovered would work well for yeast-free breads while I was testing a gluten-free vegan baguette recipe: oven steaming.
Steaming bread in the oven might sound complicated, but it's super easy! All you need to do is bake it in the oven with a baking dish filled with water. The water from the baking dish will release steam in the hot oven and create a humid environment for the bread to bake.
Baking bread in a steamy, humid environment creates a doughy texture, meaning it doesn't fall apart when slicing, and a super crispy crust. It also creates a better flavour!
If you can't find brown rice flour in your local supermarket, you'll be able to find it in local health stores or online.
Tips for steaming bread in the oven
- Make sure to add boiling water to the baking dish.
- Place the bread on a higher rack in the oven and place the baking dish of water on the lower rack.
- If the water in the baking dish all runs out during the baking process, make sure to refill it.
- Be VERY CAREFUL when opening the oven door to remove the bread, because a lot of HOT STEAM will escape from the oven and you might burn yourself.
- To prevent this from happening, open the oven door first, then step back until all the hot steam has escaped from the oven before putting your hands inside to remove the bread. Also, make sure to wear oven gloves and a long-sleeved shirt.
- Make sure to leave the bread to cool completely before slicing.
How to make this recipe
Scroll down to the bottom of the post to see the full recipe.
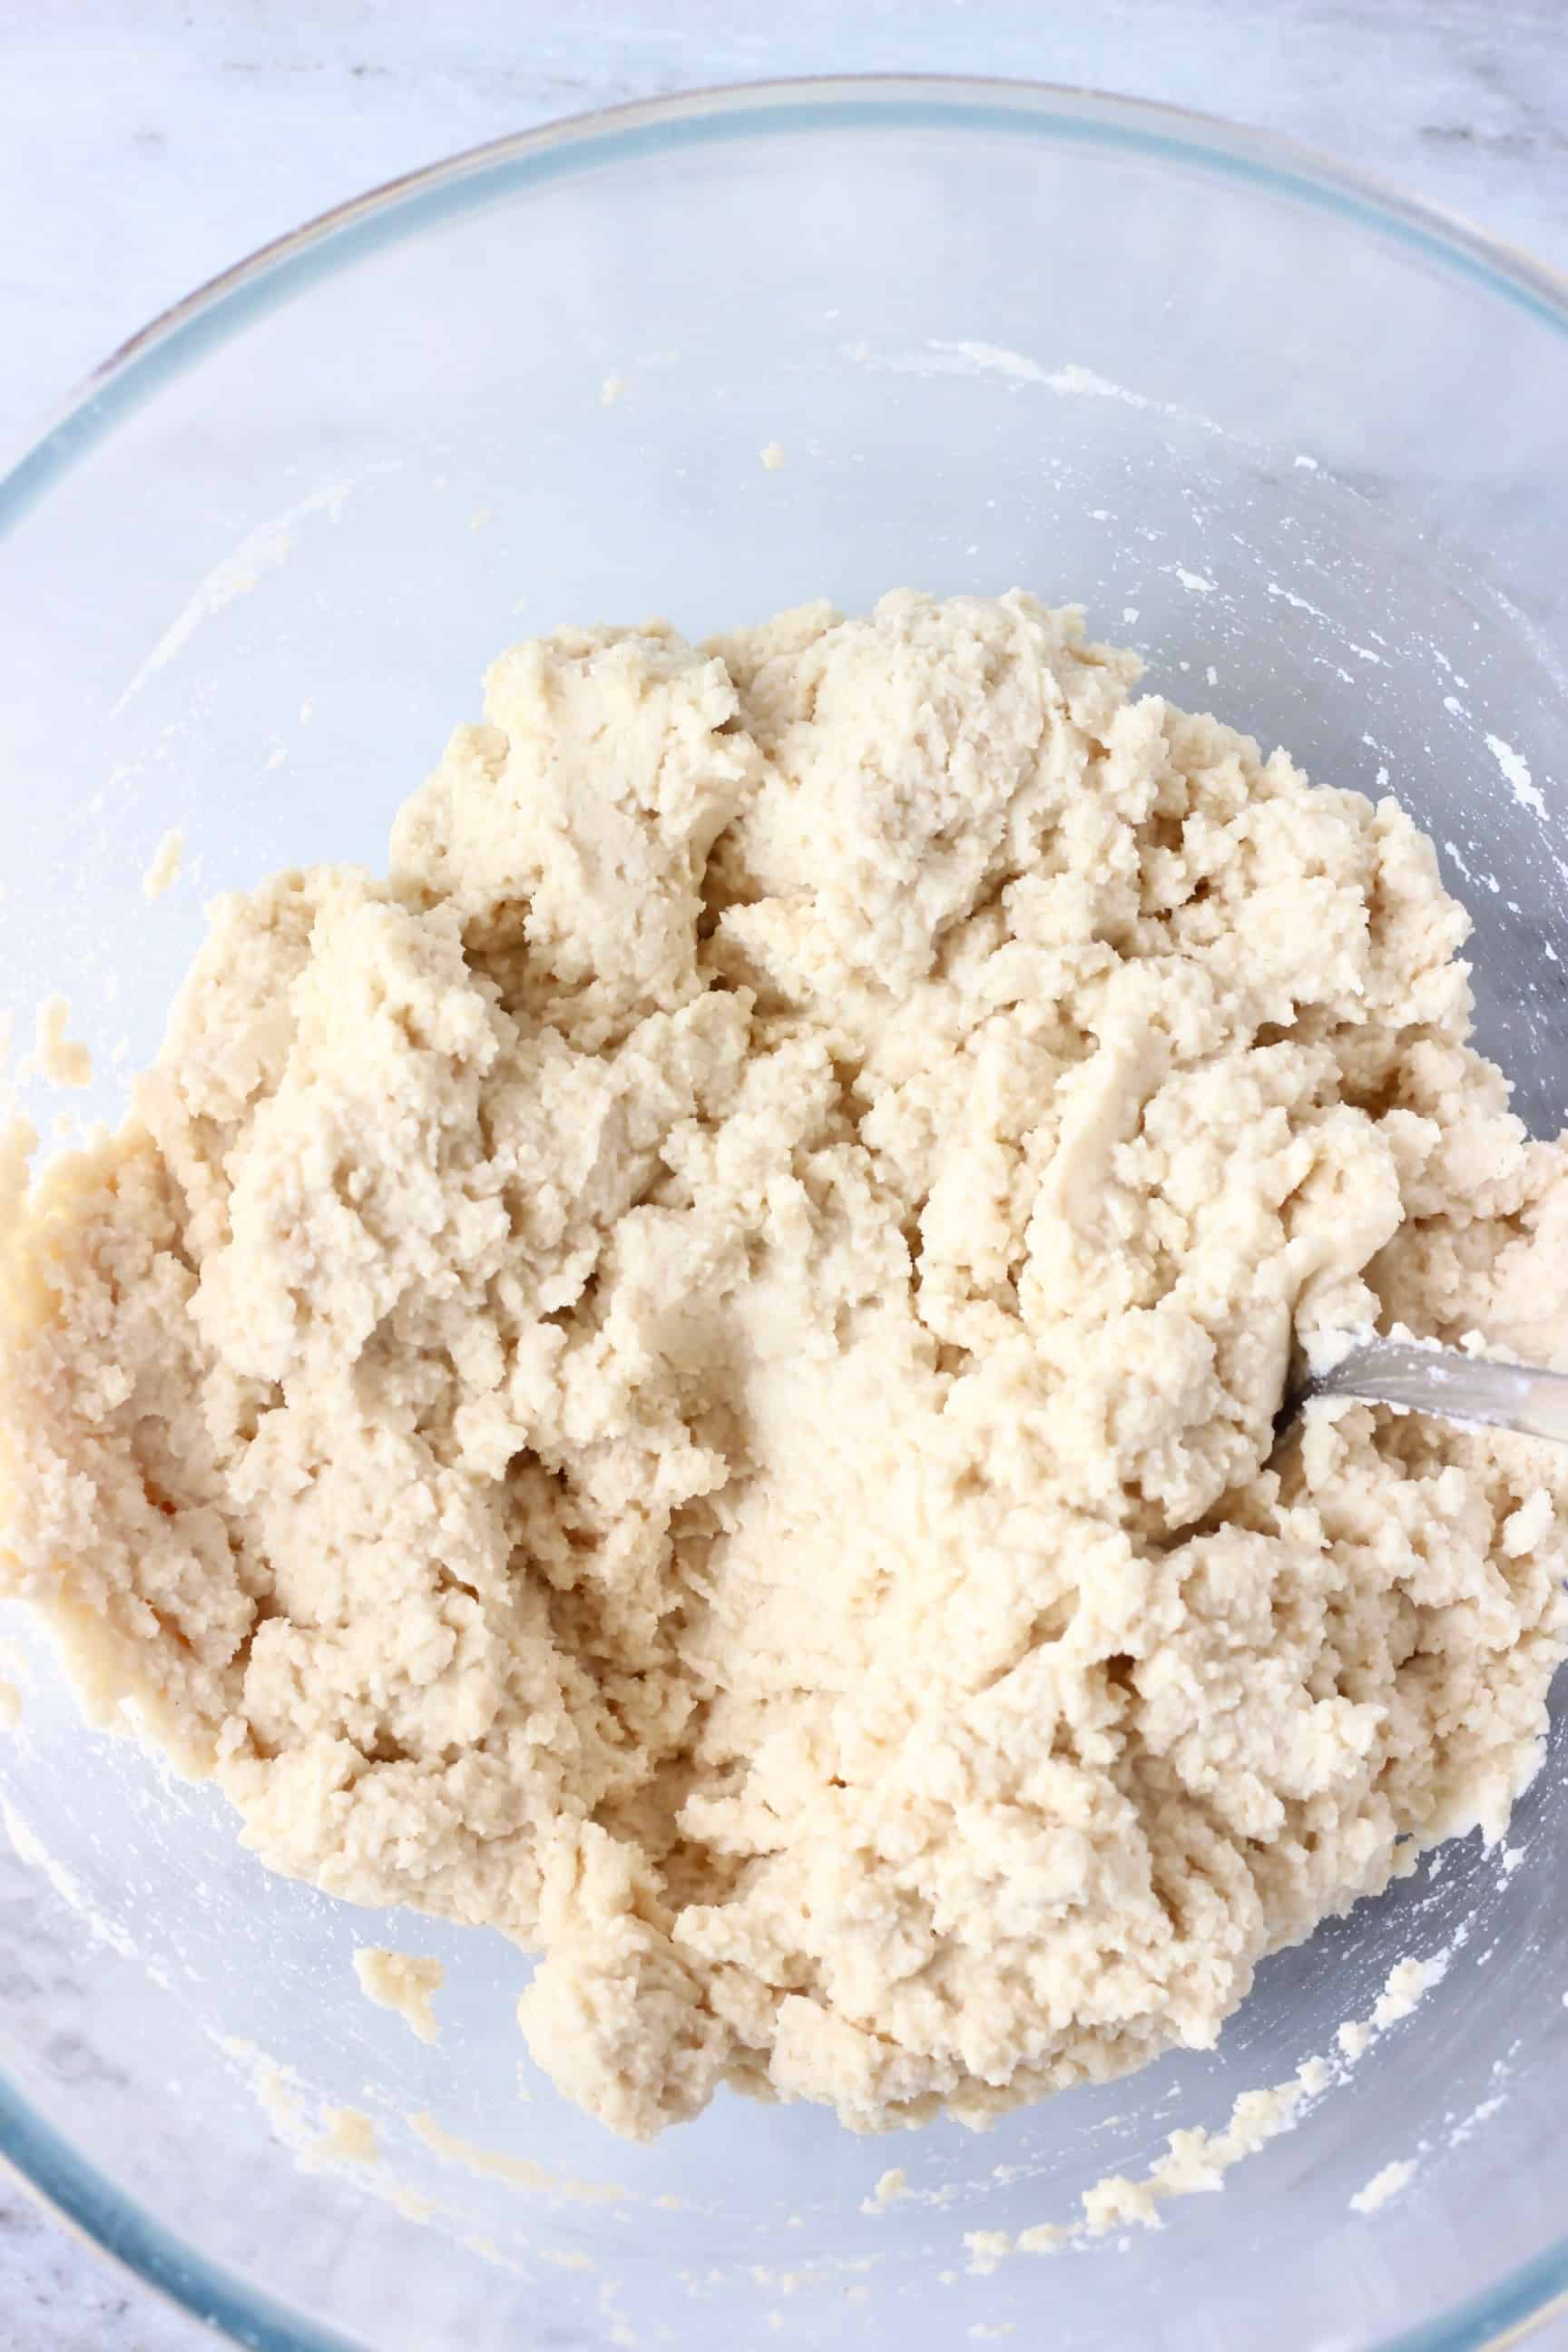
- Mix together all the ingredients in a glass mixing bowl.
Tip: Use a measuring jug to measure out the water.
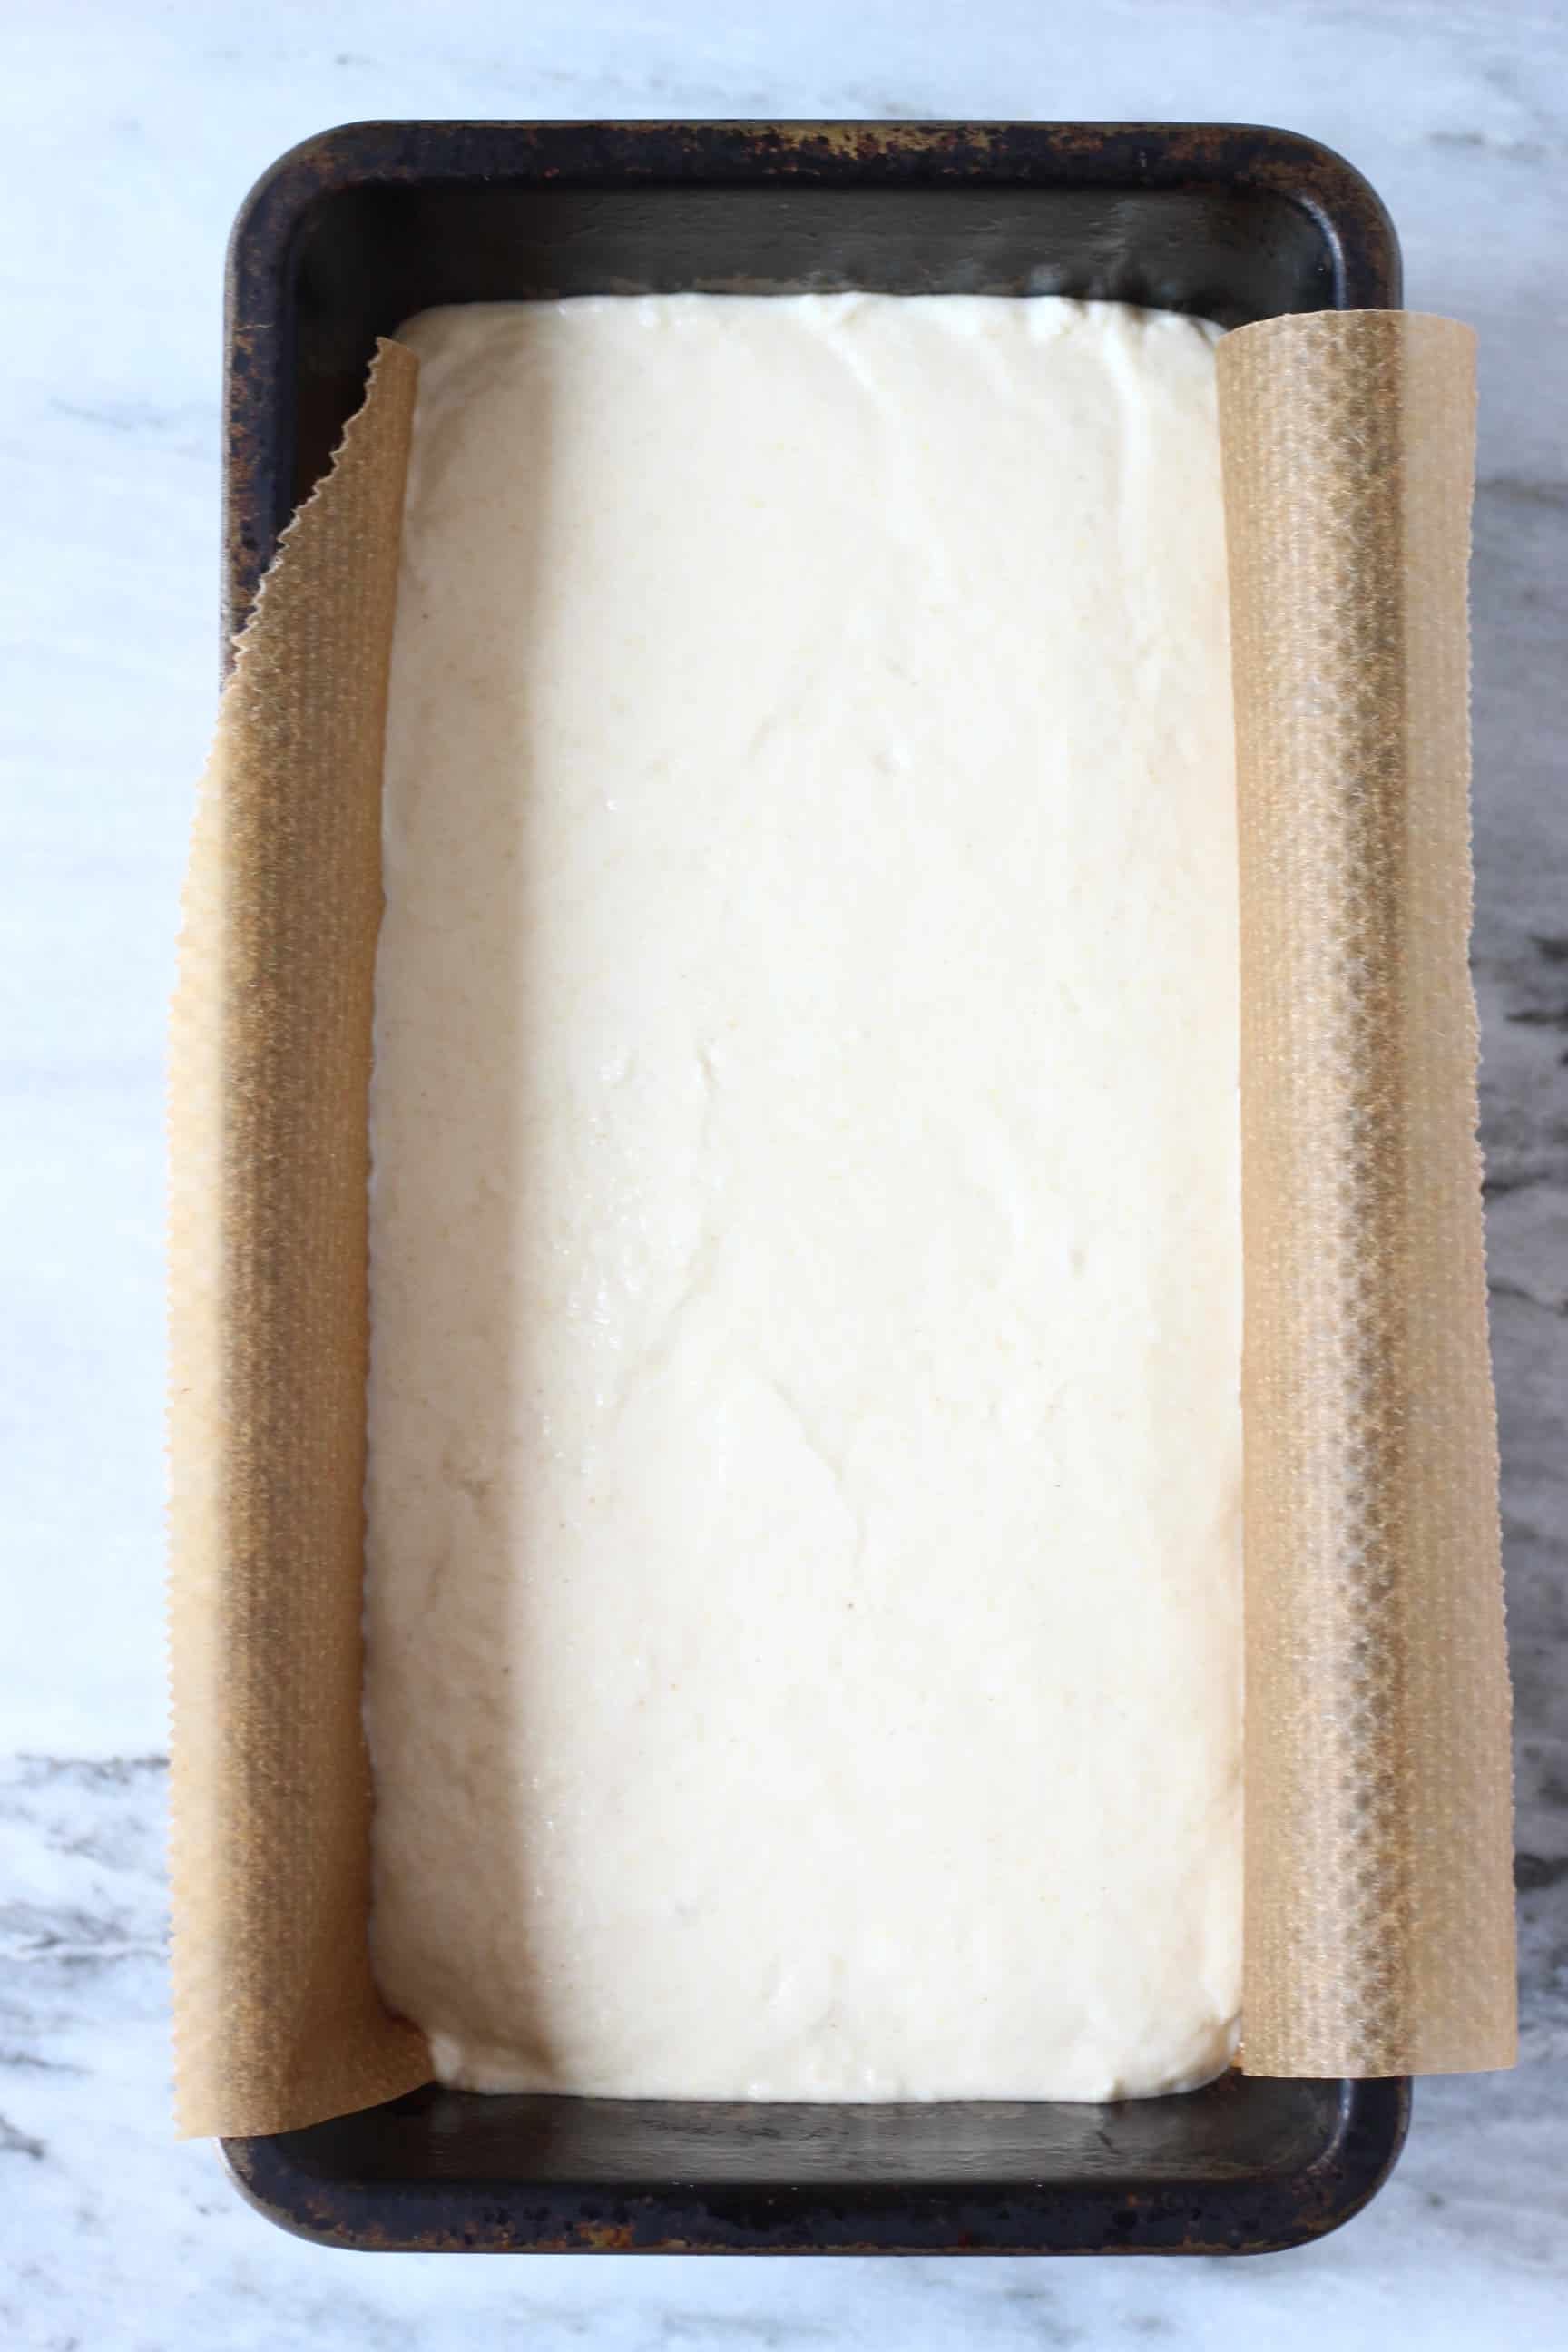
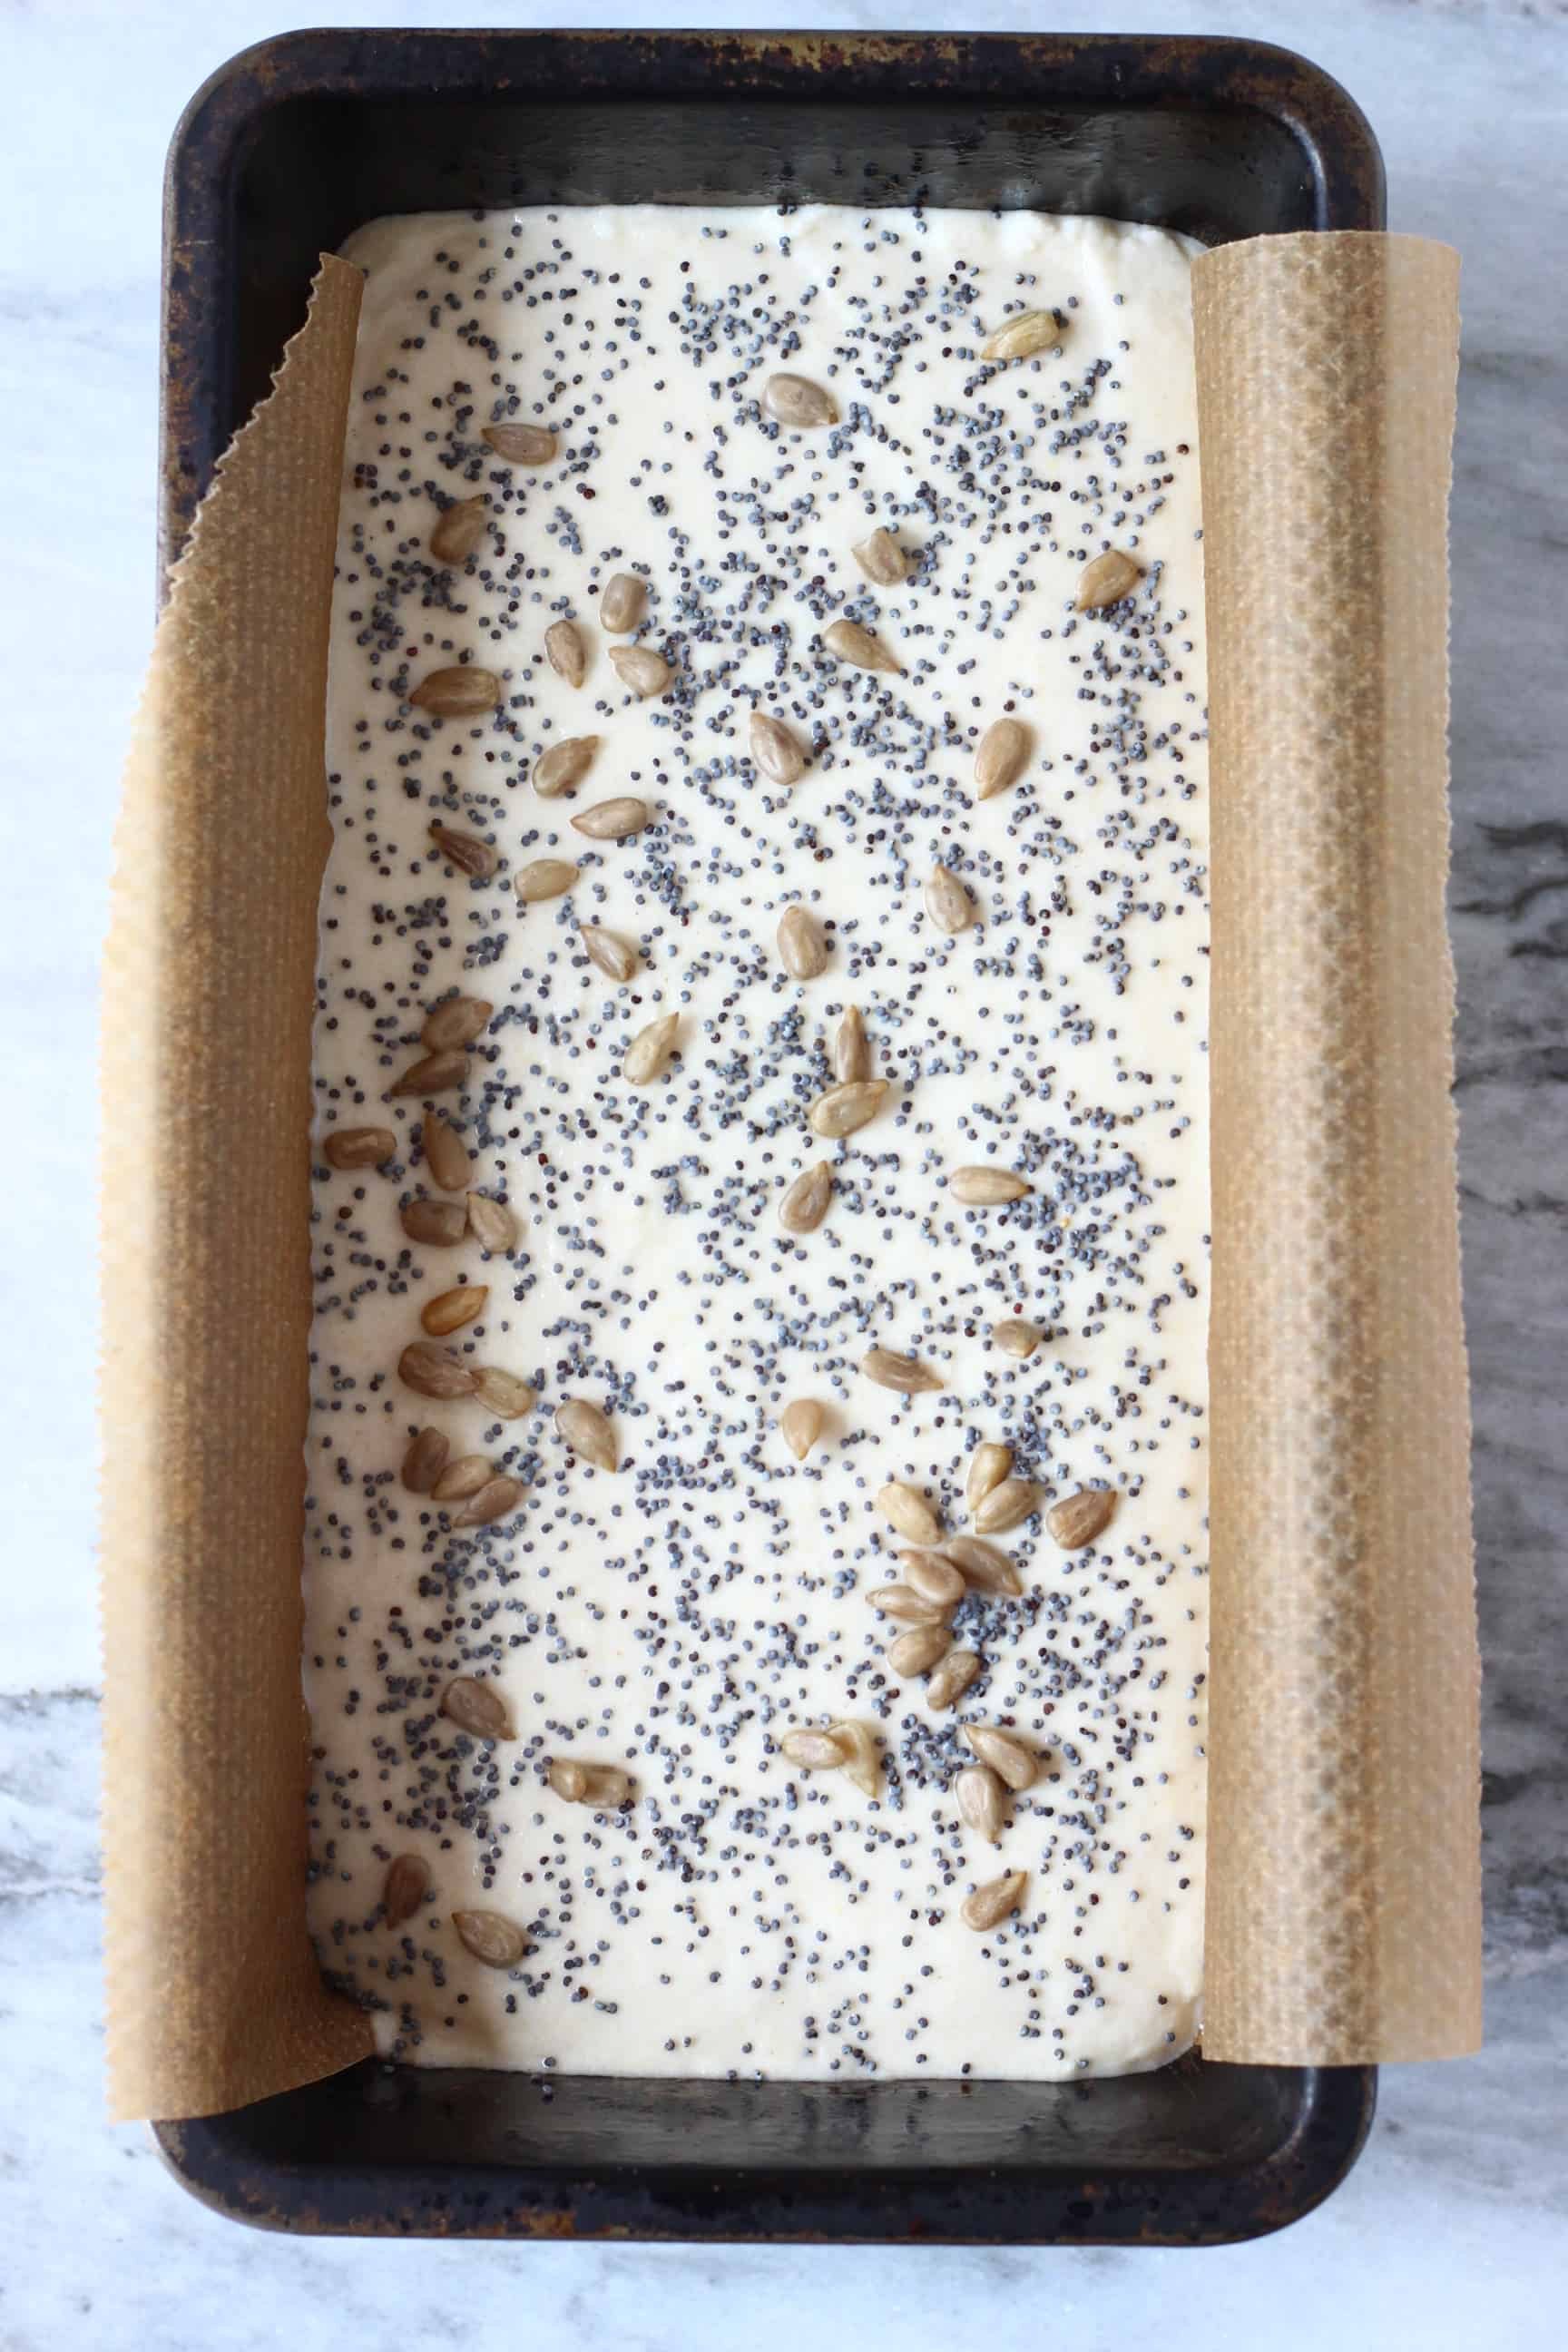
- Transfer the batter into a one-pound loaf tin.
Tip: Line the tin with greased baking paper to make the bread easier to remove after.
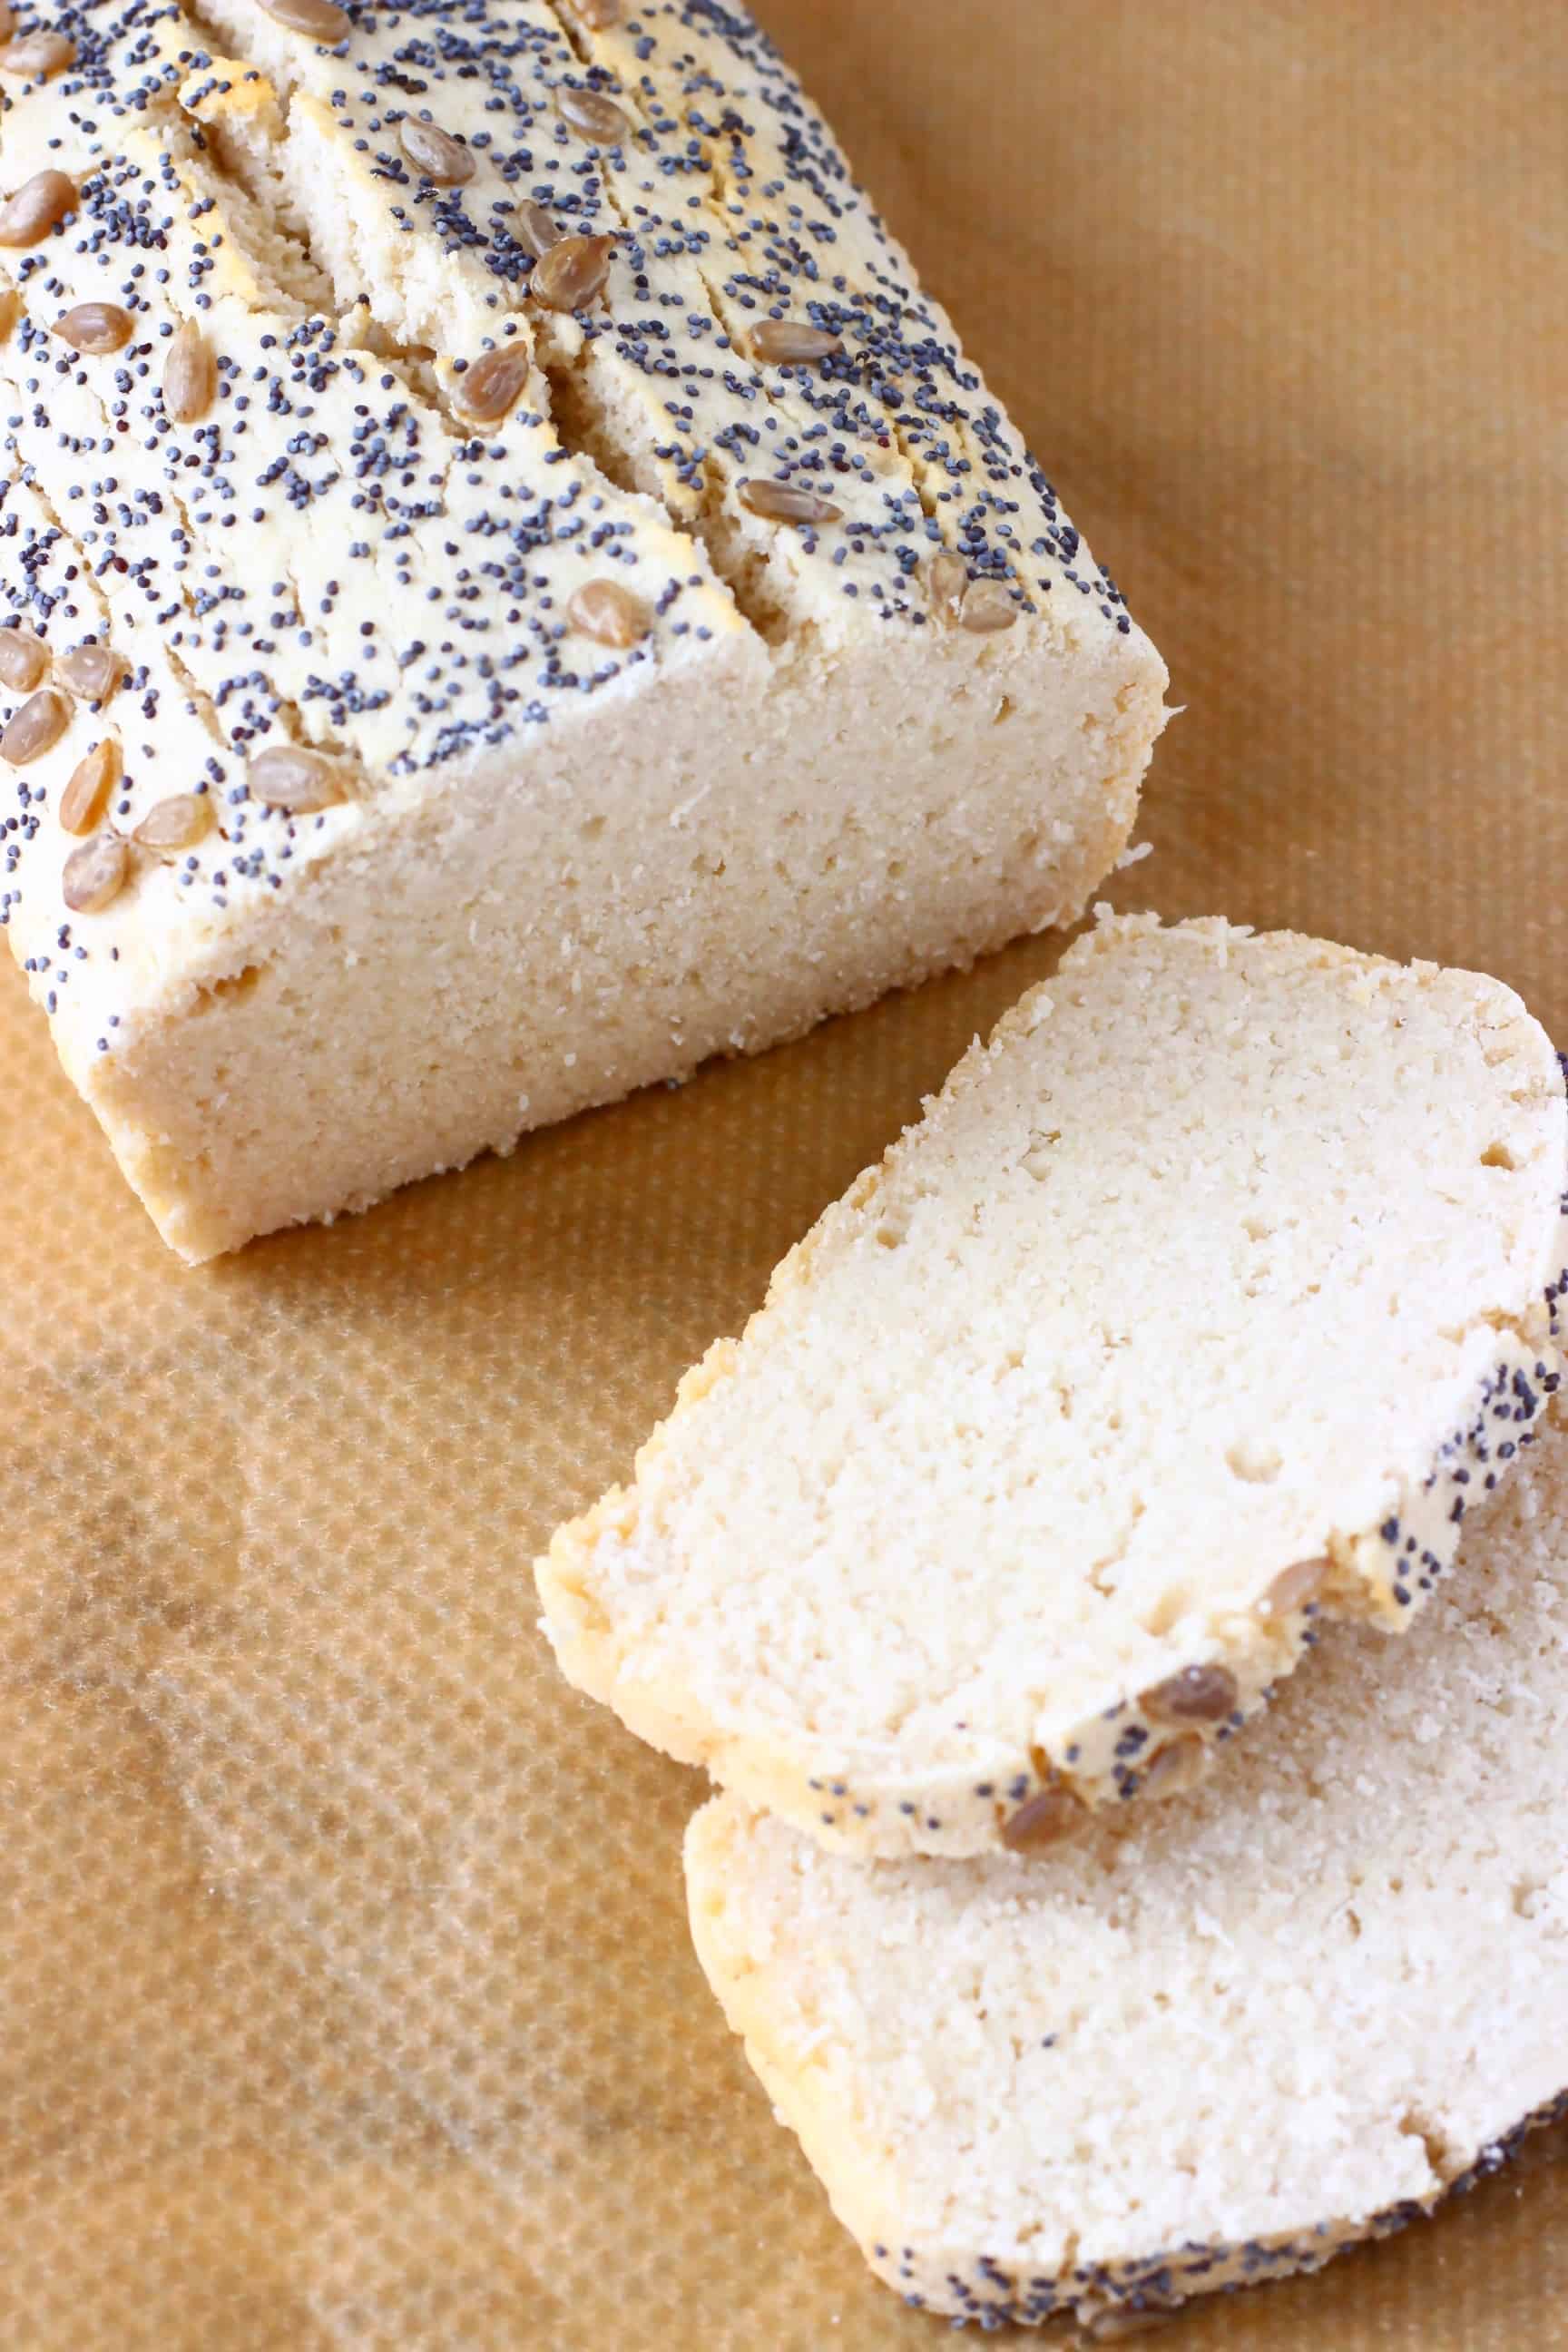
- Sprinkle over mixed seeds to decorate, if desired.
- Fill a baking dish up to halfway with boiling water.
- Place the bread on a higher rack in the oven and place the baking dish of water on the lower rack.
- Bake in the oven for around 40 minutes.
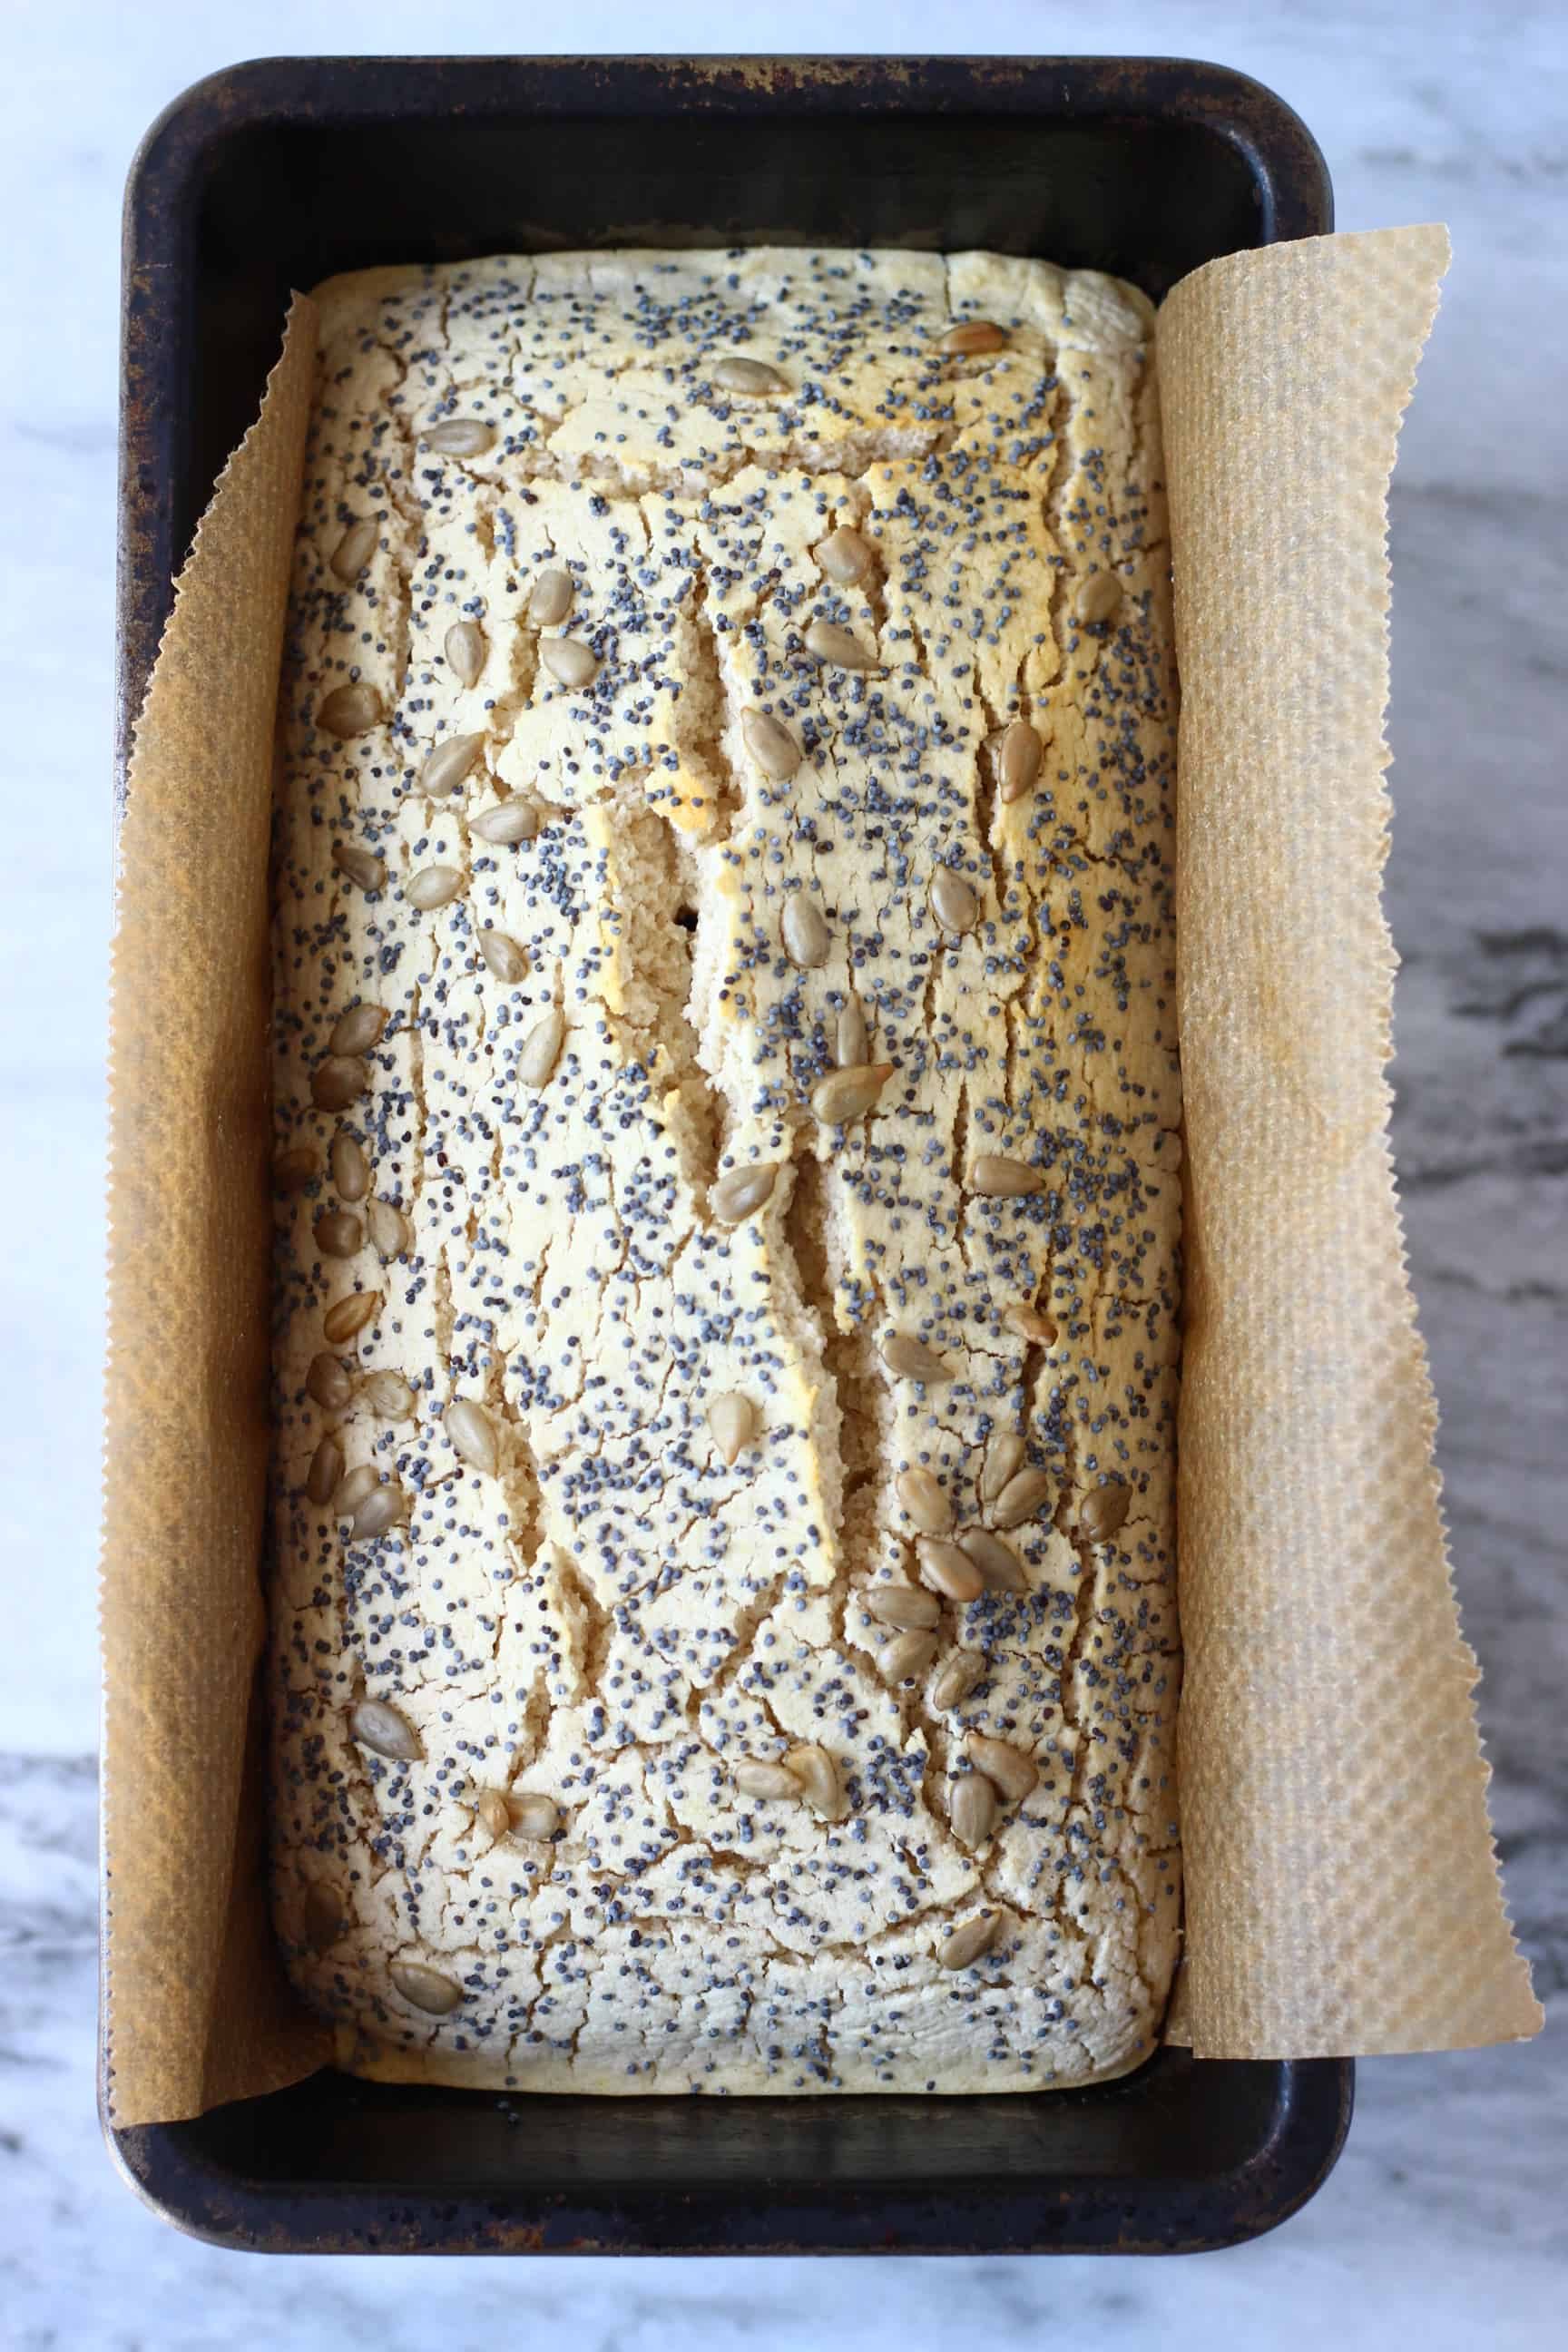
Tip: Transfer the loaf to a cooling rack to cool down completely before packing away to store because otherwise the steam from the warm bread will get trapped and you'll end up with soggy bread!

- Leave to cool completely before slicing.
How long does this Rice Bread keep for?
This Rice Bread is definitely much better eaten freshly made, but it keeps well covered in the fridge for a good few days. If not eaten on the day it's made, it's best toasted before eating.

More gluten-free vegan bread recipes
- Gluten-Free Vegan Chickpea Bread
- Gluten-Free Vegan Blueberry Banana Bread
- Gluten-Free Vegan Irish Soda Bread
- Gluten-Free Vegan Almond Bread
- Gluten-Free Vegan Oat Bread
- Gluten-Free Vegan Dinner Rolls
- Gluten-Free Vegan Seeded Buckwheat Bread
- Gluten-Free Vegan Cornbread
- Gluten-Free Vegan Bread Rolls
- Gluten-Free Vegan Oatmeal Bread
- Gluten-Free Vegan Biscuits
- Gluten-Free Vegan Oat Flour Bread
- Flaxseed Bread
- Quinoa Bread
- or browse the whole collection!
If you try out this recipe or anything else from my blog, I'd really love to hear any feedback! Please give it a rating, leave a comment, or tag a photo @rhiansrecipes #rhiansrecipes on Instagram! Thank you.
Watch how to make this recipe
Gluten-Free Rice Bread (Vegan)
Ingredients
- 225 g (1 ½ cups) brown rice flour
- 150 g (1 ¼ cup) rice flour
- 3 tablespoons tapioca flour
- ¼ teaspoon salt to taste
- 3 heaped teaspoons baking powder (ensure gluten-free if necessary)
- ¼ teaspoon bicarbonate of soda (baking soda)
- 1 tablespoon apple cider vinegar (ensure gluten-free if necessary)
- 375 ml (1 ½ cups) water
To decorate (optional):
- Poppy seeds, sunflower seeds, sesame seeds etc
Instructions
- Preheat the oven to 180 degrees Celsius (350 degrees Fahrenheit).
- Mix together all the ingredients in a bowl.
- Transfer the mixture to a loaf tin (I used a one-pound loaf tin) lined with greased baking paper.
- Scatter over mixed seeds to decorate, if desired.
- Fill a baking dish up to halfway with boiling water.
- Place the bread on a higher rack in the oven and place the baking dish of water on the lower rack.
- Bake in the oven for around 40 minutes, until risen and an inserted skewer comes out clean.
- Be VERY CAREFUL when opening the oven door to remove the bread, because a lot of HOT STEAM will escape from the oven and you might burn yourself. To prevent this from happening, open the oven door first, then step back until all the hot steam has escaped from the oven before putting your hands inside to remove the bread. Also, make sure to wear oven gloves and a long-sleeved shirt.
- Leave to cool completely on a wire rack before slicing and before putting away to store (it's much easier to slice the day after it's made).
- Tastes best eaten freshly made, but keeps well covered in the fridge for a good few days - if not eaten on the day it's made, it's best toasted before eating.
Video
Notes
- Make sure to add boiling water to the baking dish.
- If the water in the baking dish all runs out during the baking process, make sure to refill it.
- Be VERY CAREFUL when opening the oven door to remove the bread, because a lot of HOT STEAM will escape from the oven and you might burn yourself.
- To prevent this from happening, open the oven door first, then step back until all the hot steam has escaped from the oven before putting your hands inside to remove the bread. Also, make sure to wear oven gloves and a long-sleeved shirt.
Disclosure: This posts contains affiliate links to Amazon. If you purchase any of these products, a small percentage will come to me with no extra cost to you! This income will go towards the running of this blog - thank you.


Mayen Ruiz
Hi Rhian!
I’ve been anxious to make my own gluten free vegan bread for so long now as I have many food allergies and restrictions. I cannot even have xanthan gum. Your recipe is the closest I have come to a safe recipe. But I have a few questions before attempting to make it. The gluten free flour mix I have on hand already has the flowers you mention and I was wondering if I can use it for this recipe? The mix is as follows: whole grain brown rice flour, potato starch, rice flour, tapioca flour. Would I be able to use this for the recipe? And if so, what quantity?! Thank you so much! Also, does this recipe freeze well?
Rhian Williams
Hi! I am not sure what ratios are used in your gluten-free flour mix, so I think it's probably safest to use the recipe here and measure out each flour separately, sorry! This recipe does freeze well yes! You can slice it up and put it in the freezer like that and just take slices out straight from the freezer and put in the toaster!
Mayen Ruiz
Well that makes total sense! Thank you for responding. I just bought the brown rice flour and white rice flour along with tapioca flour! Making this tonight and really hoping it turns out the way it looks in your pictures! That way I can have a safe staple recipe to turn to anytime I want bread! I’ll follow up with how it goes!
Mayen Ruiz
PS: can I use hemp seeds and chia seeds as a topping?? Those are the only safe seeds I have on hand.
Rhian Williams
Yes you can use any seeds you like!!
Mayen Ruiz
Okay, so my bread is currently in the oven but I’m already worried. My “dough” was not watery looking like how yours looks in the pictures. I did EXACT measurements with every single ingredient listed. For the flour I followed it to a T: 1 1/2 cups brown rice flour and 1 1/4 cups rice flour. Did I miss something?? My dough is more dry and crumbly than yours but was still able to put in the bread pan. Please advise.
Mayen Ruiz
Hi again! Sorry for all the comments and questions. My bread has finished and here’s the result: very crumbly, didn’t rise at all. I literally followed every single step with exact ingredients exactly! Could you help me figure out what went wrong? Should I have added more water than what’s called for in your recipe considering my mixture was pretty dry?! Please help! Thank you!!
Rhian Williams
No problems at all! I'm sorry to hear that. It sounds like your dough was a lot drier than it should have been. If making again, adding some extra water would help, or ideally measuring out the flour by weighing it will yield more accurate results. So sorry again and thank you so much for your feedback!
Mayen Ruiz
Oh darn! I have no ability to weight it because I don’t have the equipment for that. Should I put a little less of each of the rice flours just to make it not as dry??
Heather
I had the same problem with the bread being too crumbly. It tasted good though. Next time I will double the recipe and add enough water to get that dough-like consistency.
Rhian Williams
Thank you so much for your feedback. I hope you have better results next time!